

Painting your bathroom is a simple, inexpensive upgrade that can make you fall in love with your space all over again. As far as decorating jobs go, it falls on the easier end of the spectrum (depending on the size of your bathroom, you can be finished in half a day), but it’s also a room of the home that requires a little extra care and attention. That’s because there are a host of bathroom paint mistakes you want to avoid falling victim to, and some of them are more common than you think.
The truth is, your bathroom walls see a lot. By virtue of their being, these rooms are humid environments, so your paint job needs to withstand high moisture and temperatures. Daily condensation and the build up of grime and soap scum can shorten the lifespan of your paint job, plus you’ll need a durable paint finish to prevent the likes of peeling paint and mould growth.
Painting your bathroom just isn’t as simple as grabbing the first tin of paint you see and rolling your walls with it. So, before you get busy with planning the colorful bathroom paint ideas to redecorate your space, make sure you brush up on the best way to paint a bathroom. To help you on your way, we spoke to some paint experts who list the key mistakes to avoid in order to finesse your finish. Here's what you need to know.
1. Using the Wrong Finish

DO INSTEAD: Choose a satin or eggshell finish in humid spaces like the bathroom.
Before you begin painting a bathroom, you need to ensure you have the right paint finish. The most common mistake when painting this practical part of the home is using a default matt finish, as you would for your living room or bedroom walls. But, as the experts note, a flat finish won't hold up in moist environments.
"Using the wrong finish is a common painting mistake that can affect both the look and lifespan of your paint," explains Michael Rolland, managing director at The Paint Shed. "It’s not just about appearance; different finishes offer different levels of durability. In high-traffic areas or places prone to moisture, you’ll want something more durable and easy to clean, like a satin or an eggshell finish."
If you fell in love with your living room paint color, it might be tempting to use the remaining half a can in your bathroom, but it's just not worth the risk. Unlike lustrous paint finishes, matt paint absorbs moisture, making it susceptible to mould growth and affecting the durability of your paint work.
"While you may be able to get away with a matte finish in a powder room, a minimum sheen of eggshell should be used on any bathroom where there is a tub or shower," adds Tila Lee, professional decorator and interior designer. "As steam builds up on the walls, the shine of the paint is necessary to prevent premature wear and tear, along with mould."
2. Not Prepping the Walls

DO INSTEAD: Save yourself from premature redecorating by prepping your walls.
Prep work is half of the job when painting a room. That rings especially true in the bathroom, where damp conditions and the buildup of dirt and grime can make it harder for paint to adhere to the surface of your walls. With that in mind, skipping preparation steps such as cleaning, sanding, or priming your walls is a bathroom paint mistake you don't want to make.
As tedious as it is, paint prep really is the secret to a better paint job. If you want a flawless finish, it's vital you start with a good foundation. "Making sure the surfaces are dust-free and well prepared will make sure that the final finish stands up to the demands of the moisture-rich environment," says Helen Shaw, paint expert and director of marketing at Benjamin Moore. "It’s key to treat problem areas such as mould or mildew spots, staining, or damp as these will bleed through the paint if not treated first."
Michael is quick to note that even the best quality paints or strongest bathroom colors won't be able to disguise these imperfections, so don't be fooled into thinking you can shortcut the process. "Proper prep means cleaning the walls, filling cracks or holes, sanding them down, and using a primer if needed — particularly if you are trying to cover a stubborn stain or want to benefit from the full longevity of your paint," he adds. "Skipping these steps usually leads to a patchy or uneven finish, and you’ll likely end up having to redo it sooner than you'd like."

Michael is the Managing Director of The Paint Shed – the fourth generation of his family to lead a business within the paint and coatings industry. He has worked at The Paint Shed for eight years and led it for the last 7 – meaning he has a wealth of knowledge regarding all things regarding paint and renovations.
3. Painting Over Mould

DO INSTEAD: Treat mould and mildew before you redecorate.
On a similar note, don't make the mistake of painting over mould in a bathroom, even if you're using a mould-resistant paint. Damp corners are common in bathrooms, but painting over them won't solve the issue. It might hide it temporarily, but it will only recur unless you treat the problem at the source.
"This is because mould spores can penetrate through paint, leading to continued growth beneath the surface," explains Michael. It's not just a cosmetic issue, either; painting over mould can cause structural damage to the affected area over time.
"Mould weakens surfaces over time, leading to the potential deterioration of walls, ceilings, and other structures," Michael continues. "Ignoring the underlying issue of mould growth can result in costly repairs later down the line that could cost you hundreds to fix." If you notice mould, take steps to get rid of moisture in a bathroom, such as installing adequate ventilation or using a dehumidifier.
4. Painting Before Renovating

DO INSTEAD: If renovating a whole bathroom, save painting until last.
Painting your walls is often a core step when remodeling a bathroom, but don't make the mistake of decorating your space before undergoing larger renovations. Not only is your fresh paint work likely to become dirty or scuffed in the process, but you'll likely be left with unpainted gaps where pipes or other fittings used to be.
"Oftentimes, people are renovating more than one thing in their bathroom, and if the plan is to change the fixture even in the future, the holes for the current one should be filled during the paint process," says Tila. "This saves a lot of hassle patching what are usually large holes or gaps and waiting for them to dry before repainting."

Helen Shaw is Benjamin Moore's Director as well as Co-founder of Shaw paints. Passionate about color and with over ten years in the paint industry, Helen is a big advocate for embracing our favorite hues throughout the home to make a characterful space that's personal to us.
5. Not Removing Decor or Fixtures Before Painting

DO INSTEAD: If possible, remove your decor and fixtures before painting for a clean finish.
The same lesson applies to smaller, more decorative accessories or fittings, too. We're all guilty of the occasional "lazy painting" — painting around the mirror, radiator, pipework, and ceiling light, for example, instead of removing them first.
You might have a neat enough hand to get away with it, too — until you decide to install a new mirror, that is. When you decide to replace your existing one, that unsightly patch of unpainted wall will stare you in the face. Unless you choose a larger mirror (or one with exactly the same dimensions), your paint job will look like patchwork.
Tila often sees this bathroom mistake around lights, in particular, adding that attempts to cut in around the light can lead to messy paint marks on the fixture itself. "Instead, make sure the bulbs have cooled down and then remove the housing," she urges. "It can still be tricky to cut around the area, but you've now got a lot more space, and no chance of getting anything on the glass."

Price listed for sample pot.

Price listed for sample pot.

Price listed for sample pot.
FAQs
Why Does The Type of Paint Matter In a Bathroom?
In most rooms of the home, the paint finish you use is entirely up to you. In kitchens and bathrooms, however, you need a type of paint that's more durable so it can withstand moisture.
"Bathrooms are high-humidity environments, so they are susceptible to mould and mildew growth," says Helen at Benjamin Moore. "A specifically designed paint is crucial in order to withstand the conditions of wet and steamy bathrooms for years to come."
Michael at The Paint Shed also notes the higher risk of water splashes and soap marks in a bathroom, which means your walls need to be cleaned more regularly. "That’s why it’s best to use a specialist bathroom paint, designed to cope with moisture-heavy environments," he says. "Products like Zinsser’s Interior Perma White are mould-resistant and built to handle these conditions. Using the right paint keeps your walls looking fresh and helps prevent issues like peeling, cracking or mildew before they start."
While a few extra considerations are necessary when painting a bathroom, steering clear of common mistakes will ensure you have a professional-worthy paint finish that promises to last. Be wary of the pitfalls outlined above, and the rest is up to you. We're firm believers that the bathroom is the perfect place to unleash your creativity with bold, bright color on your walls — just make sure you pick the right finish when choosing your shade!

-
 Is Crown Molding Out of Style? Designers Agree, but There's a Secret to Making It Feel More Modern
The decorative design detail certainly still has style, but does it belong in more contemporary homes? Here, designers break it down
-
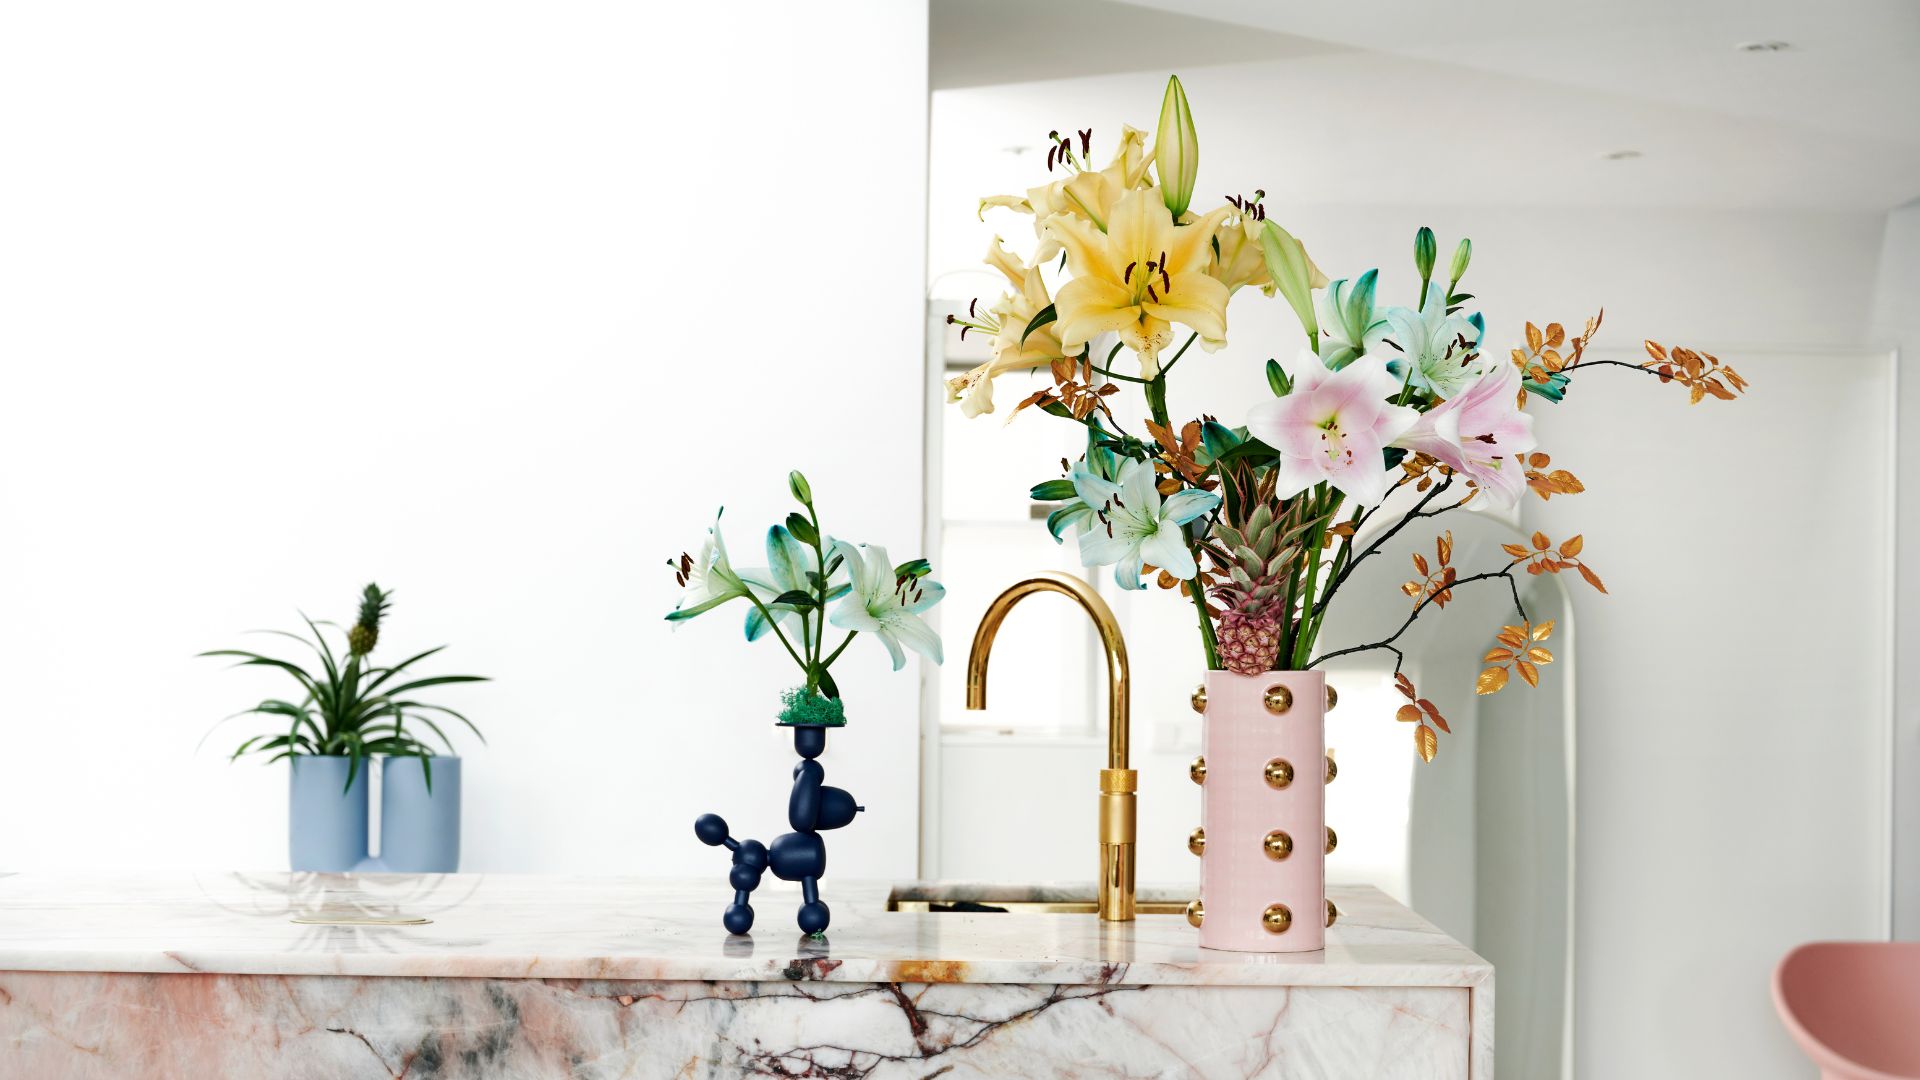 I've Discovered This Floristry 'Rule' That's the Trade Secret to Elevating Your Grocery Store Flowers at Home
Commonly used to create the perfect color palette in interior design, this rule also works in floristry. Here's how to use it for your spring arrangements.


-
 10 Small Bathroom Storage Ideas That Will Cull Clutter and Keep Even Tiny Spaces Feeling Calm
Unlock the storage potential hidden in your small bathroom and squeeze stashing space from every corner
-
 How to Take the (Very) Awkward Space Under Your Bathroom Sink From Chaotic to Orderly
Here are seven smart ideas to keep all your essentials easy to find and perfectly organized
-
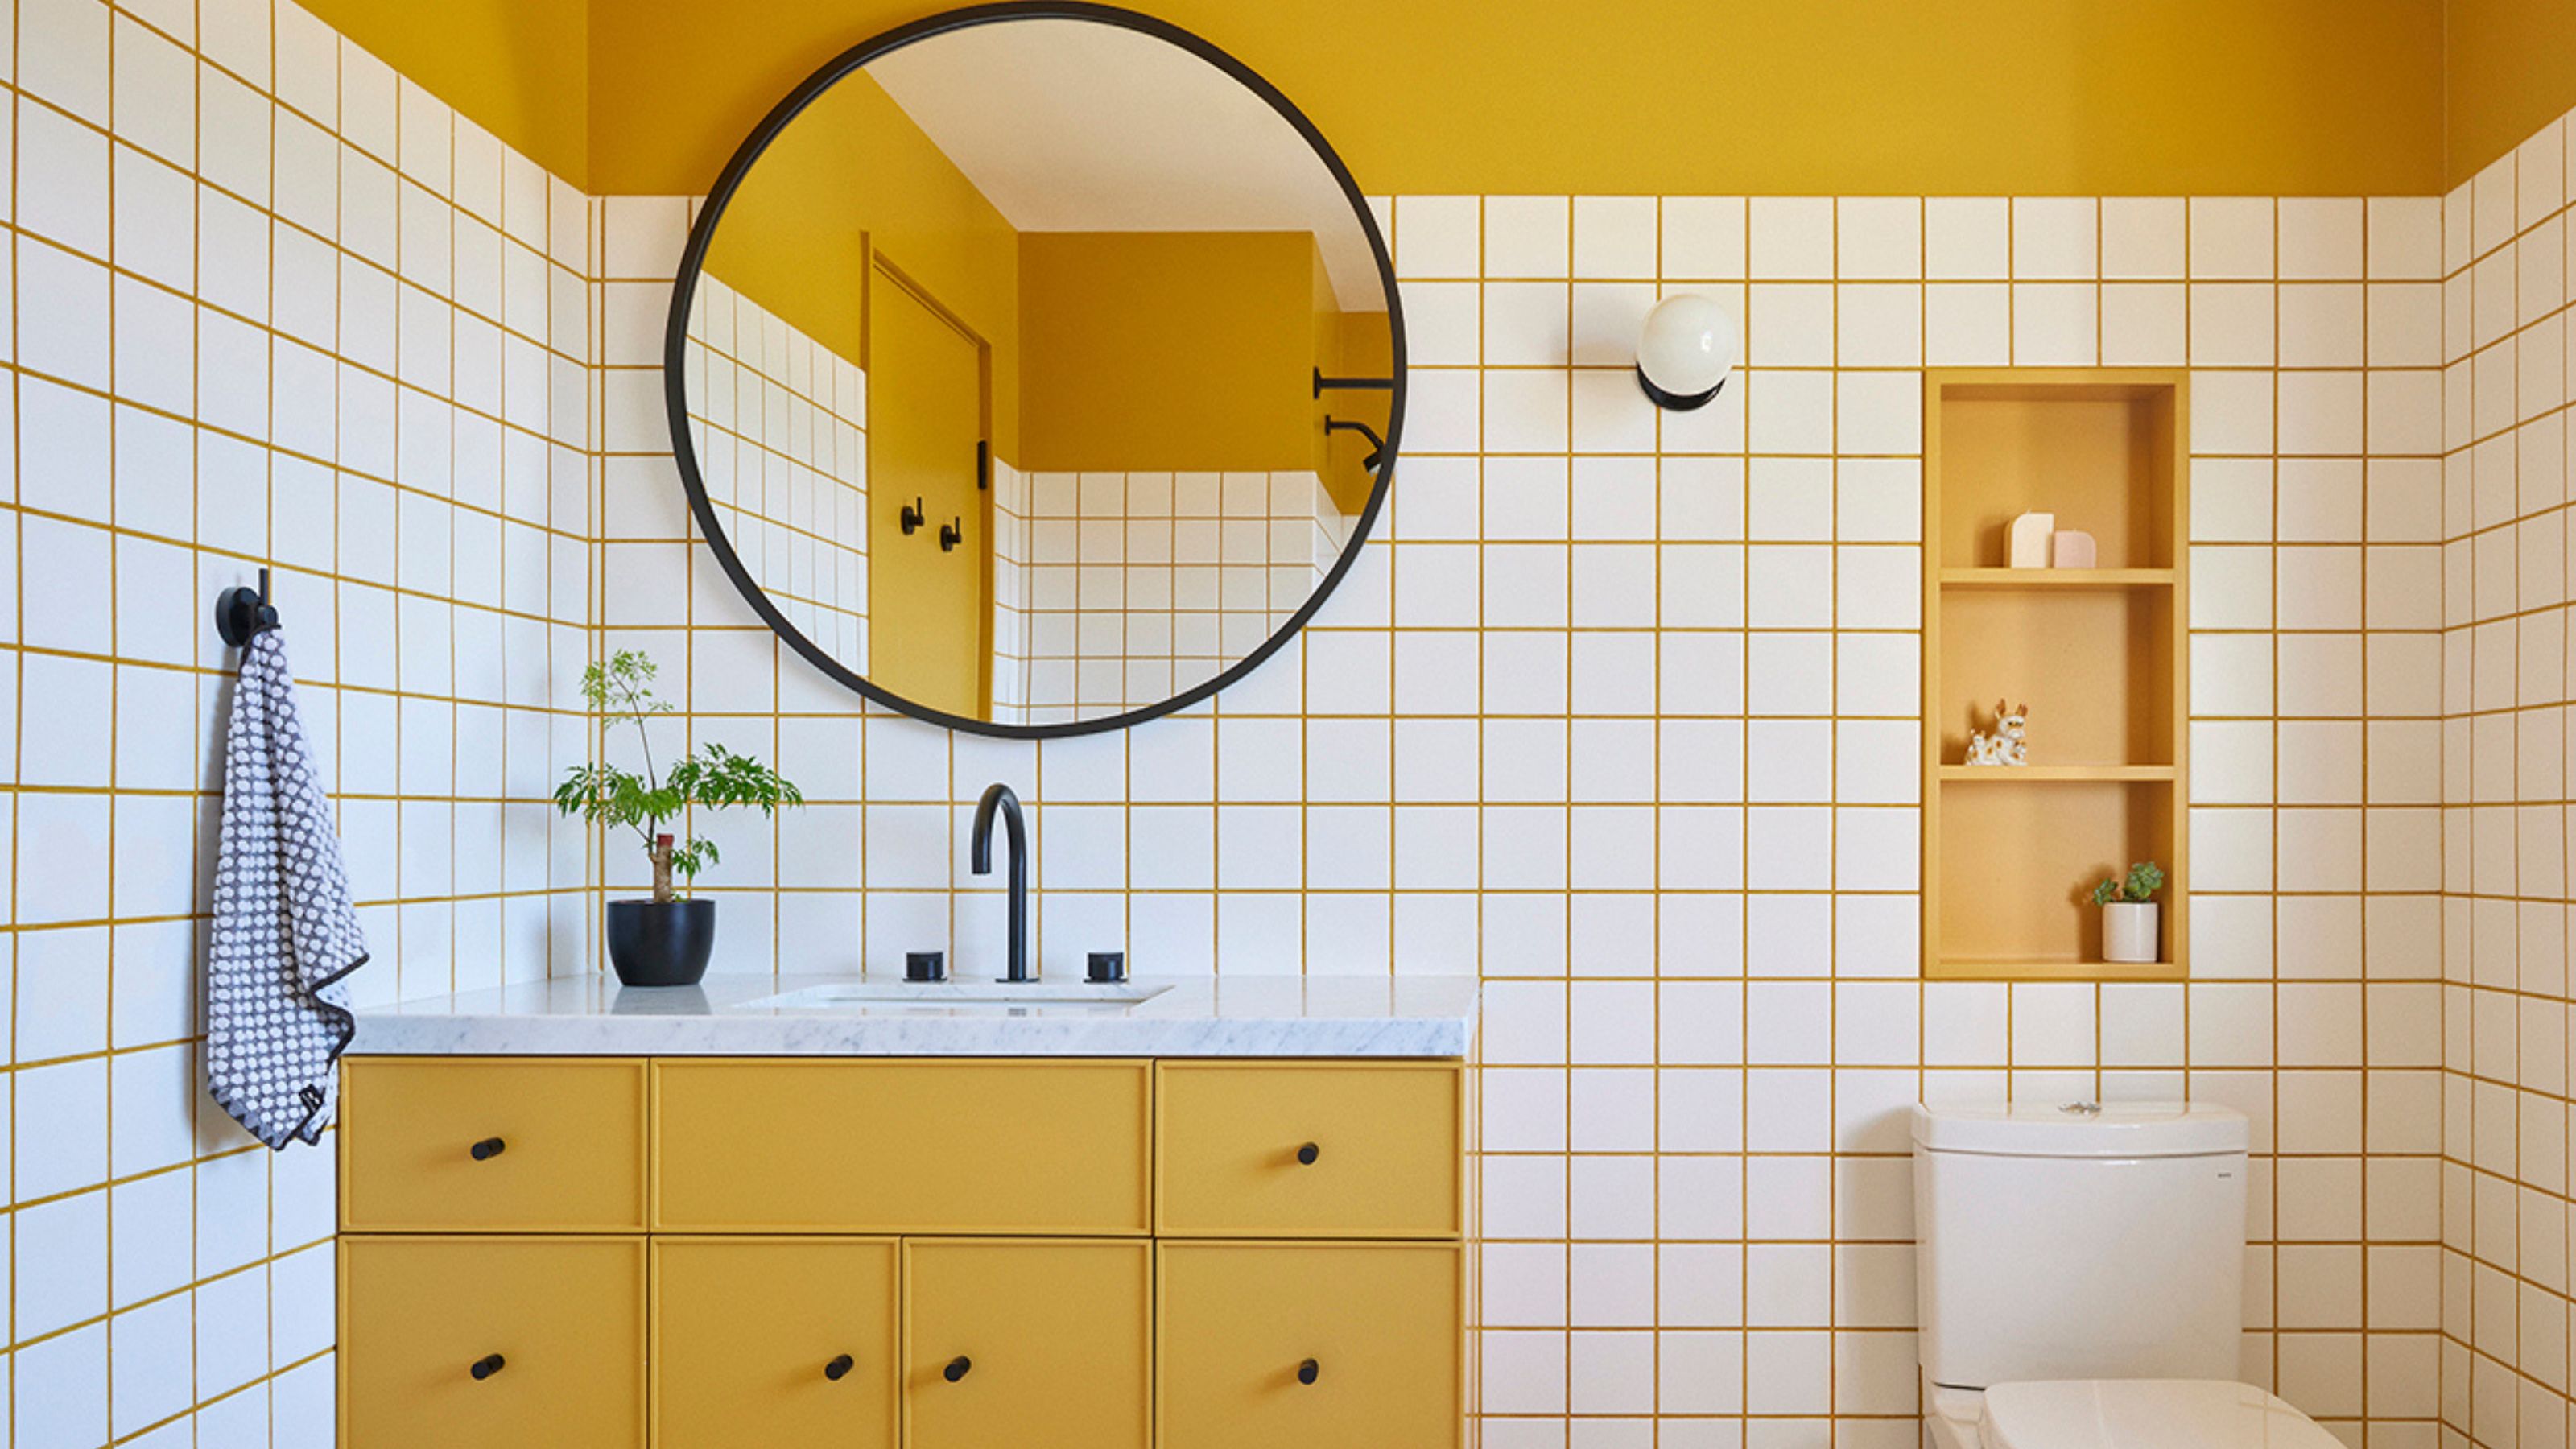 10 Yellow Bathroom Ideas That Vitalize Your Mornings and Look Unexpectedly Sophisticated While Doing So
Yellow is a color that by its very nature is energetic and full of life, and these designers have proved it's ideal for a bathroom
-
 Before and After — How This Jewel-Box Bathroom Made the Most of Its Proportions With Maximalist Design and a 'Soaking Tub'
This design offers a masterclass on creating a luxurious bathroom that is equally playful and elegant.
-
 5 Colors You Should Never Paint Your Bathroom — The Boring, Overstimulating, and Dating Shades These Designers Avoid
We're here to save you from the trap of a bad-taste bathroom. Listen to the experts, and stay away from these shades. You've been warned!
-
 5 Bathroom Layouts That Look Dated in 2025 — Plus the Alternatives Designers Use Instead for a More Contemporary Space
For a bathroom that feels in line with the times, avoid these layouts and be more intentional with the placement and positioning of your features and fixtures
-
 How to Make a Bathroom Look More Expensive — 5 Simple Upgrades That Will Elevate Your Space Instantly
If you're on a mission to create an elevated, luxe-feel bathroom on a budget, our experts are here to help
-
 Orchids in a Bathroom? This Plant Stylist Has a Clever Trick for Bringing This Beautiful Bloom Into the Space
If you're looking for inspiration to create a wellness-inspired bathroom, this clever DIY should be on your mood board. Spoiler alert: it features orchids.


