How do you paint wood furniture without sanding? Tips to get a good finish, without all the mess
If you want to do some DIY and paint wood furniture without the messy sanding bit, get it right by following these expert tips
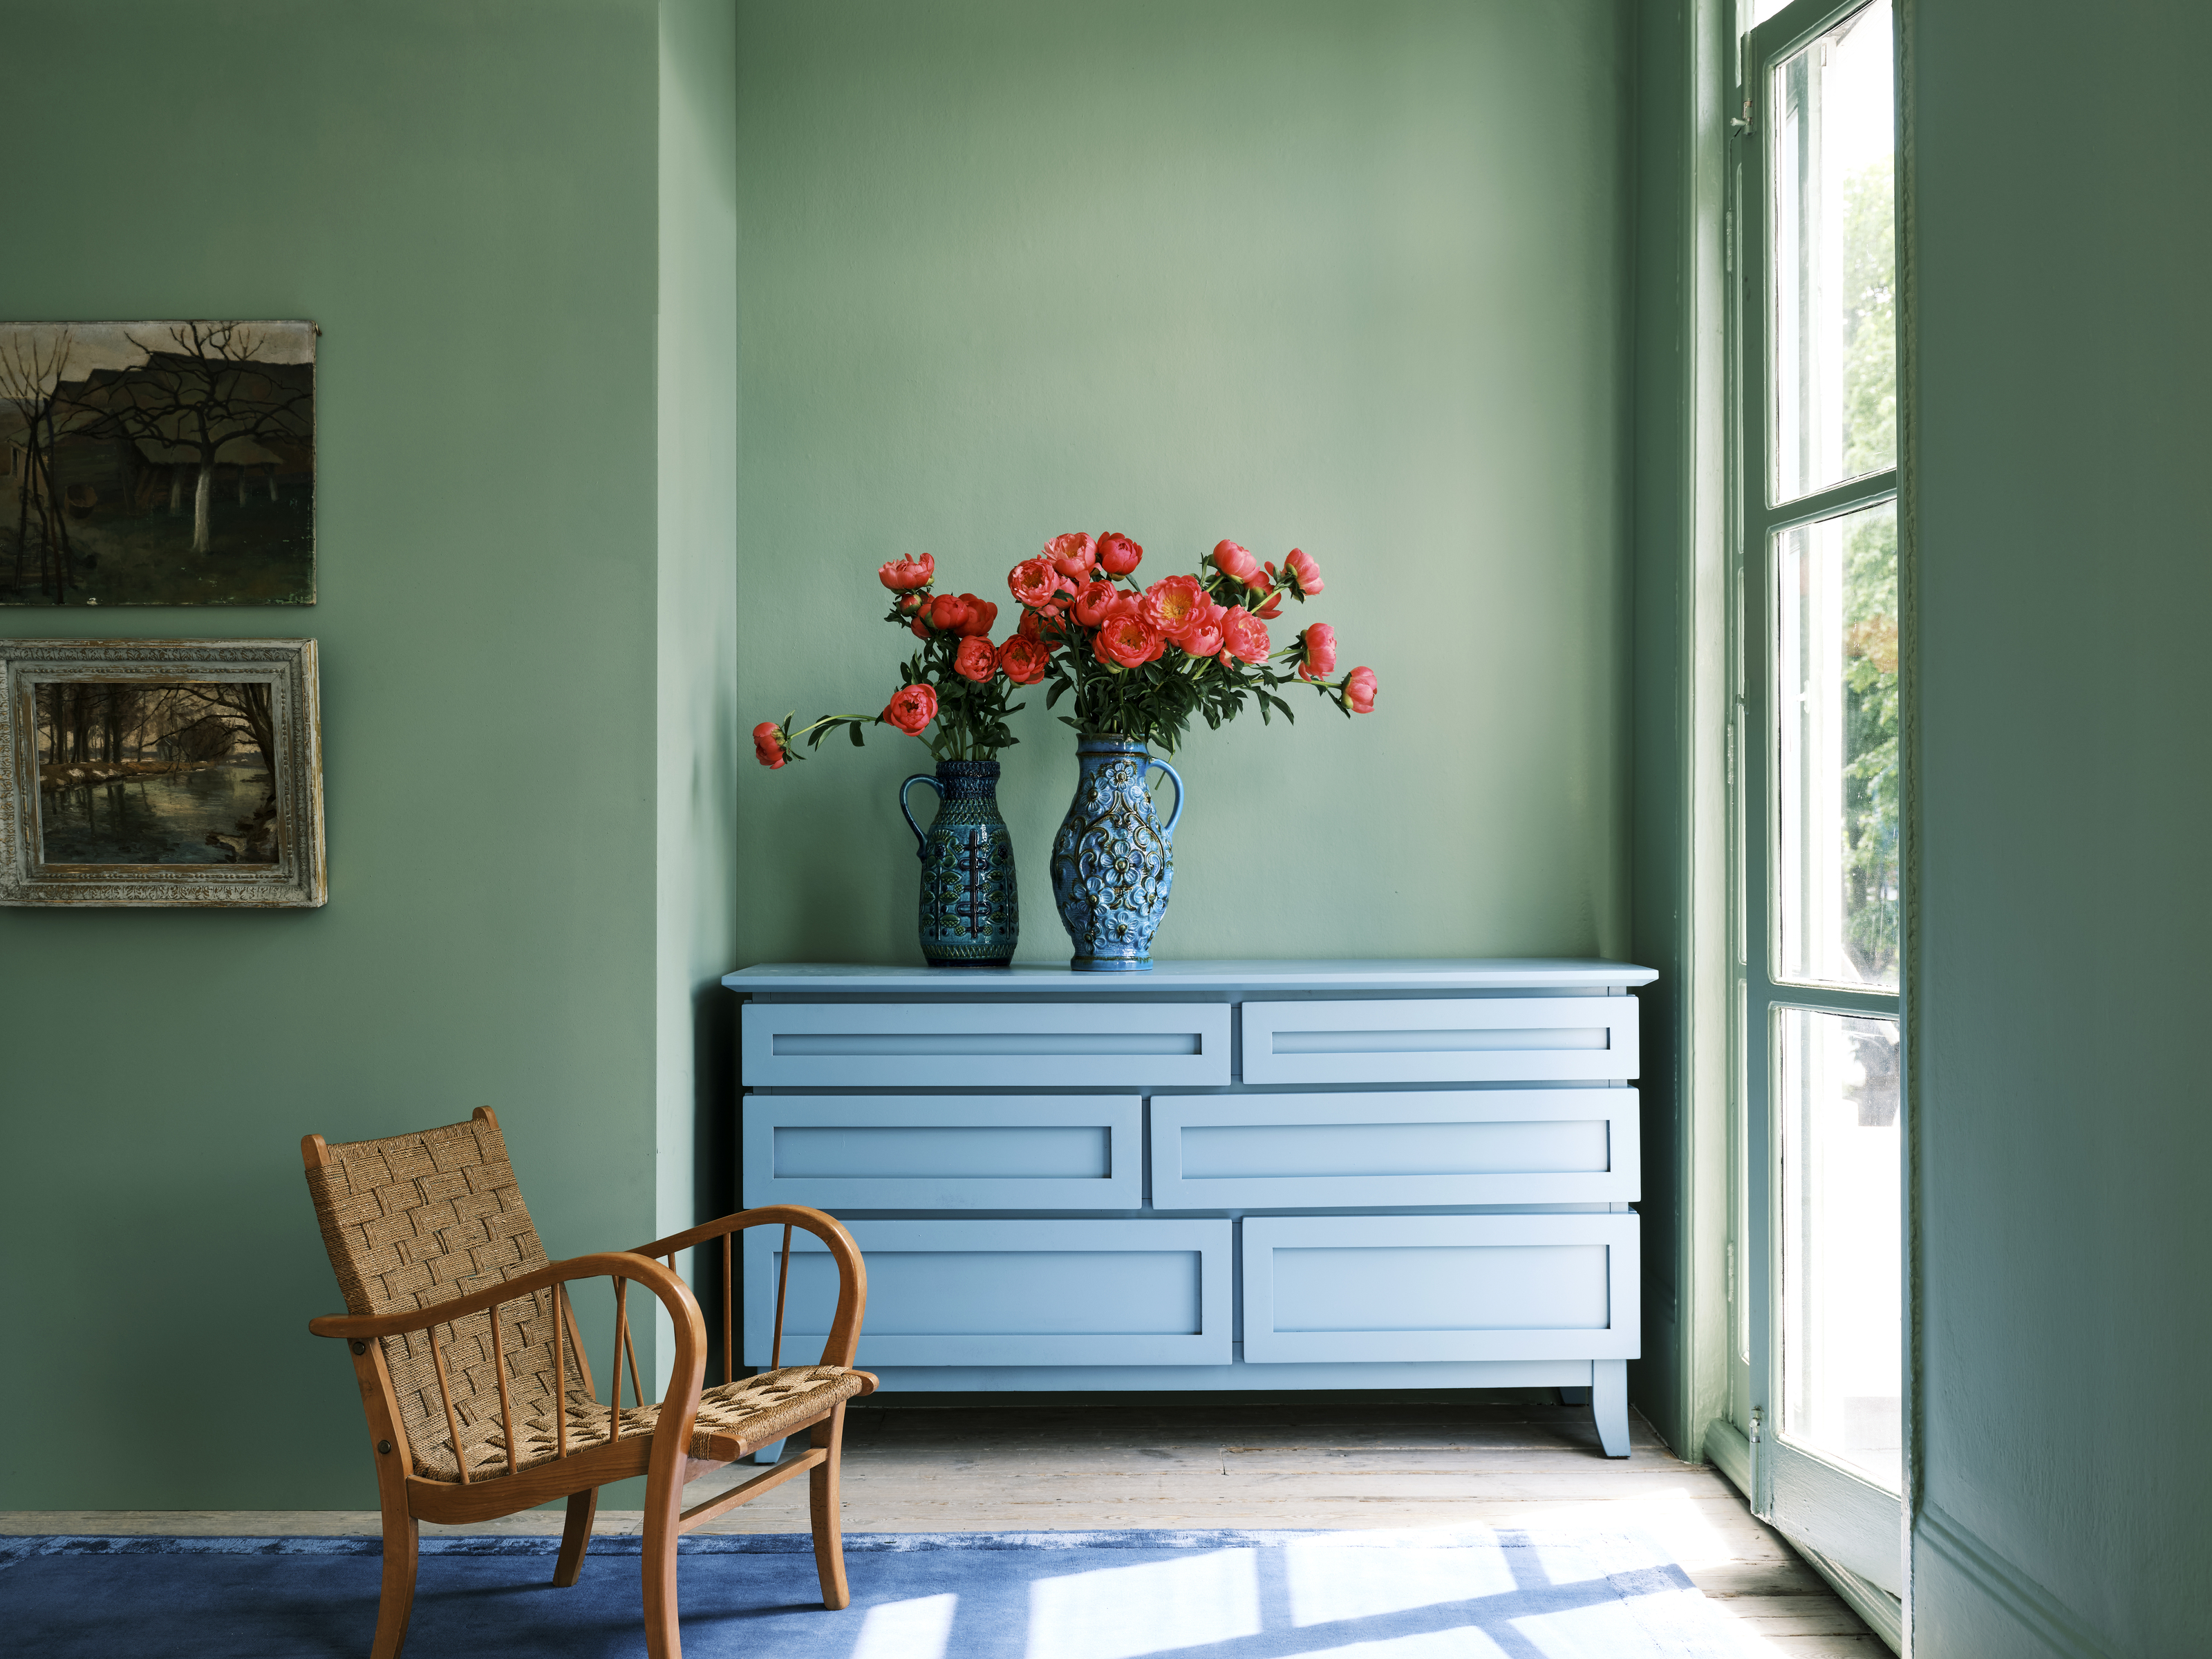
Painting furniture is a great DIY activity. You can change the look of your home very quickly by just giving a new lease of life to a piece of furniture you’re no longer in love with. If you look up how to get this done you will notice that sanding the surface is a step that most decorators recommend. However, it’s the most messy, and least fun part so I spoke with experts to check if there is a way to paint furniture without ticking this box.
While sanding is the preferred method that guarantees the best results, you can work your way around it if you follow these tips carefully. The type of paint you choose is also important, so read on as this will make your weekend project so much more enjoyable and easier.
Clean and prep the surface
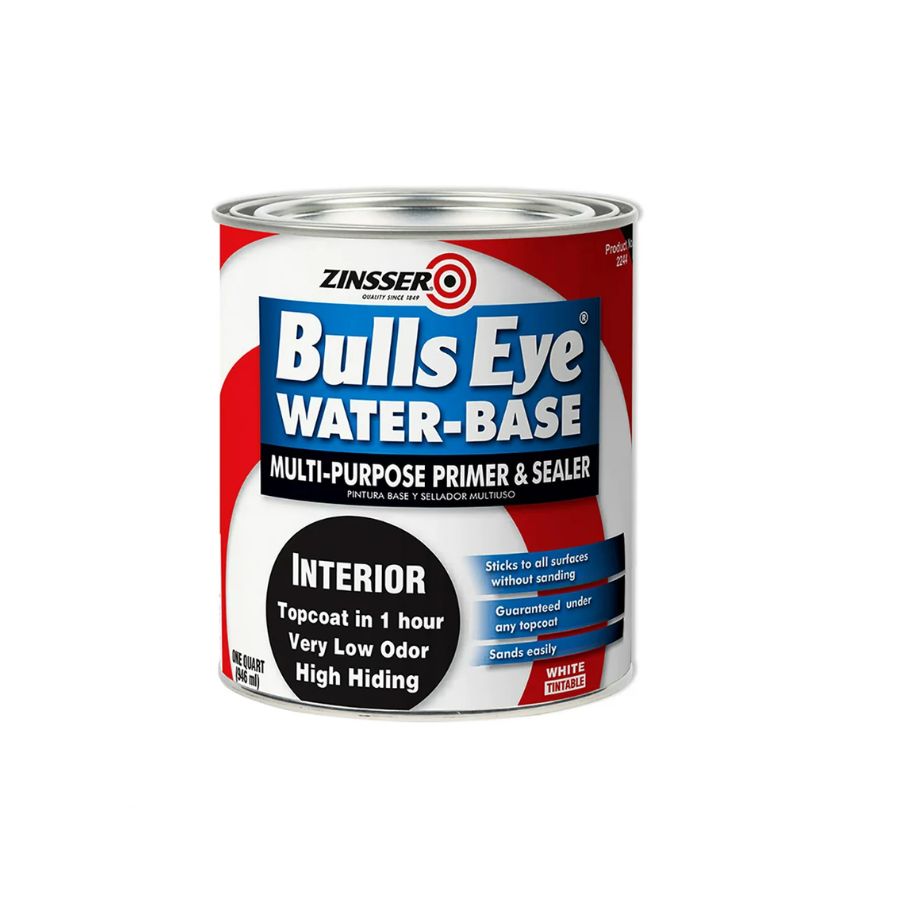
If you want to skip the sanding step the next best thing you can do is make sure the surface of your furniture is cleaned and prepped before painting. ‘If a piece of furniture is fully cleaned and in good shape before painting, you can generally get away without sanding IF you use the right primer,’ explains Tila Lee, founder of Pretty in Paint School.
‘A shellac primer works best and will cover you to ensure no tannin from the wood seeps through your paint. Your cleaning should consist of more than just water; a TSP cleaner should be used to make sure all oils are removed from the piece,’ she adds.
Pick the right paint finish
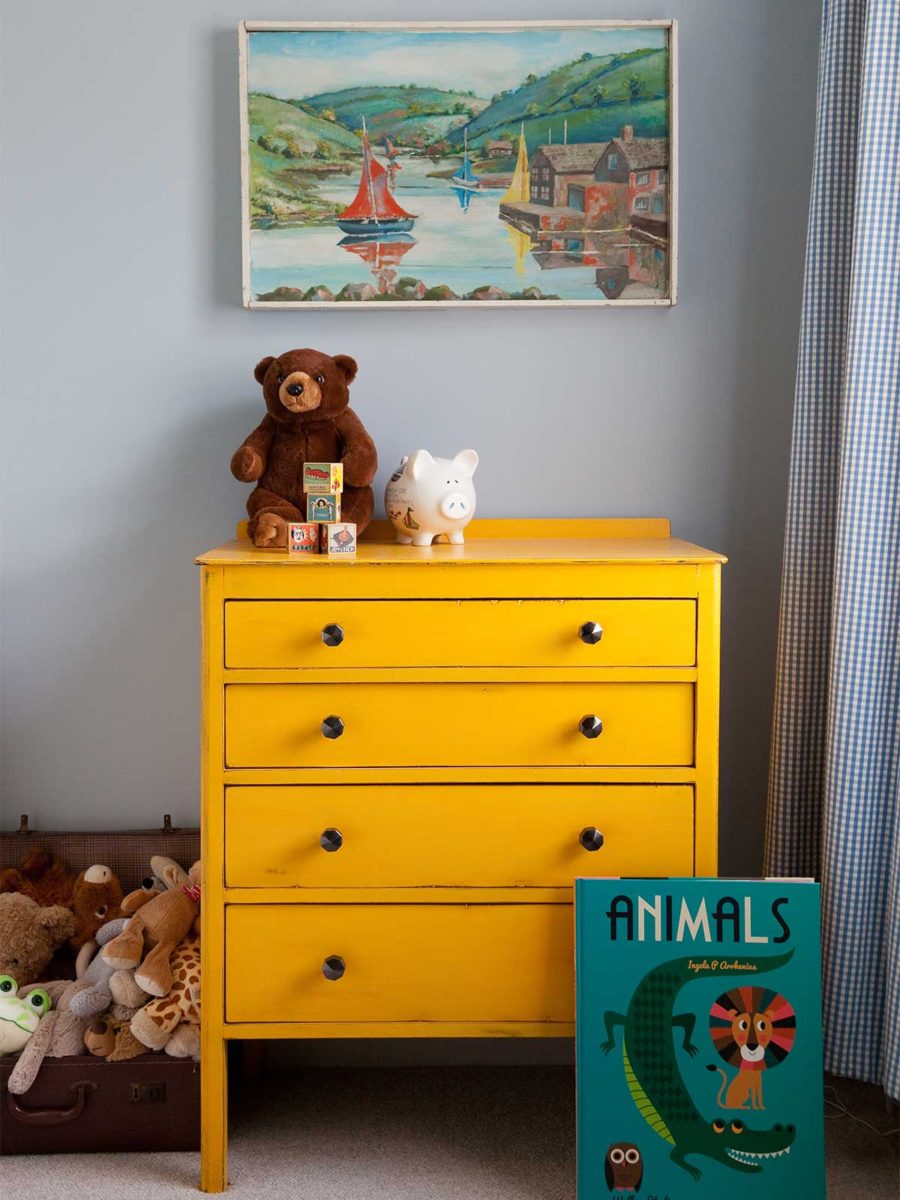
The type of paint finish you use is equally important if you want to ensure durability. You don’t want the layer of paint to start peeling off in a few weeks. Cindy Praesel, owner of Five Star Painting of Waco, explains: ‘The paint you choose should be one that is designed for cabinets and trim for durability. If the furniture will be used on a regular basis, oil base paint is the best option in my opinion because it dries the hardest,’ she says.
Kristin Harrison, interior designer at Bungalow 10 Interiors thinks chalk paint is the way to go. ‘It covers incredibly well and creates a beautiful matte finish. You do need a top coat, and it’s not the most durable, but when used on the right pieces, it’s the perfect option,’ she explains. For a piece of furniture that is more decorative and won’t have to deal with a lot of wear (unlike a chair, or a table, where durability is key), you can get away with using chalk paint for an easy application and a lovely look.
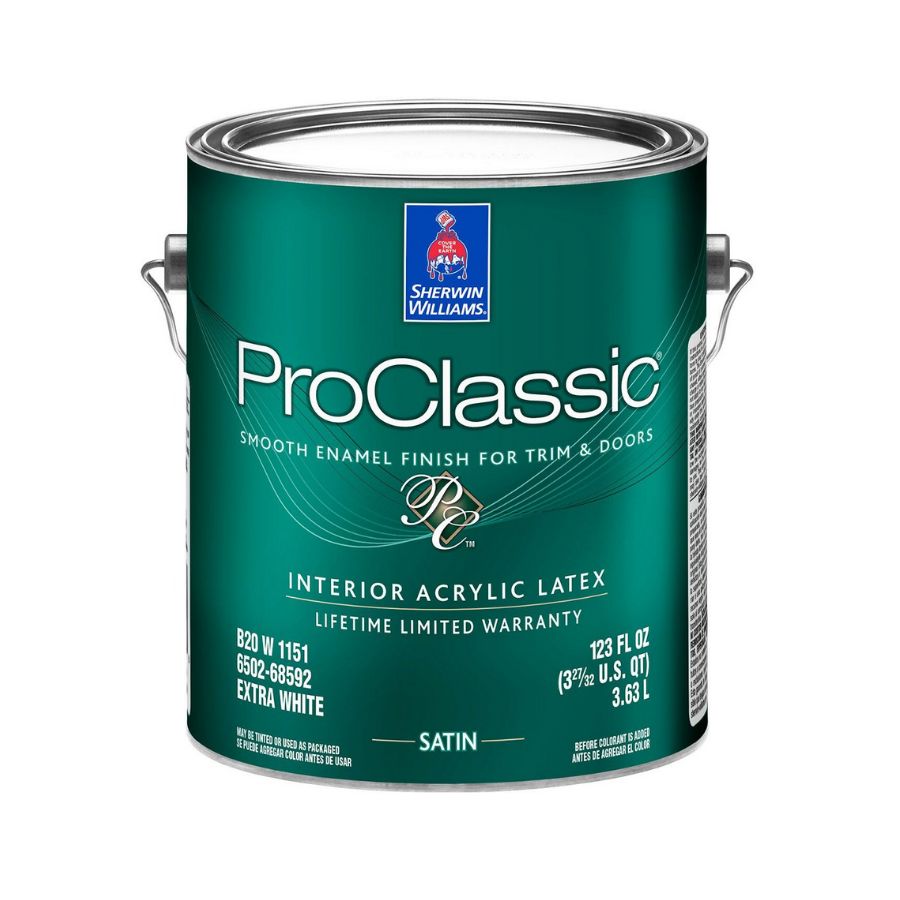
Praesel recommends ProClassic, a line of paint from Sherwin Williams, for great results. ‘It comes in an oil base and water base however, there are less expensive products that can be used if money is a factor,’ she says.
What is the best practice?
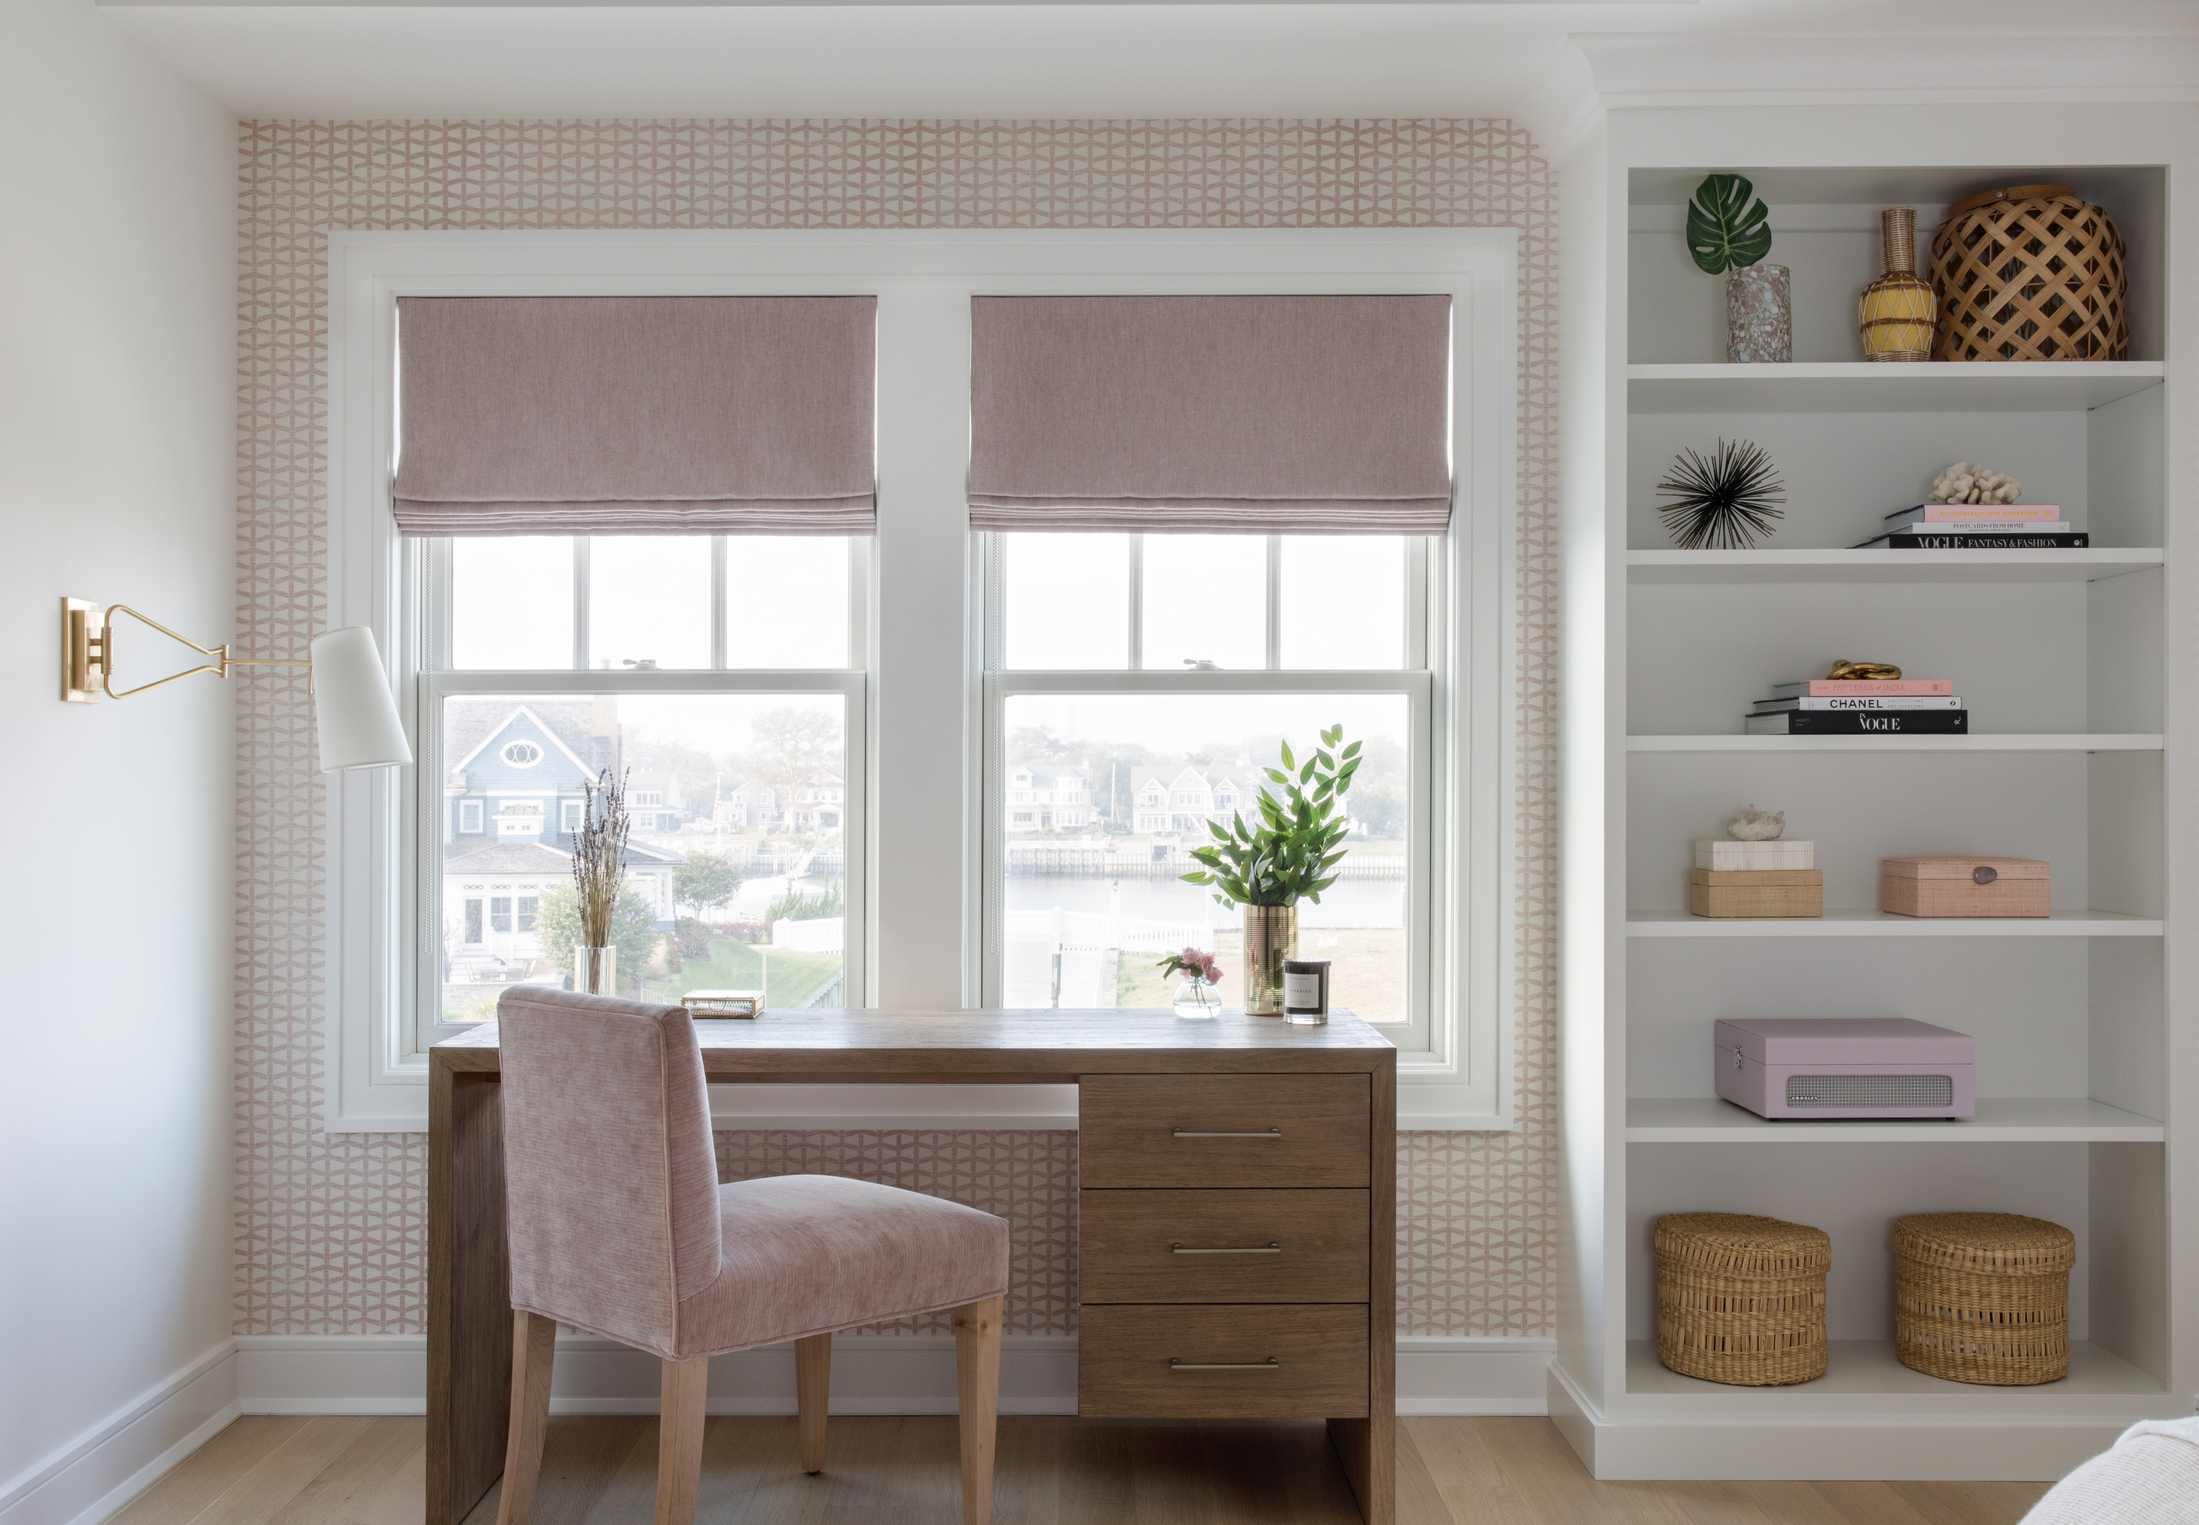
In an ideal world, if you wanted to do this like the pros, you wouldn’t skip sanding, even if you just go for a light version. ‘Even with these considered, I would always recommend a very light scuff sand,’ advises Tila. ‘A little roughness will ensure the products stick properly. And if your piece has any peeling or chipped spots, sanding is ALWAYS required,’ she says.
Praesel agrees: ‘In my experience, lightly sanding and then priming gives the best results when painting wood furniture. Using a sprayer will give the smoothest finish however if a sprayer is not available then a high-quality paint brush can work,’ explains the expert.
The bottom line is that while you can forgo this step, you need to decide what the desired result is, and the functionality of the piece being painted. If you’re just looking for a change of paint color and style for a piece of furniture that is mostly decorative and doesn’t get much wear and tear, then a good clean and prep of the surface, paired with a quality finish is enough. However, if you want to do it correctly, like the pros, and ensure durability, albeit a bit messy, it’s best to stick to sanding as your first step.
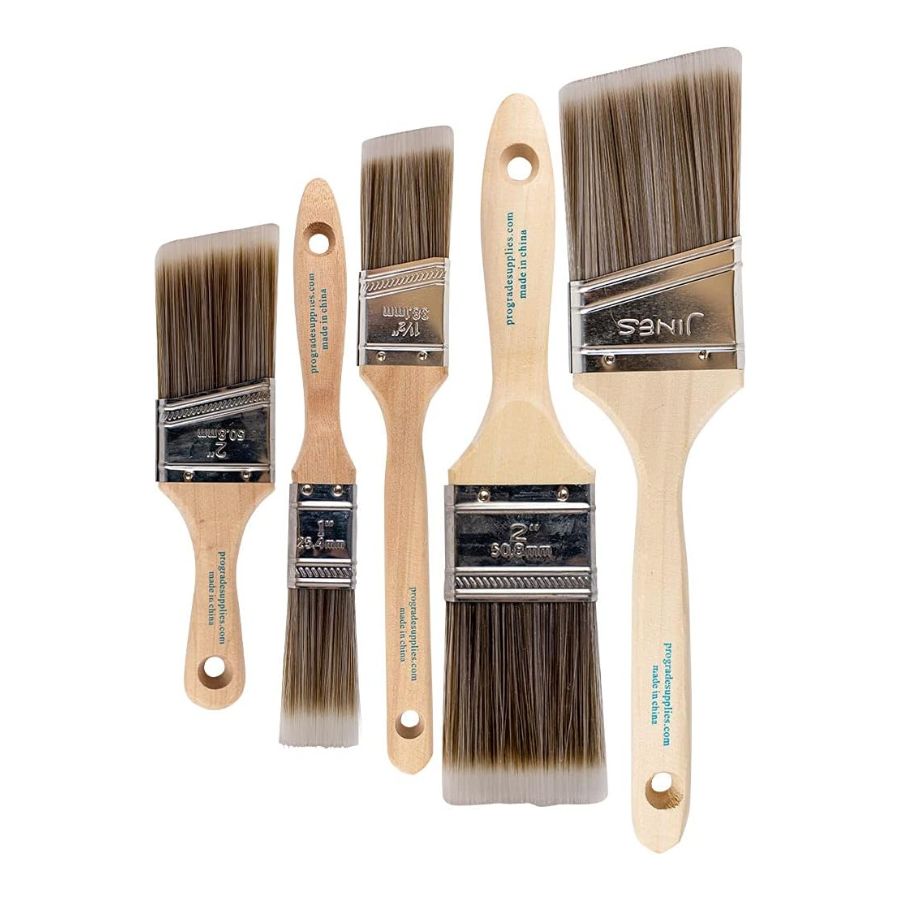
Price: $8.99 (set of five)
Good paint brushes will make a difference to the final look of your painted furniture, so make sure you invest in a good set of various sizes that will allow you to paint different areas with ease.
Be The First To Know
The Livingetc newsletters are your inside source for what’s shaping interiors now - and what’s next. Discover trend forecasts, smart style ideas, and curated shopping inspiration that brings design to life. Subscribe today and stay ahead of the curve.
Raluca formerly worked at Livingetc.com and is now a contributor with a passion for all things interior and living beautifully. Coming from a background writing and styling shoots for fashion magazines such as Marie Claire Raluca’s love for design started at a very young age when her family’s favourite weekend activity was moving the furniture around the house ‘for fun’. Always happiest in creative environments in her spare time she loves designing mindful spaces and doing colour consultations. She finds the best inspiration in art, nature, and the way we live, and thinks that a home should serve our mental and emotional wellbeing as well as our lifestyle.
-
 Jeremiah Brent Captures the Grit and Glamour of NYC in His New Loloi Collaboration
The TV-famous interior designer looked out of his own window — and hit the pavement — for a collection that turns city spirit into tactile design
By Julia Demer
-
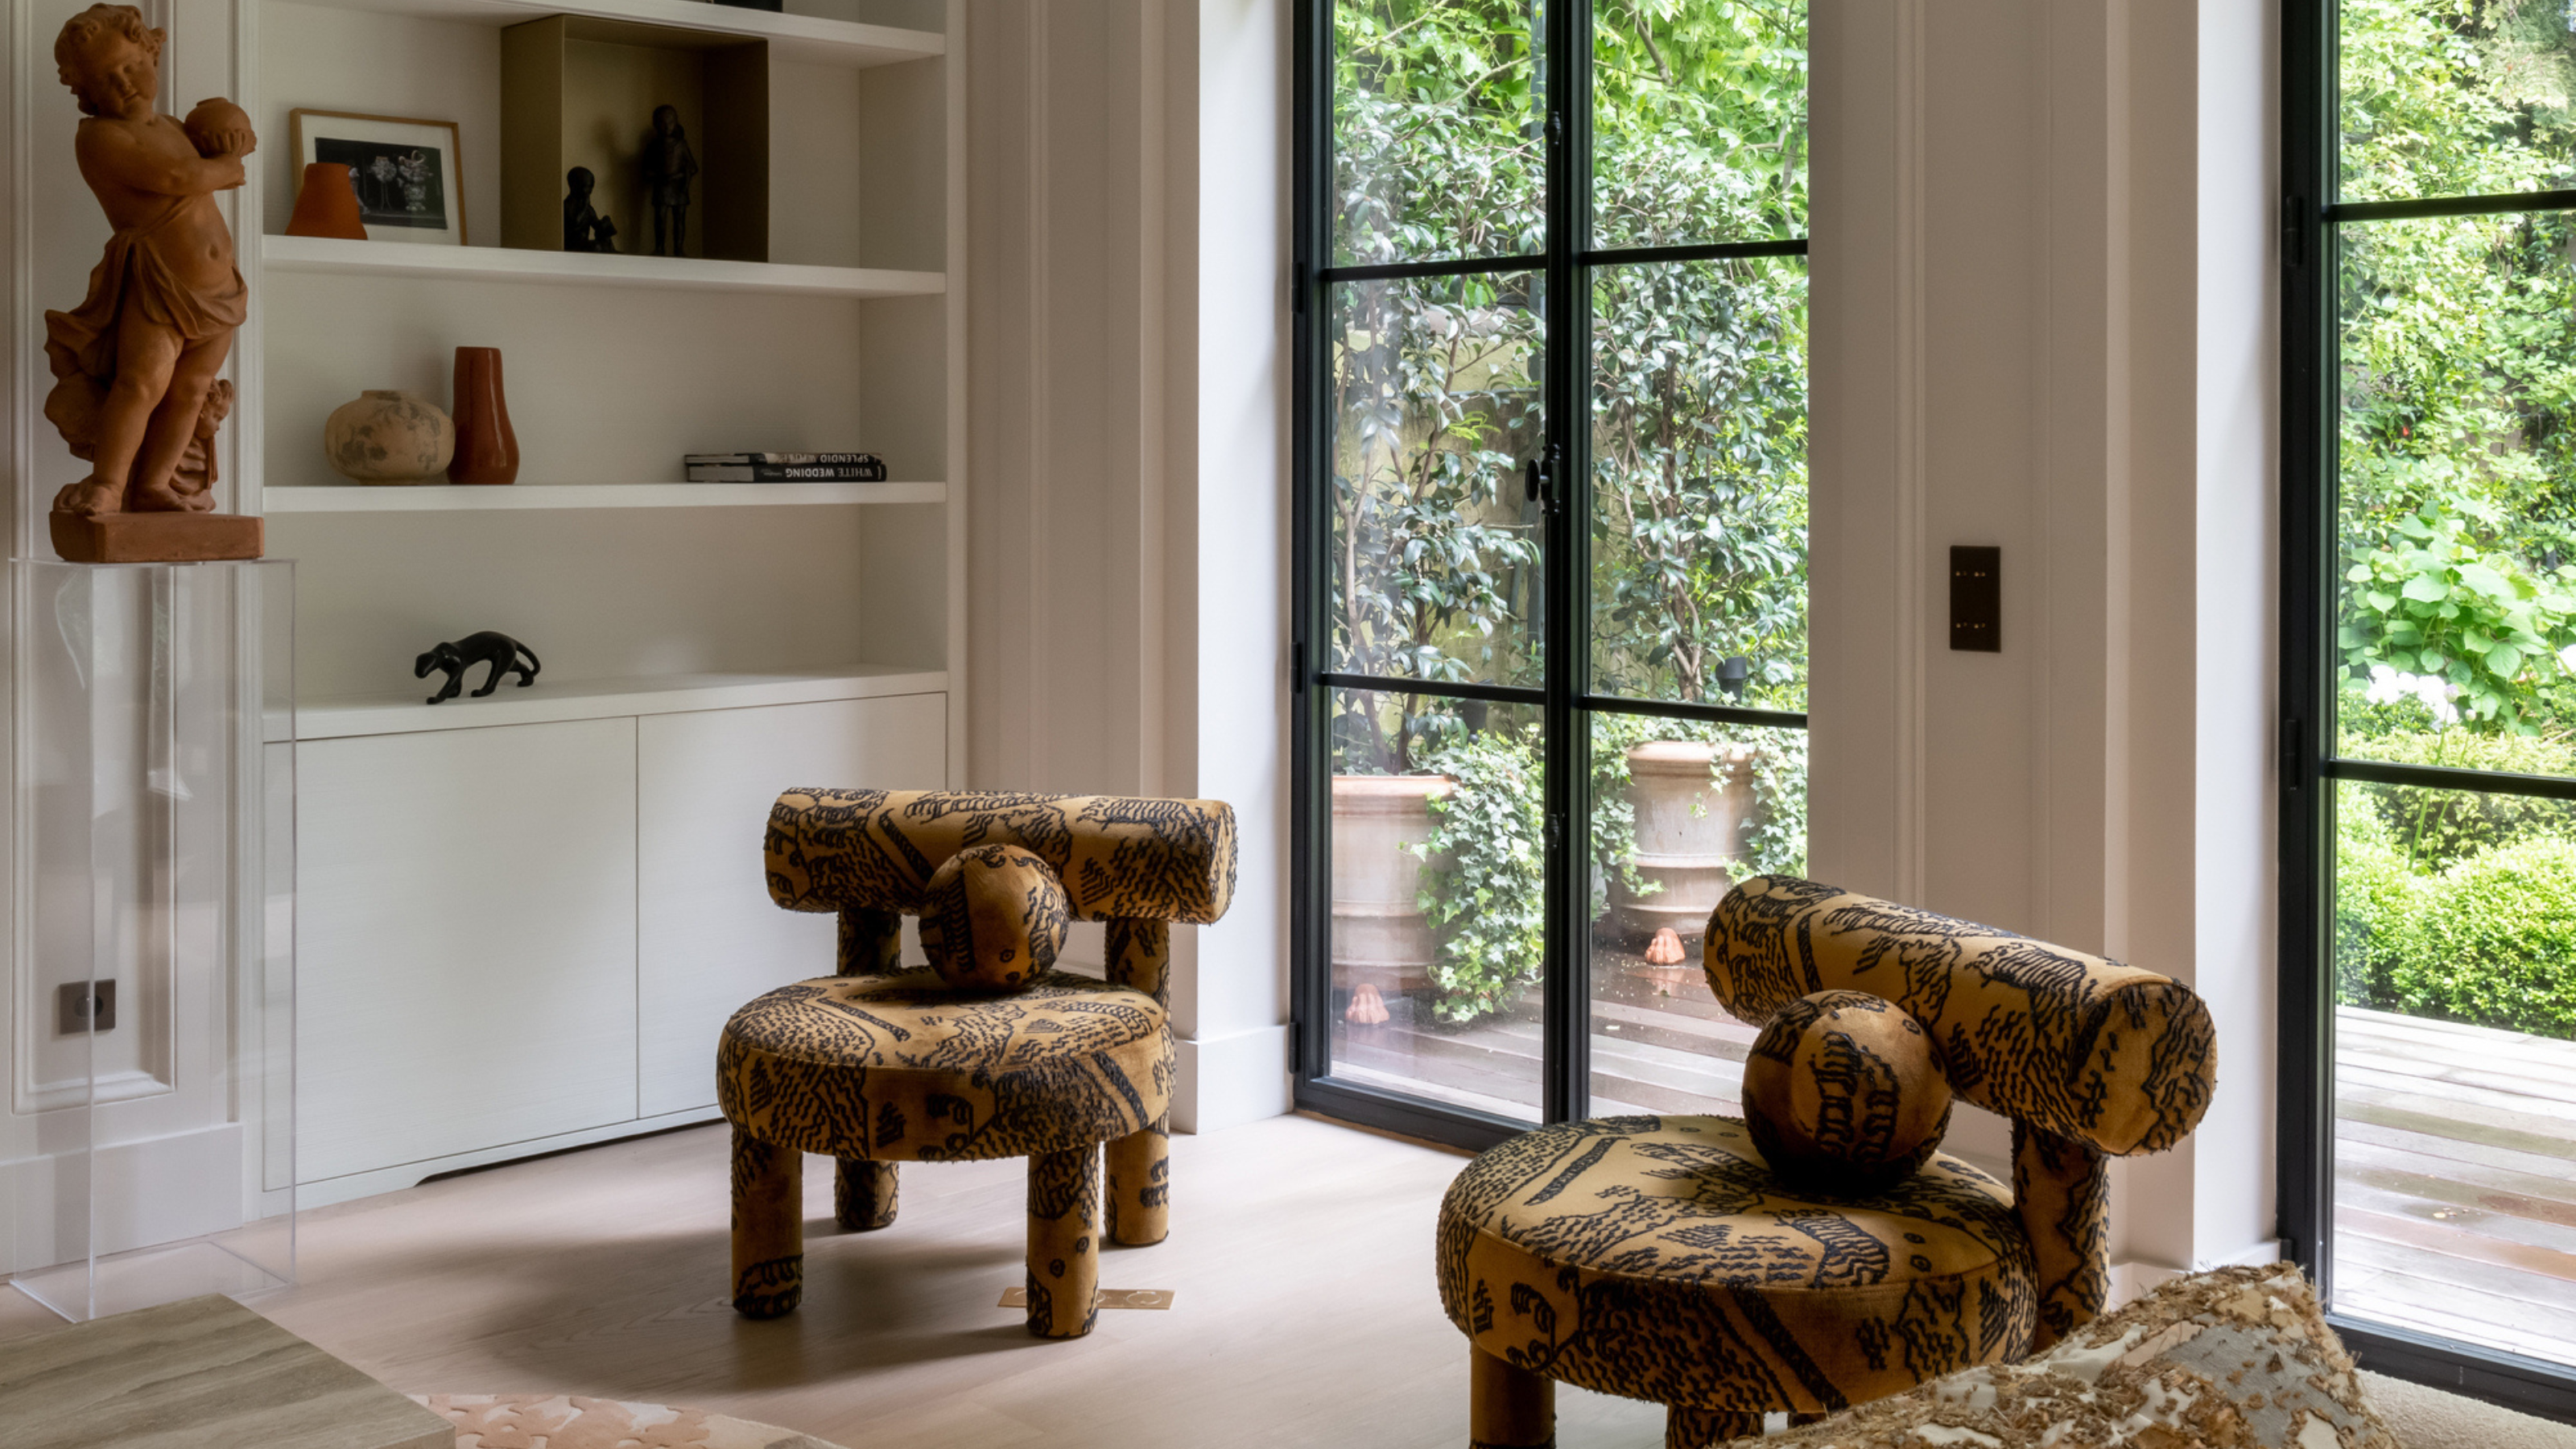 This Specific Fabric Print Is Literally Everywhere Right Now — Here's Why
It's whimsical, artistic, and full of character. We've called it already: Dedar's 'Tiger Mountain' is the fabric that will define 2025
By Devin Toolen
