This DIY project will help your garden plants better survive hot weather – and all you need is two clay pots to make one
Worried about your garden plants surviving a heatwave? This DIY alternative to a centuries-old gardening trick is the answer, and is budget-friendly too
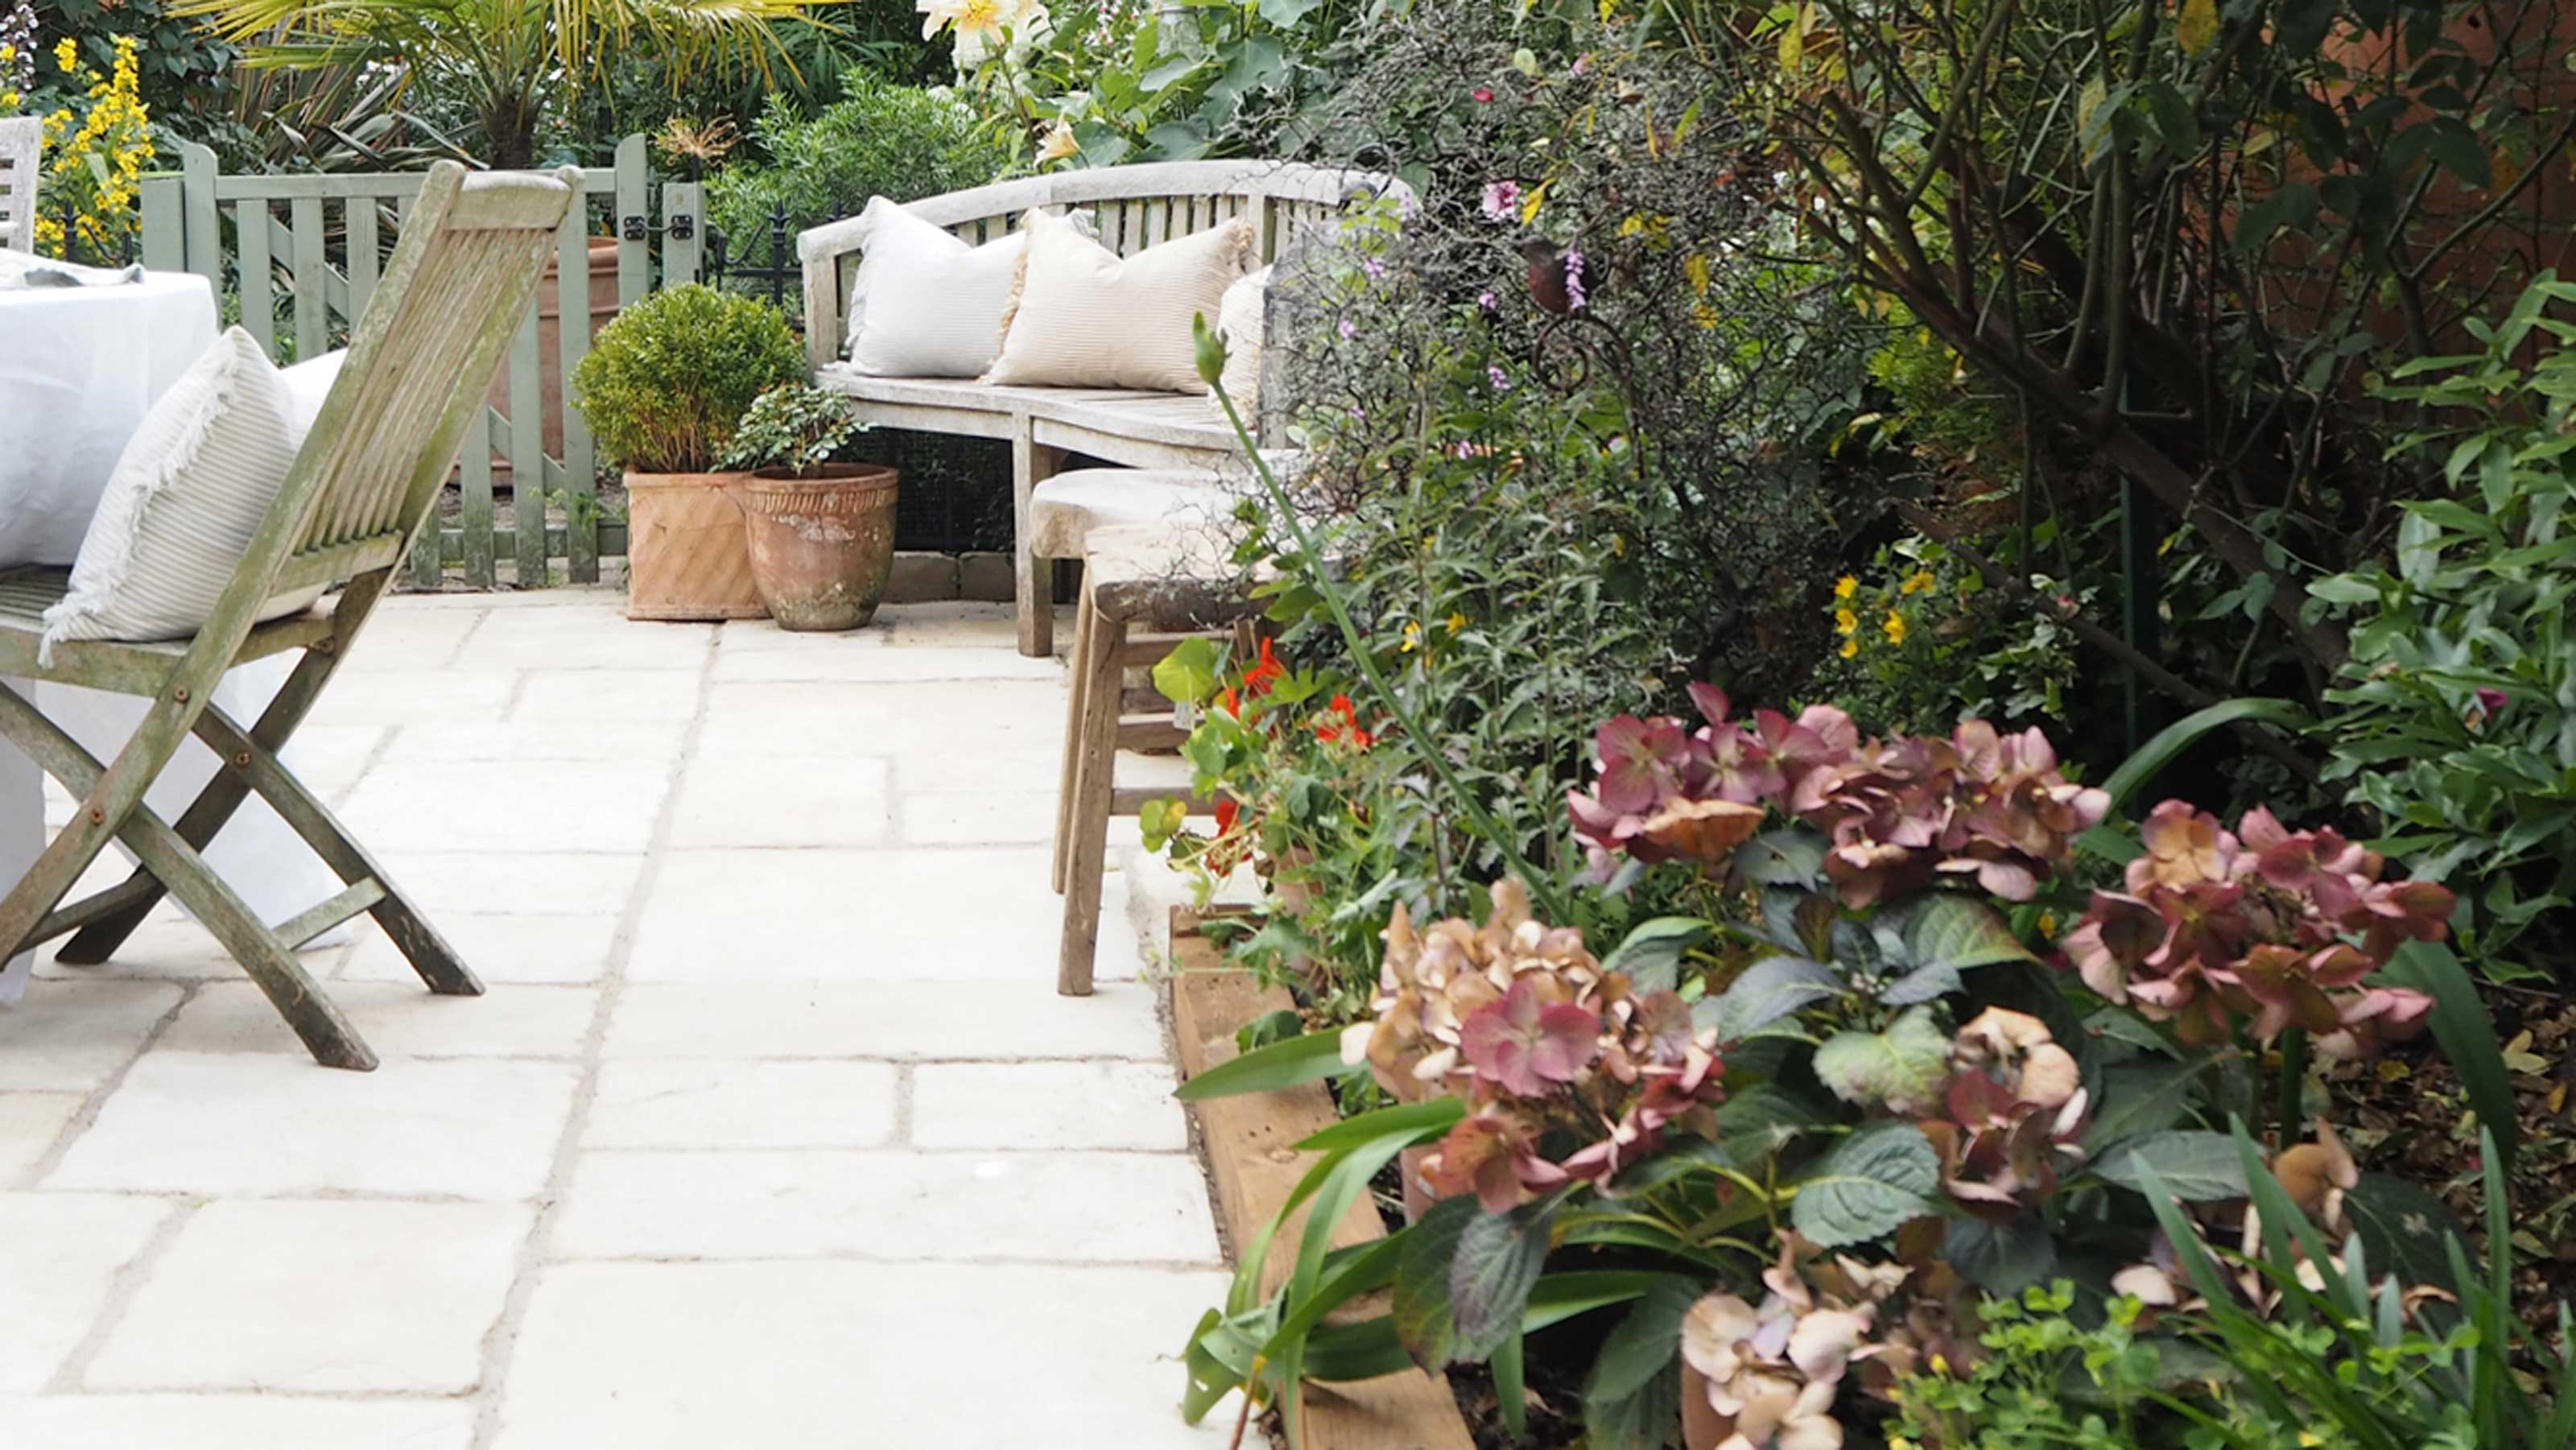

I was recently introduced to the olla – a garden hack that's been used for centuries to help irrigate gardens. What is an olla, you may ask? Well, it's a simple terracotta vessel that's buried in the ground alongside your plants and filled with water.
The water is drawn through the terracotta when the soil surrounding it is dry, helping to keep your plants from ever going thirsty, while also not overwatering. Because it's underground, it won't evaporate in intense heat and sunlight, too. Sounds great, right? Well there's one major drawback.
'Probably the most relevant drawback of ollas is availability and price,' says Master Gardener Karen Gibson, founder of Sprouted Garden. 'Commercially speaking, olla irrigation fell out of practice long ago and was never embraced by container manufacturers at scale.'
'So, we have to rely on artisans selling on places like Etsy or through small gardening e-commerce shops,' Karen adds. 'They are out there to be had, for certain, but can be individually expensive, making it cost-prohibitive to outfit an entire yard's worth of plants.'
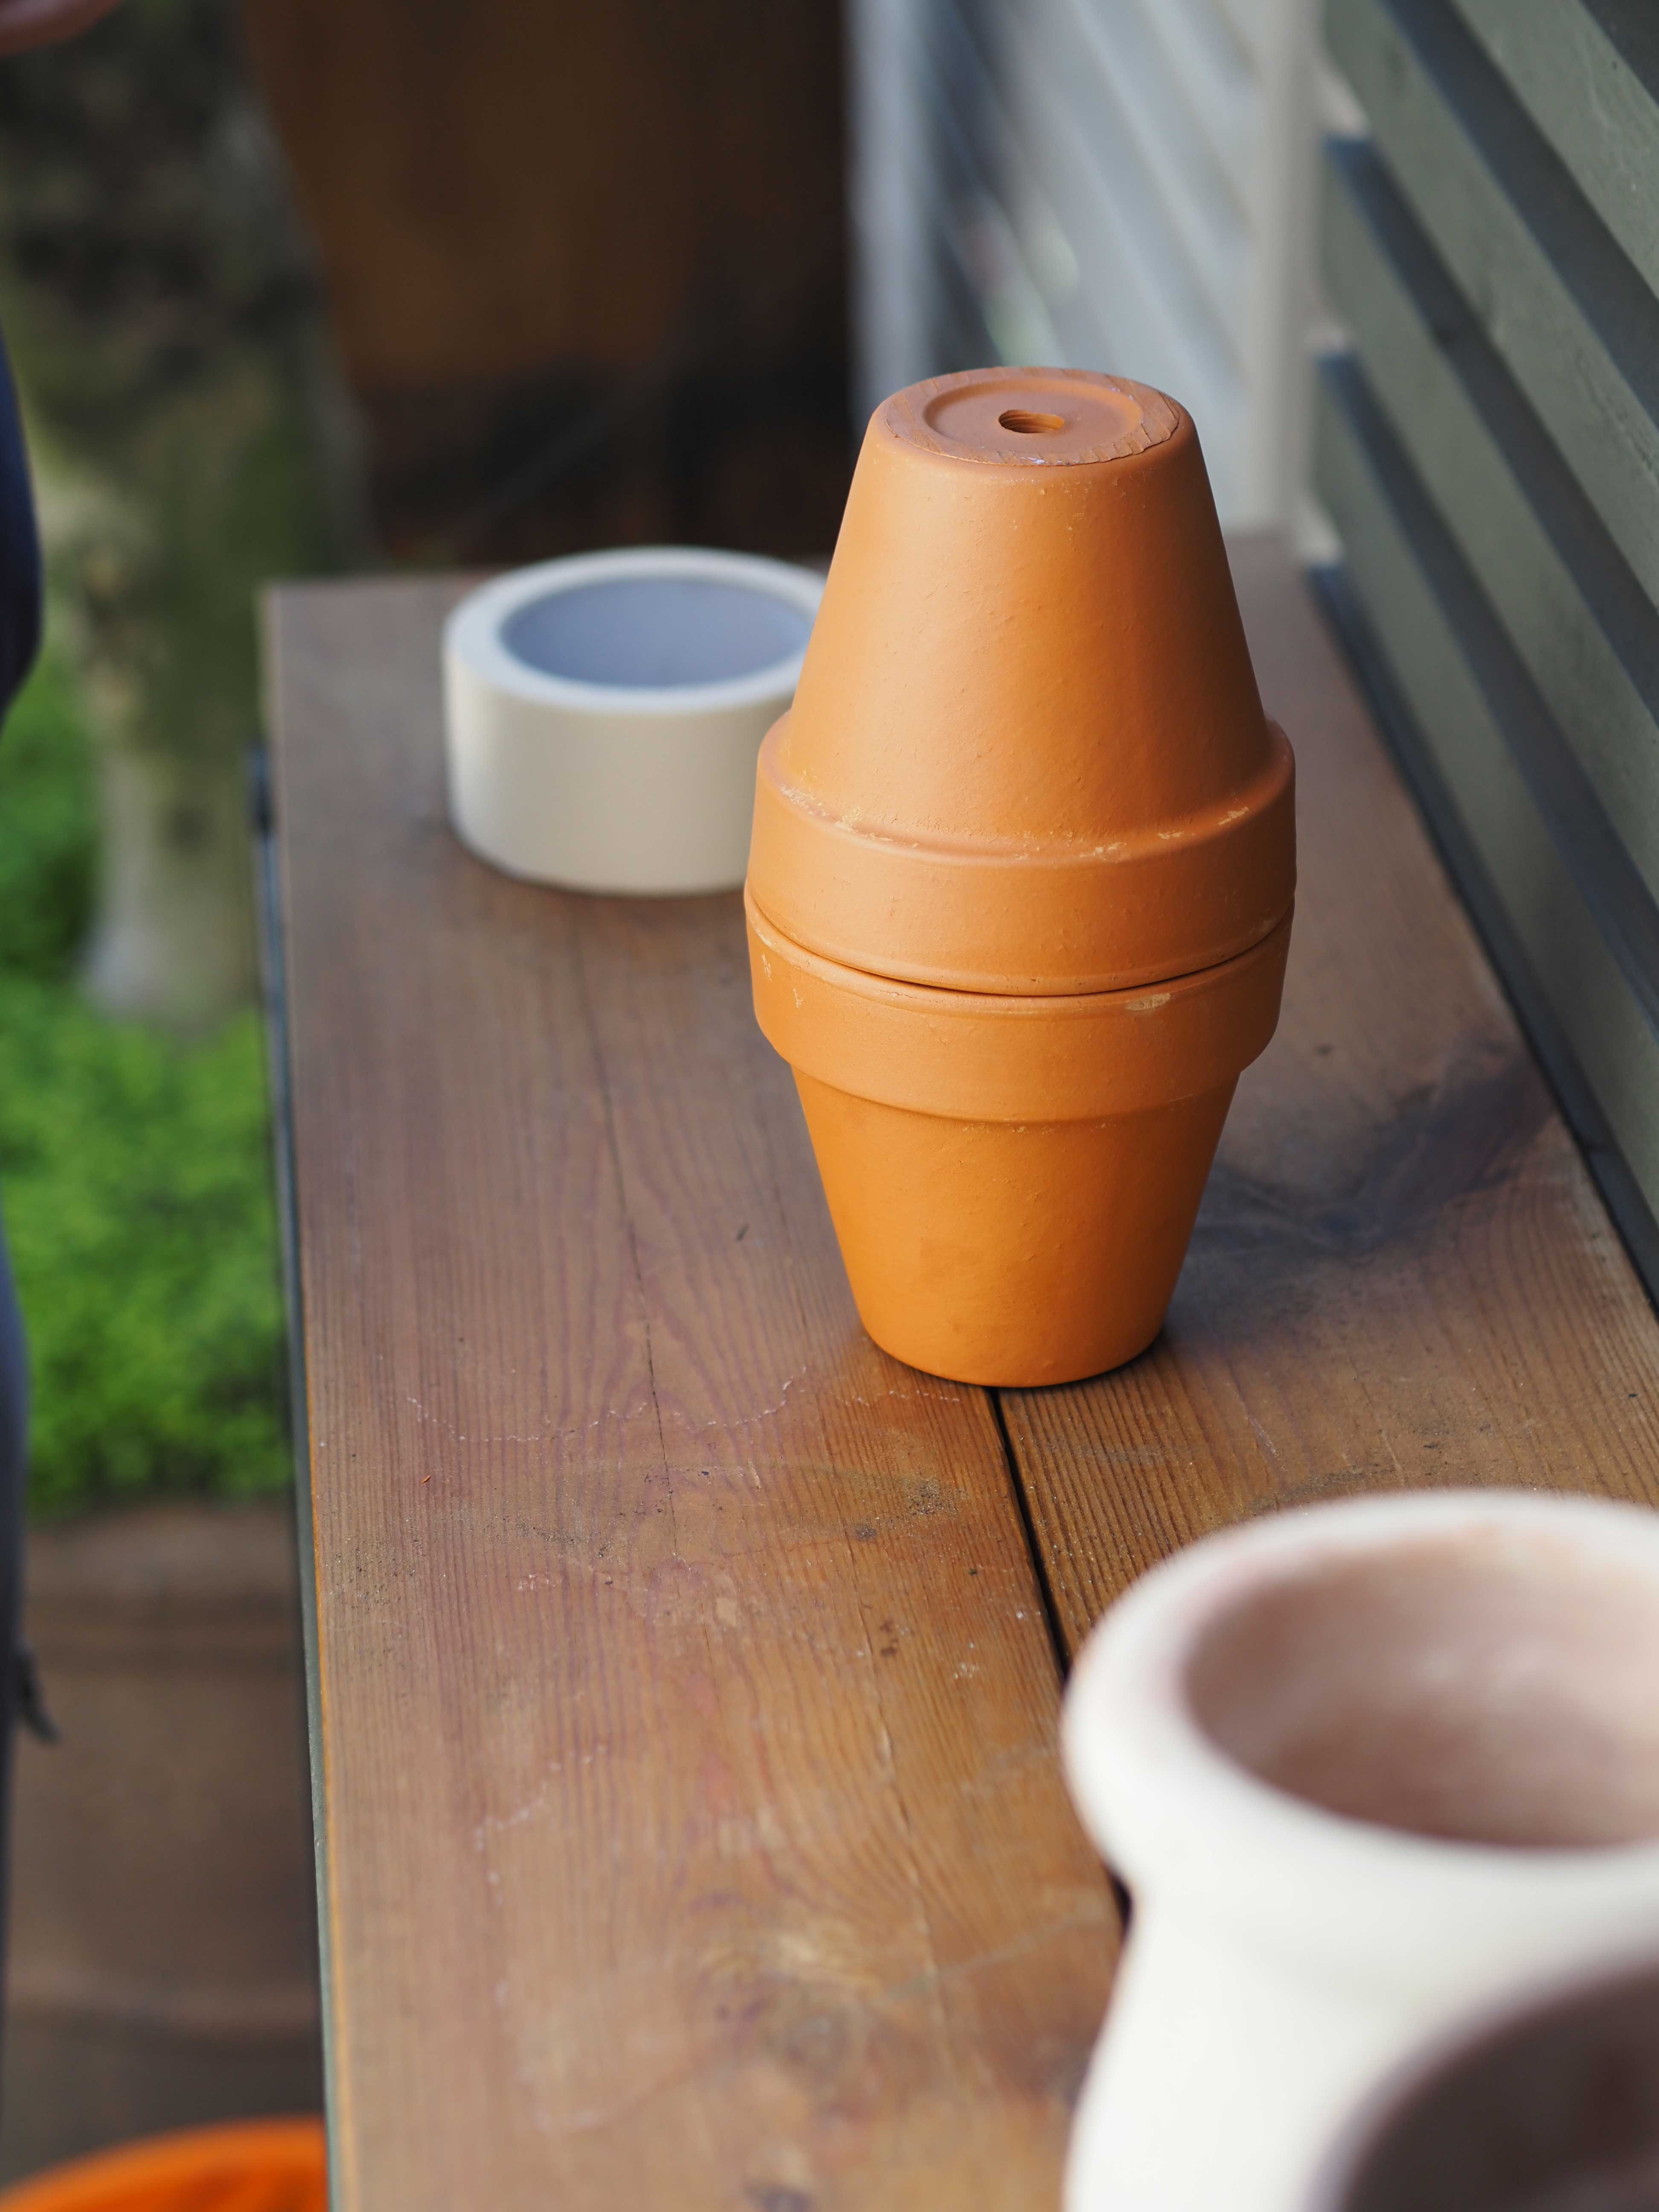
However, there's another alternative - a DIY olla. It's a cost effective way to embrace this idea to keep your flower beds and containers happy during the hottest period of the year. An easy answer for when it comes to how to keep your garden hydrated. I tried my hand at making one for my own backyard.
What do I need to make my own olla?
Your DIY olla is made from something you may already have going spare in your backyard - two clay pots. I made a small olla, so picked up two containers that cost less than $2 each. You can also find larger lots on Amazon for under $20, but as long as they're the same size, you can use ones you already have - they don't need to be pretty for this project. Just make sure they haven't been treated with clay pot sealer, as this will mean your olla won't work when buried.
You'll also need a waterproof adhesive, some waterproof sealant, and a small piece of painters' tape.
How do I make a DIY olla?
Make sure to clear any debris out of your clay pots before you start.
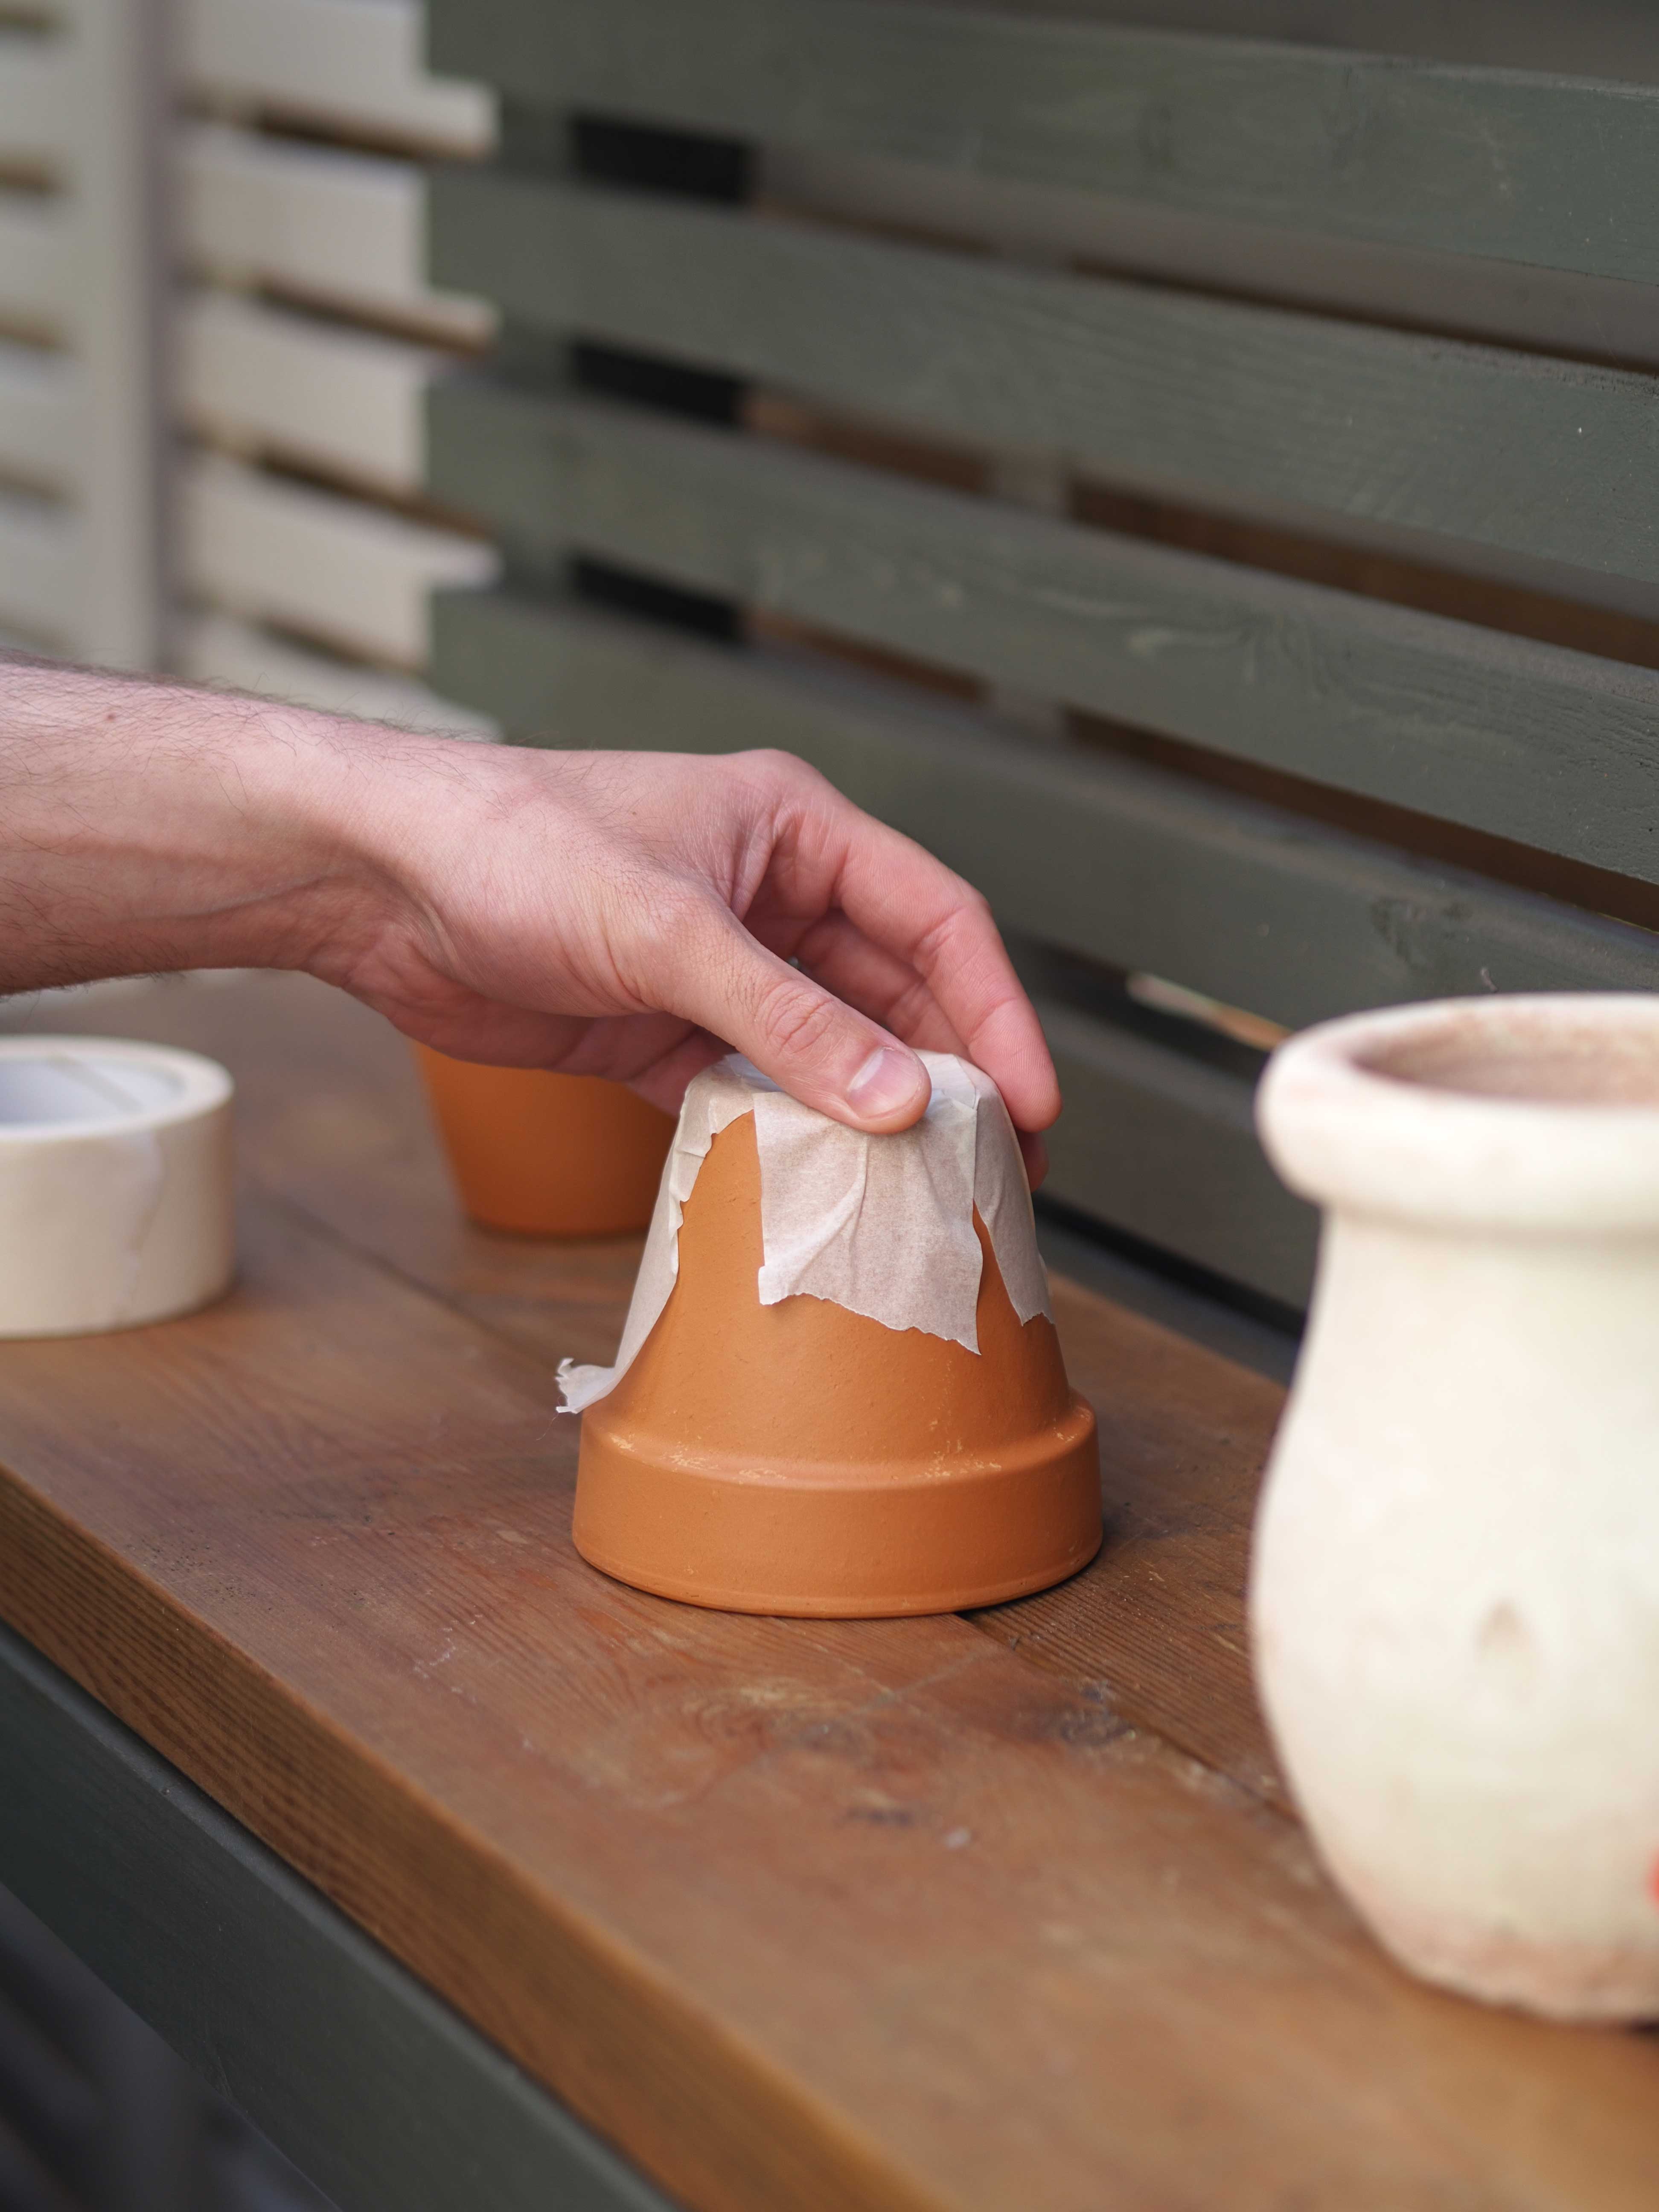
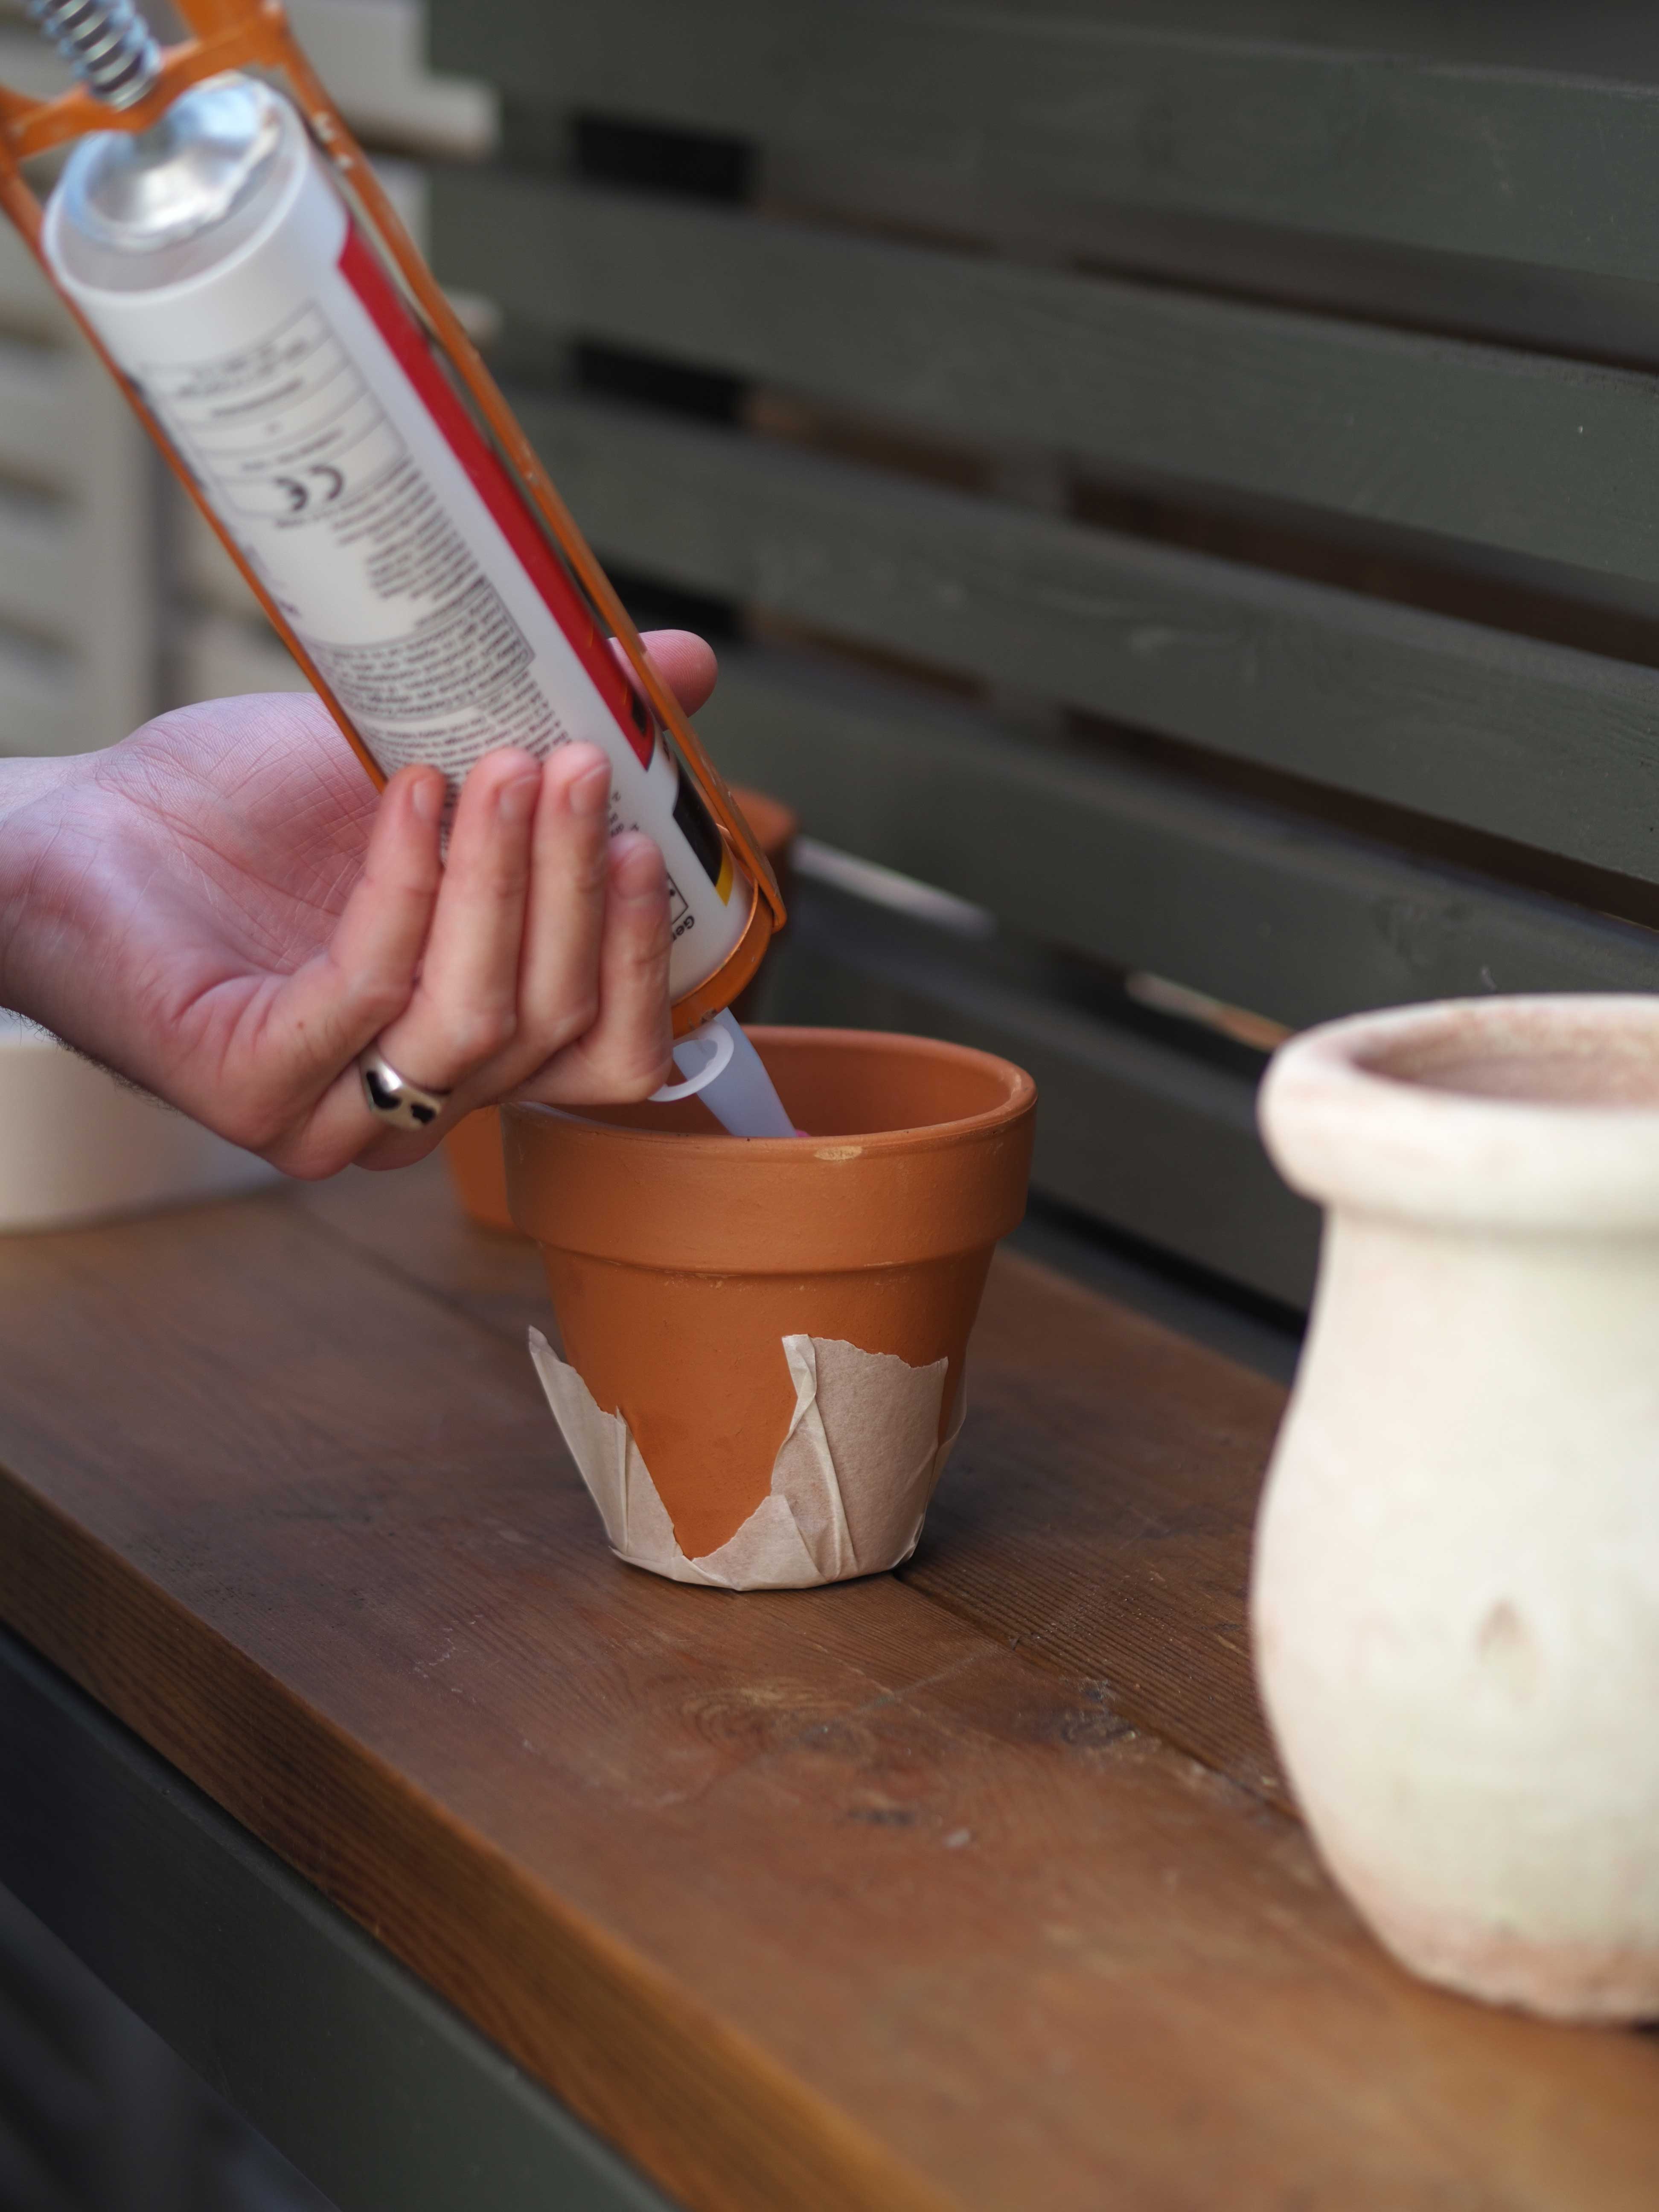
1. Place the painters' tape over the drainage hole on the exterior of one of the clay pots only. With your waterproof sealant and applicator, fill this hole with sealant and leave to dry for 24 hours, or as directed. The painters' tape should keep the sealant in the hole.
2. Once the sealed pot is dry, apply the waterproof glue around the top rim of one of the containers. Stick the second pot to it and leave to dry. That's all it takes to make your DIY olla, now it's ready to be buried in your garden.
3. With the seal drainage hole facing down, bury the olla next to the plant you're looking to help water. The top of the pots should stick out an inch or two above the soil. To fill the olla, use a watering can and fill up through the exposed drainage hole. You can put a wooden skewer or chopstick in to check how filled your olla is.
How do ollas work?
Ollas work through a process called soil moisture tension. This means that when the soil around an olla is drier, it pulls moisture through the terracotta into the ground. This also affects when and how often you need to fill them up. 'During a rainy stretch, for example, you might not need to refill ollas at all until the ground dries out, because ollas release water only when the surrounding soil is dry,' Karen from Sprouted Garden says, 'but when the heat of summer aligns with the peak of a plant's production, you might need to refill it every couple of days.'
How do I stop debris getting into my olla?
If dirt and soil drops into your olla, it can be difficult to clear it out. If you pick up clay pots that come with a saucer, you can place this saucer over the exposed end of the olla to avoid excess soil from entering the olla.
How do I clean an olla?
Sometimes, your DIY olla might need to be cleaned. 'Minerals can build up on the olla pots, which can clog the pores and requires cleaning,' Master Gardener Karen tells us. 'Mix a 1:1 solution of water and white vinegar, fill the ollas and let rest for several hours to allow the vinegar to seep through. Then scrub and rinse thoroughly.'
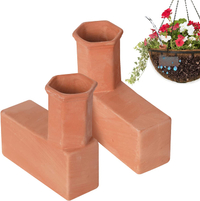
If you want to buy an olla instead of DIYing, this one's my favorite for containers and pots. It's the perfect size and shape to keep a container evenly watered, and easy to fill.
Be The First To Know
The Livingetc newsletters are your inside source for what’s shaping interiors now - and what’s next. Discover trend forecasts, smart style ideas, and curated shopping inspiration that brings design to life. Subscribe today and stay ahead of the curve.

Hugh is Livingetc.com’s editor. With 8 years in the interiors industry under his belt, he has the nose for what people want to know about re-decorating their homes. He prides himself as an expert trend forecaster, visiting design fairs, showrooms and keeping an eye out for emerging designers to hone his eye. He joined Livingetc back in 2022 as a content editor, as a long-time reader of the print magazine, before becoming its online editor. Hugh has previously spent time as an editor for a kitchen and bathroom magazine, and has written for “hands-on” home brands such as Homebuilding & Renovating and Grand Designs magazine, so his knowledge of what it takes to create a home goes beyond the surface, too. Though not a trained interior designer, Hugh has cut his design teeth by managing several major interior design projects to date, each for private clients. He's also a keen DIYer — he's done everything from laying his own patio and building an integrated cooker hood from scratch, to undertaking plenty of creative IKEA hacks to help achieve the luxurious look he loves in design, when his budget doesn't always stretch that far.
-
 My 10 Favorite Designs at Milan Design Week 2025 — Out of the Hundreds of Pieces I Saw
There is a new elegance, color, and shape being shown in Milan this week, and these are the pieces that caught my eye
By Pip Rich
-
 Iridescence Is Chrome’s More Playful, Hard-to-Define Cousin — And You're About to See It Everywhere
This kinetic finish signals a broader shift toward surfaces that move, shimmer, and surprise. Here's where to find it now
By Julia Demer
