How do you build a pergola? Experts explains their methods so you can enjoy the best parts of open-air living
For a secluded and shady chill-out spot in your backyard, consider building a pergola to embrace the outdoors as summer nears
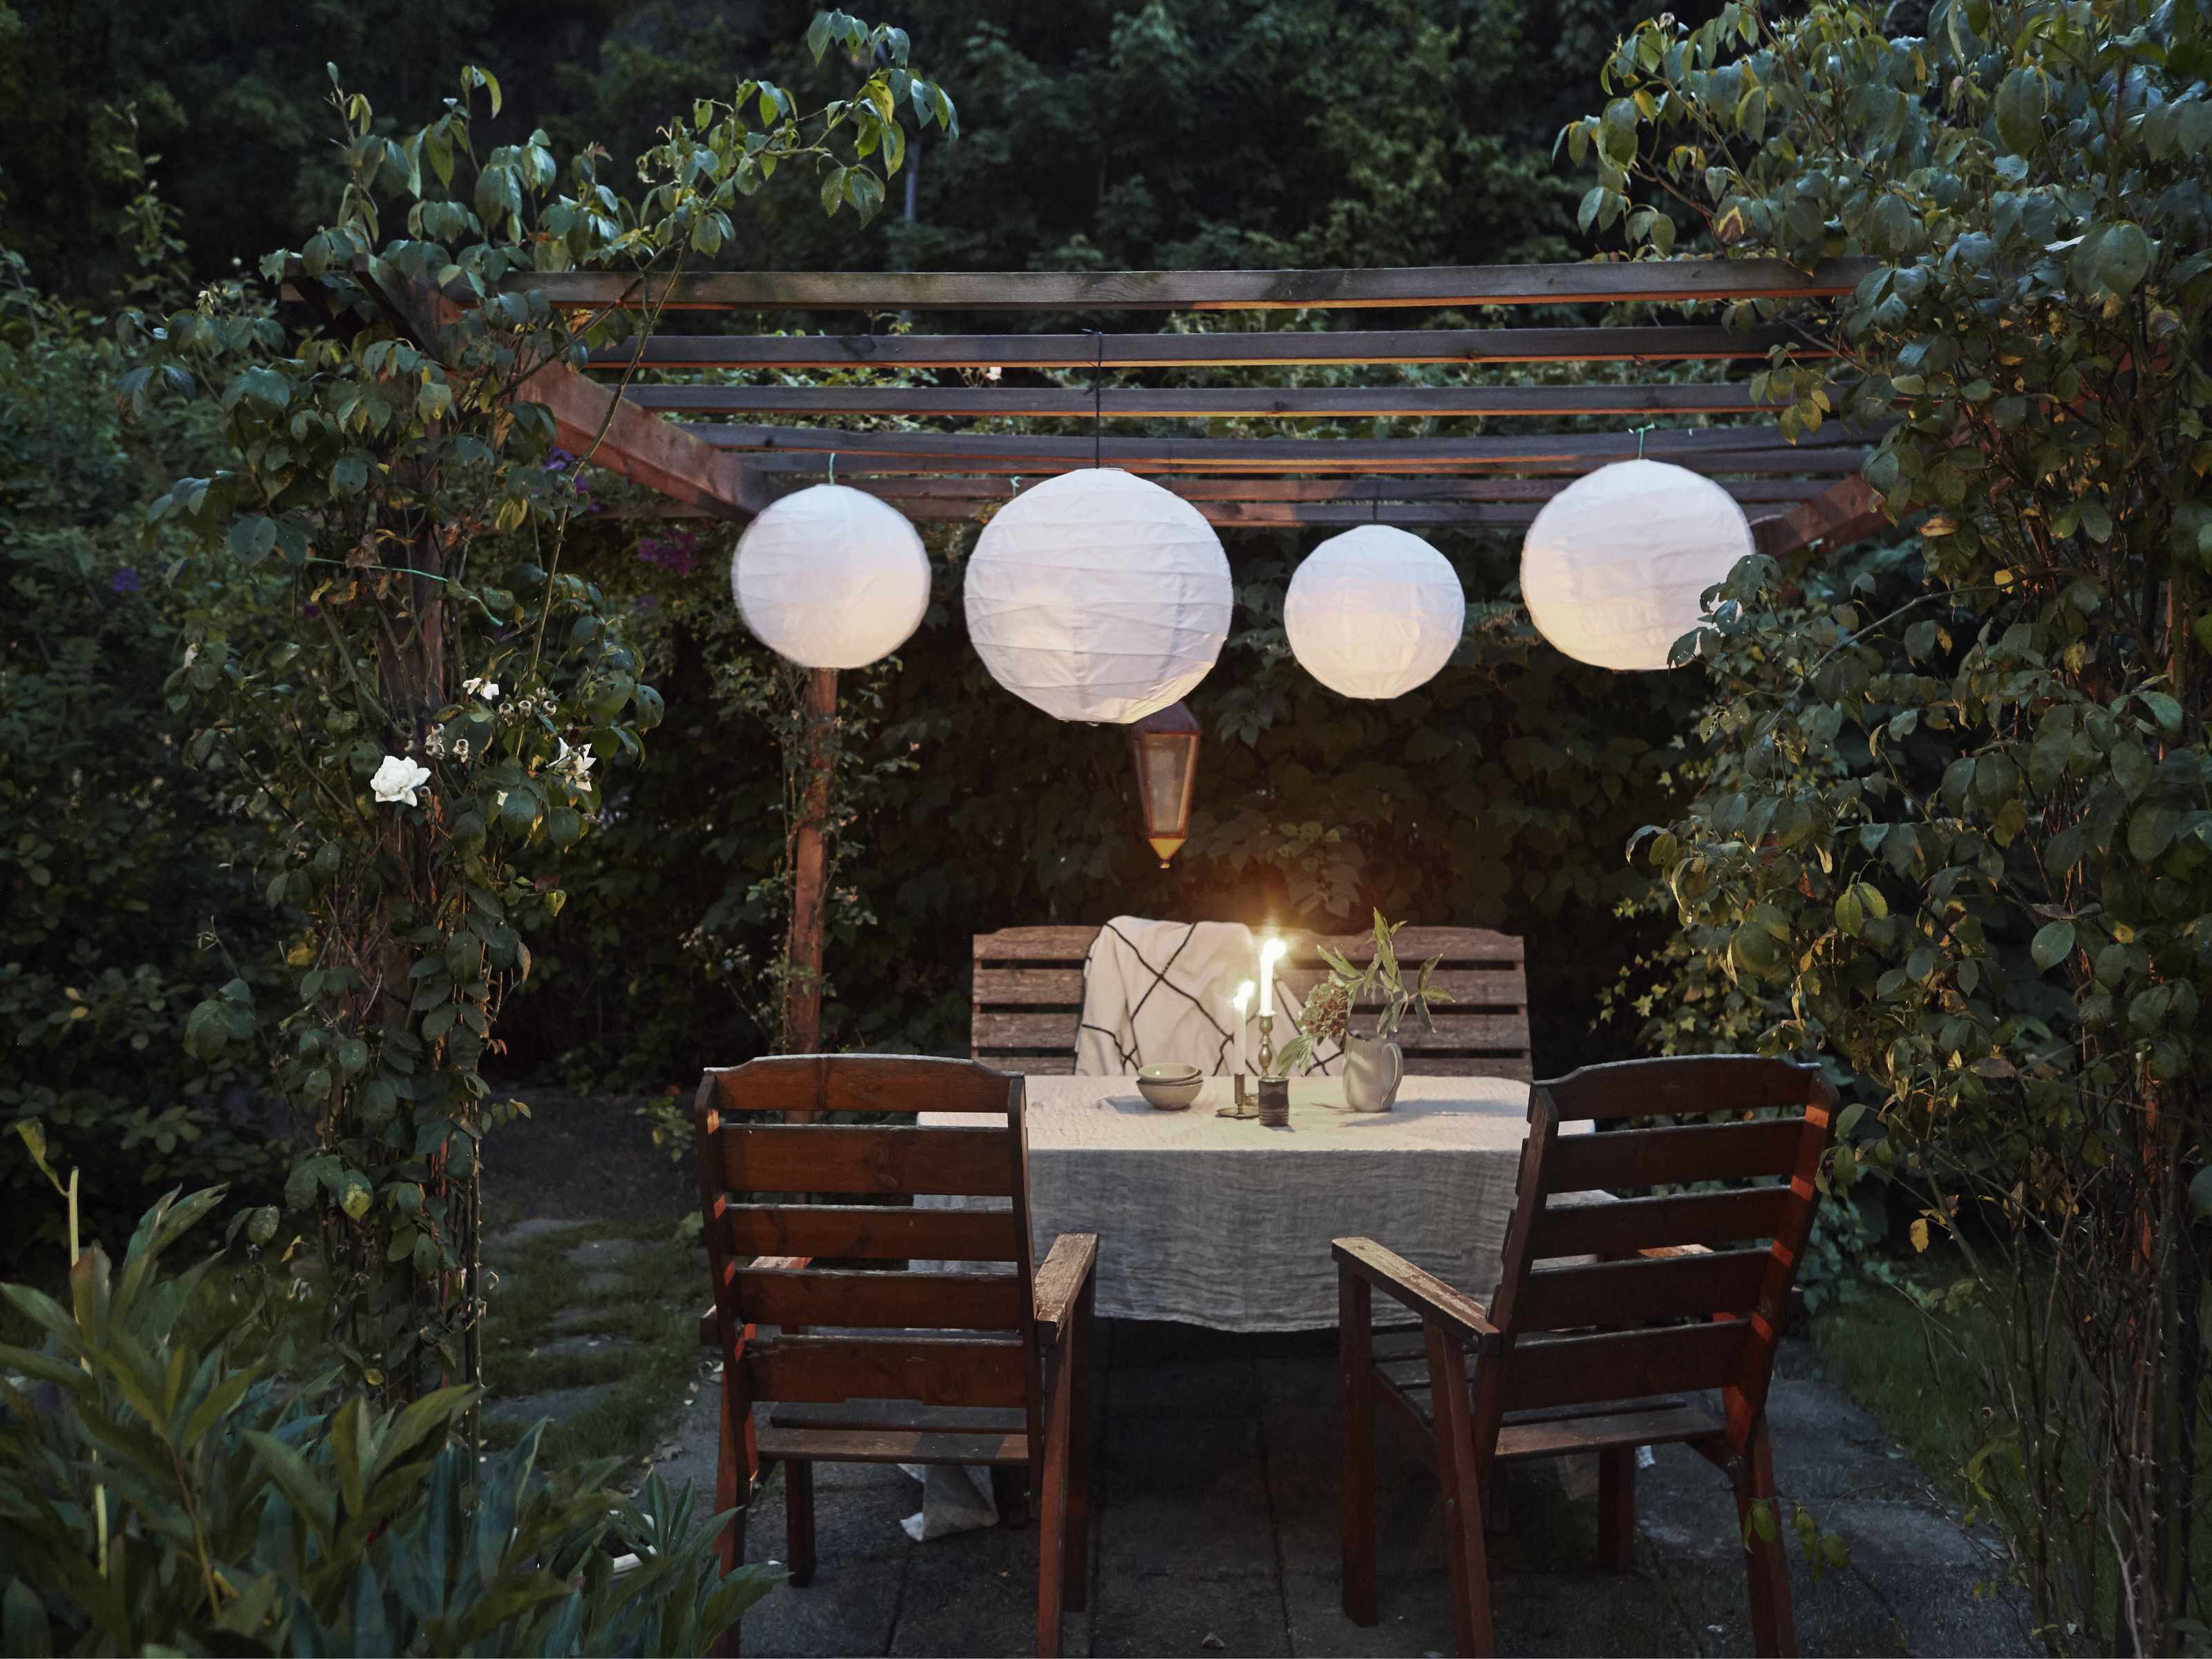

A pergola is possibly the best way to add character and charm to your outdoor space. Perfect for relaxing on a summer's day or for hosting guests on a warm balmy evening, these versatile design features are a beautiful addition to any backyard. The best part? You can even build one yourself.
As we inch closer to summer, we're all looking for ways to embrace outdoor living once more. If you want to introduce a secluded and shady chill-out spot to shelter from the sun's rays or simply an architectural structure for your climbing plants to enjoy, then consider building a pergola. And, as the days are finally getting noticeably longer, now is the ideal time to do so.
To offer some inspiration for your pergola ideas and break down the steps involved in making one, we spoke with some landscapers and DIY experts to learn more.

Lilith is an expert at following news and trends across the world of interior design. She's committed to helping readers make the best choices in their homes (and backyards) through sharing practical tips and guides. In this article, she speaks with landscapers to learn how to build a pergola for a beautiful DIY addition to your outdoor space
Why install a pergola in your backyard?

Building your own pergola will undoubtedly be cheaper than hiring a contractor to do it for you, but before you commit to undertaking such an elaborate DIY project you'll probably want to know why it's worth installing one. Well, the answer is threefold.
Firstly, pergolas play an important practical role in your backyard by offering a shaded area to escape the sun's heat. 'They offer the perfect amount of shelter for someone who wants to enjoy the outdoors without the worry of getting sunburned,' explains Kamil Kowalski, president and landscaping expert at LimakWay Remodeling.
These garden structures are also traditionally used to support climbing plants, such as wisteria or clematis to offer a canopy of foliage and blooms. 'Some homeowners like to hang plants from the posts to add some greenery and vibrancy, such as ivy, grape vines, or honeysuckle plants,' adds Kamil.
Finally, there are the aesthetic benefits that come as a result. As Barry Gray founder of The Tools Square, explains: 'They can add a sense of beauty and charm to any garden, creating a focal point for outdoor gatherings and events. Plus, they can be customized to fit any garden style or aesthetic, allowing you to create a unique and personalized outdoor space.'
What materials should you use?
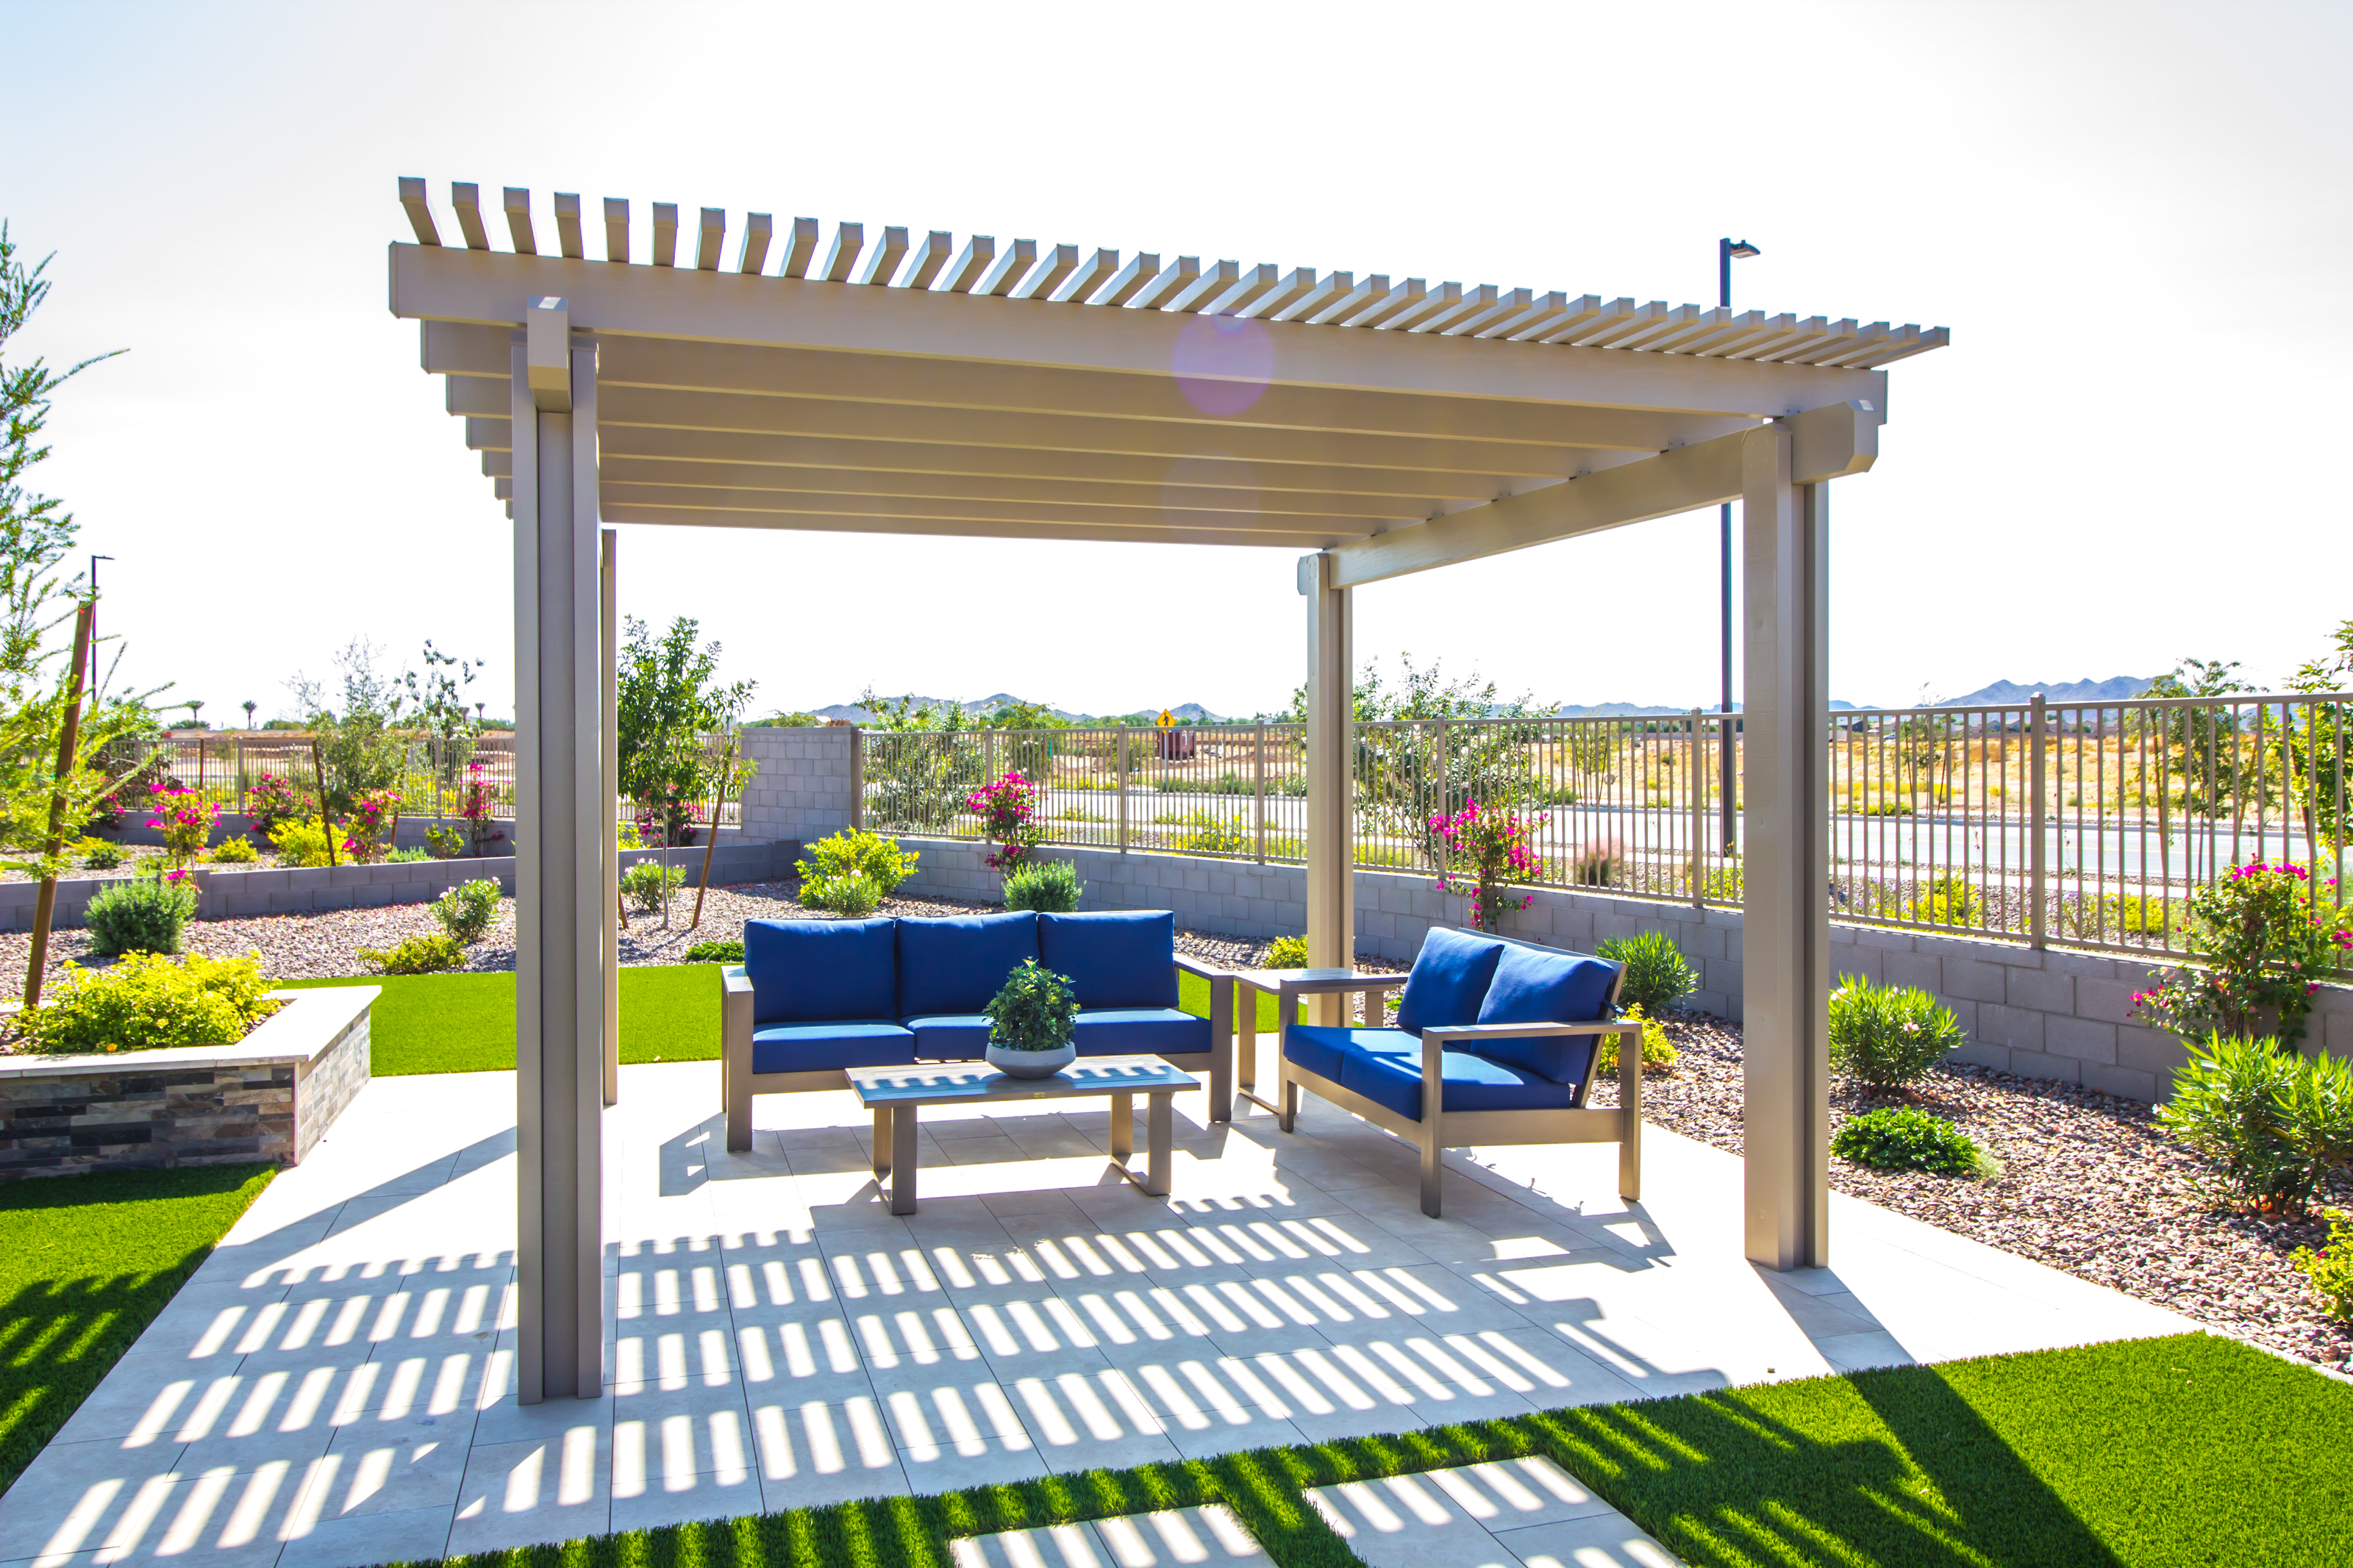
Your basic power tools - drill, saw, spirit level - are a given, but what material should you use as the foundation of your pergola? From natural wooden structures to industrial-style brass ones, there are plenty of different options for building a pergola, but if you're opting for a DIY job, wood will always be best.
'Wooden pergolas have a tougher exterior compared to other materials,' says Kamil. 'They can handle stronger winds or be hit with random objects, like a rock being shot out of a lawn mower. However, they need to be periodically maintained to optimize their life expectancy.'
Aluminum and vinyl are also popular options because they are strong, lightweight, and durable. 'You can also go for a more custom look by using materials such as stone, brick, or wrought iron,' says Jason Farr, interior designer and founder of Aviara Pavers. 'Whatever material you choose, make sure it is rated for outdoor use and can stand up to the elements.'
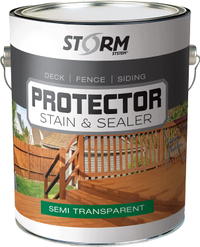
Outdoor wood stain and sealer, Amazon
Keep your wood in check with Storm Protector for a longer lasting pergola. This penetrating, semi-transparent stain and sealer highlights the natural beauty of the wood grain while providing protection from the elements.
How to build a pergola
Intrigued? We'd be disappointed if you weren't. What you'll be pleased to hear is that these simple architectural structures are relatively easy to build yourself, even for the less DIY savvy among us. Here, we take a closer look at the steps involved.
1. Determine the size and location of your pergola
Before you begin constructing any DIY project, planning is essential. Take time to consider how big or small you want your pergola to be based on what you'll be using it for and where you want to install it.
If you only want a pretty structure to add some climbing plants to your paved patio, a small pergola might do the trick. If, however, you want it to offer enough shade for all your modern outdoor furniture, you might need to go large.
Be sure to measure your space before you buy your materials. 'Keep in mind how you plan to use it when deciding on the dimensions,' says Lindsey Hyland, founder of Urban Organic Yield. 'Mark out the area with stakes and string before beginning construction.'
2. Select your materials
'Next, select the materials that you will use to build the pergola based on your budget and preferences,' says Barry. As mentioned, there are many different materials you can build a pergola with, but the easiest for a DIY job will be wood.
According to Lindsey, pressure-treated lumber is your best option, just ensure you have enough to build the frame, posts, and beams. 'If your pergola designs include painting, it's best to paint the wood with primer before constructing,' says Kamil.
For an urban garden with a more contemporary feel, you might want to opt for a metal or vinyl frame instead (although we'd recommend hiring a professional for this).
3. Install the footings for the posts
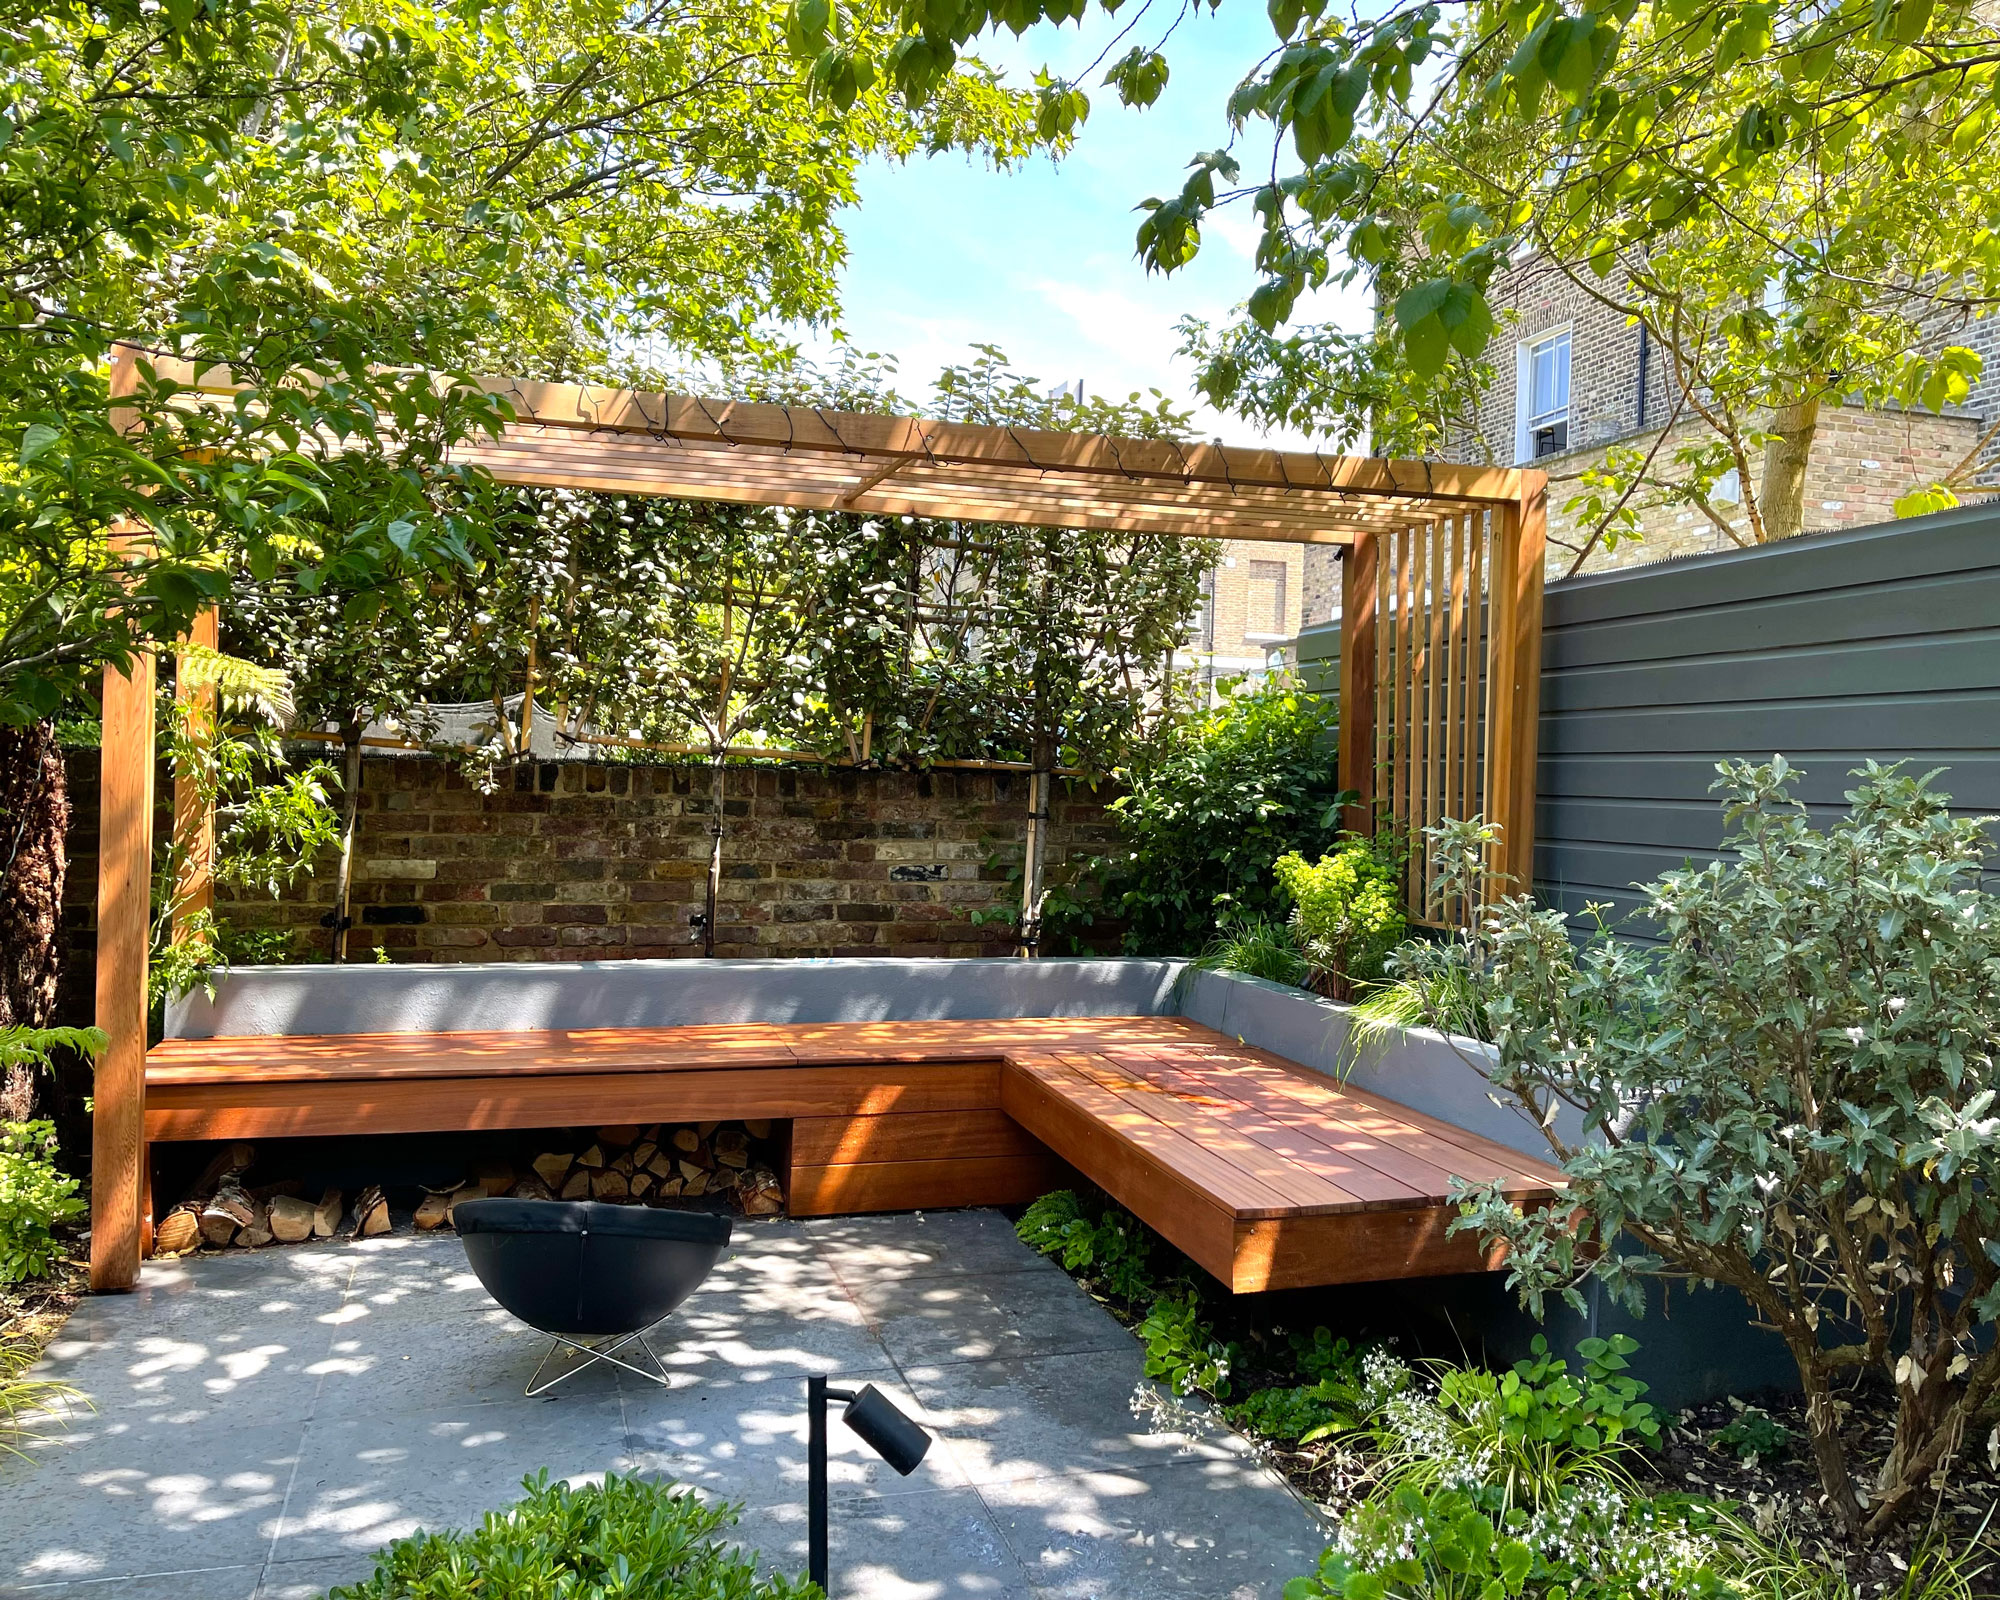
To prepare the foundations for your pergola, you'll need to dig footings for your posts that support the structure. 'The depth of these holes will depend on the size and weight of your pergola,' says Barry. The larger your pergola is, the deeper your footings should be.
The climate conditions in your region might also influence the depth of your holes. 'In colder climates, posts will be deeper than frost level, then sealed with cement to hold the posts in place,' says Kamil.
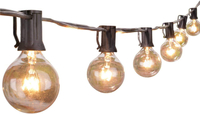
For a cozy feel, decorate your pergola with string lights in the summer. This set from Amazon features 25 hanging sockets with a total length of 25 feet, perfect for covering your entire canopy.
4. Build the frame
Now for the fun part - the construction of the frame itself. 'For a small pergola, begin by cutting four pieces of 2x6 pressure-treated lumber for each corner post, ensuring all posts are precisely level with each other,' says Lindsey.
Next, place the posts in the holes you dug, 'filling them with concrete to secure the posts in place,' Barry notes. This will act as the foundation for your landscaping idea.
'Once all four posts have been placed, attach two angled beams between them on either side using galvanized lag bolts and joist hangers as needed to secure them in place,' Lindsey adds. If necessary, she suggests installing additional support beams at this time as well for extra stability.
5. Add the rafters
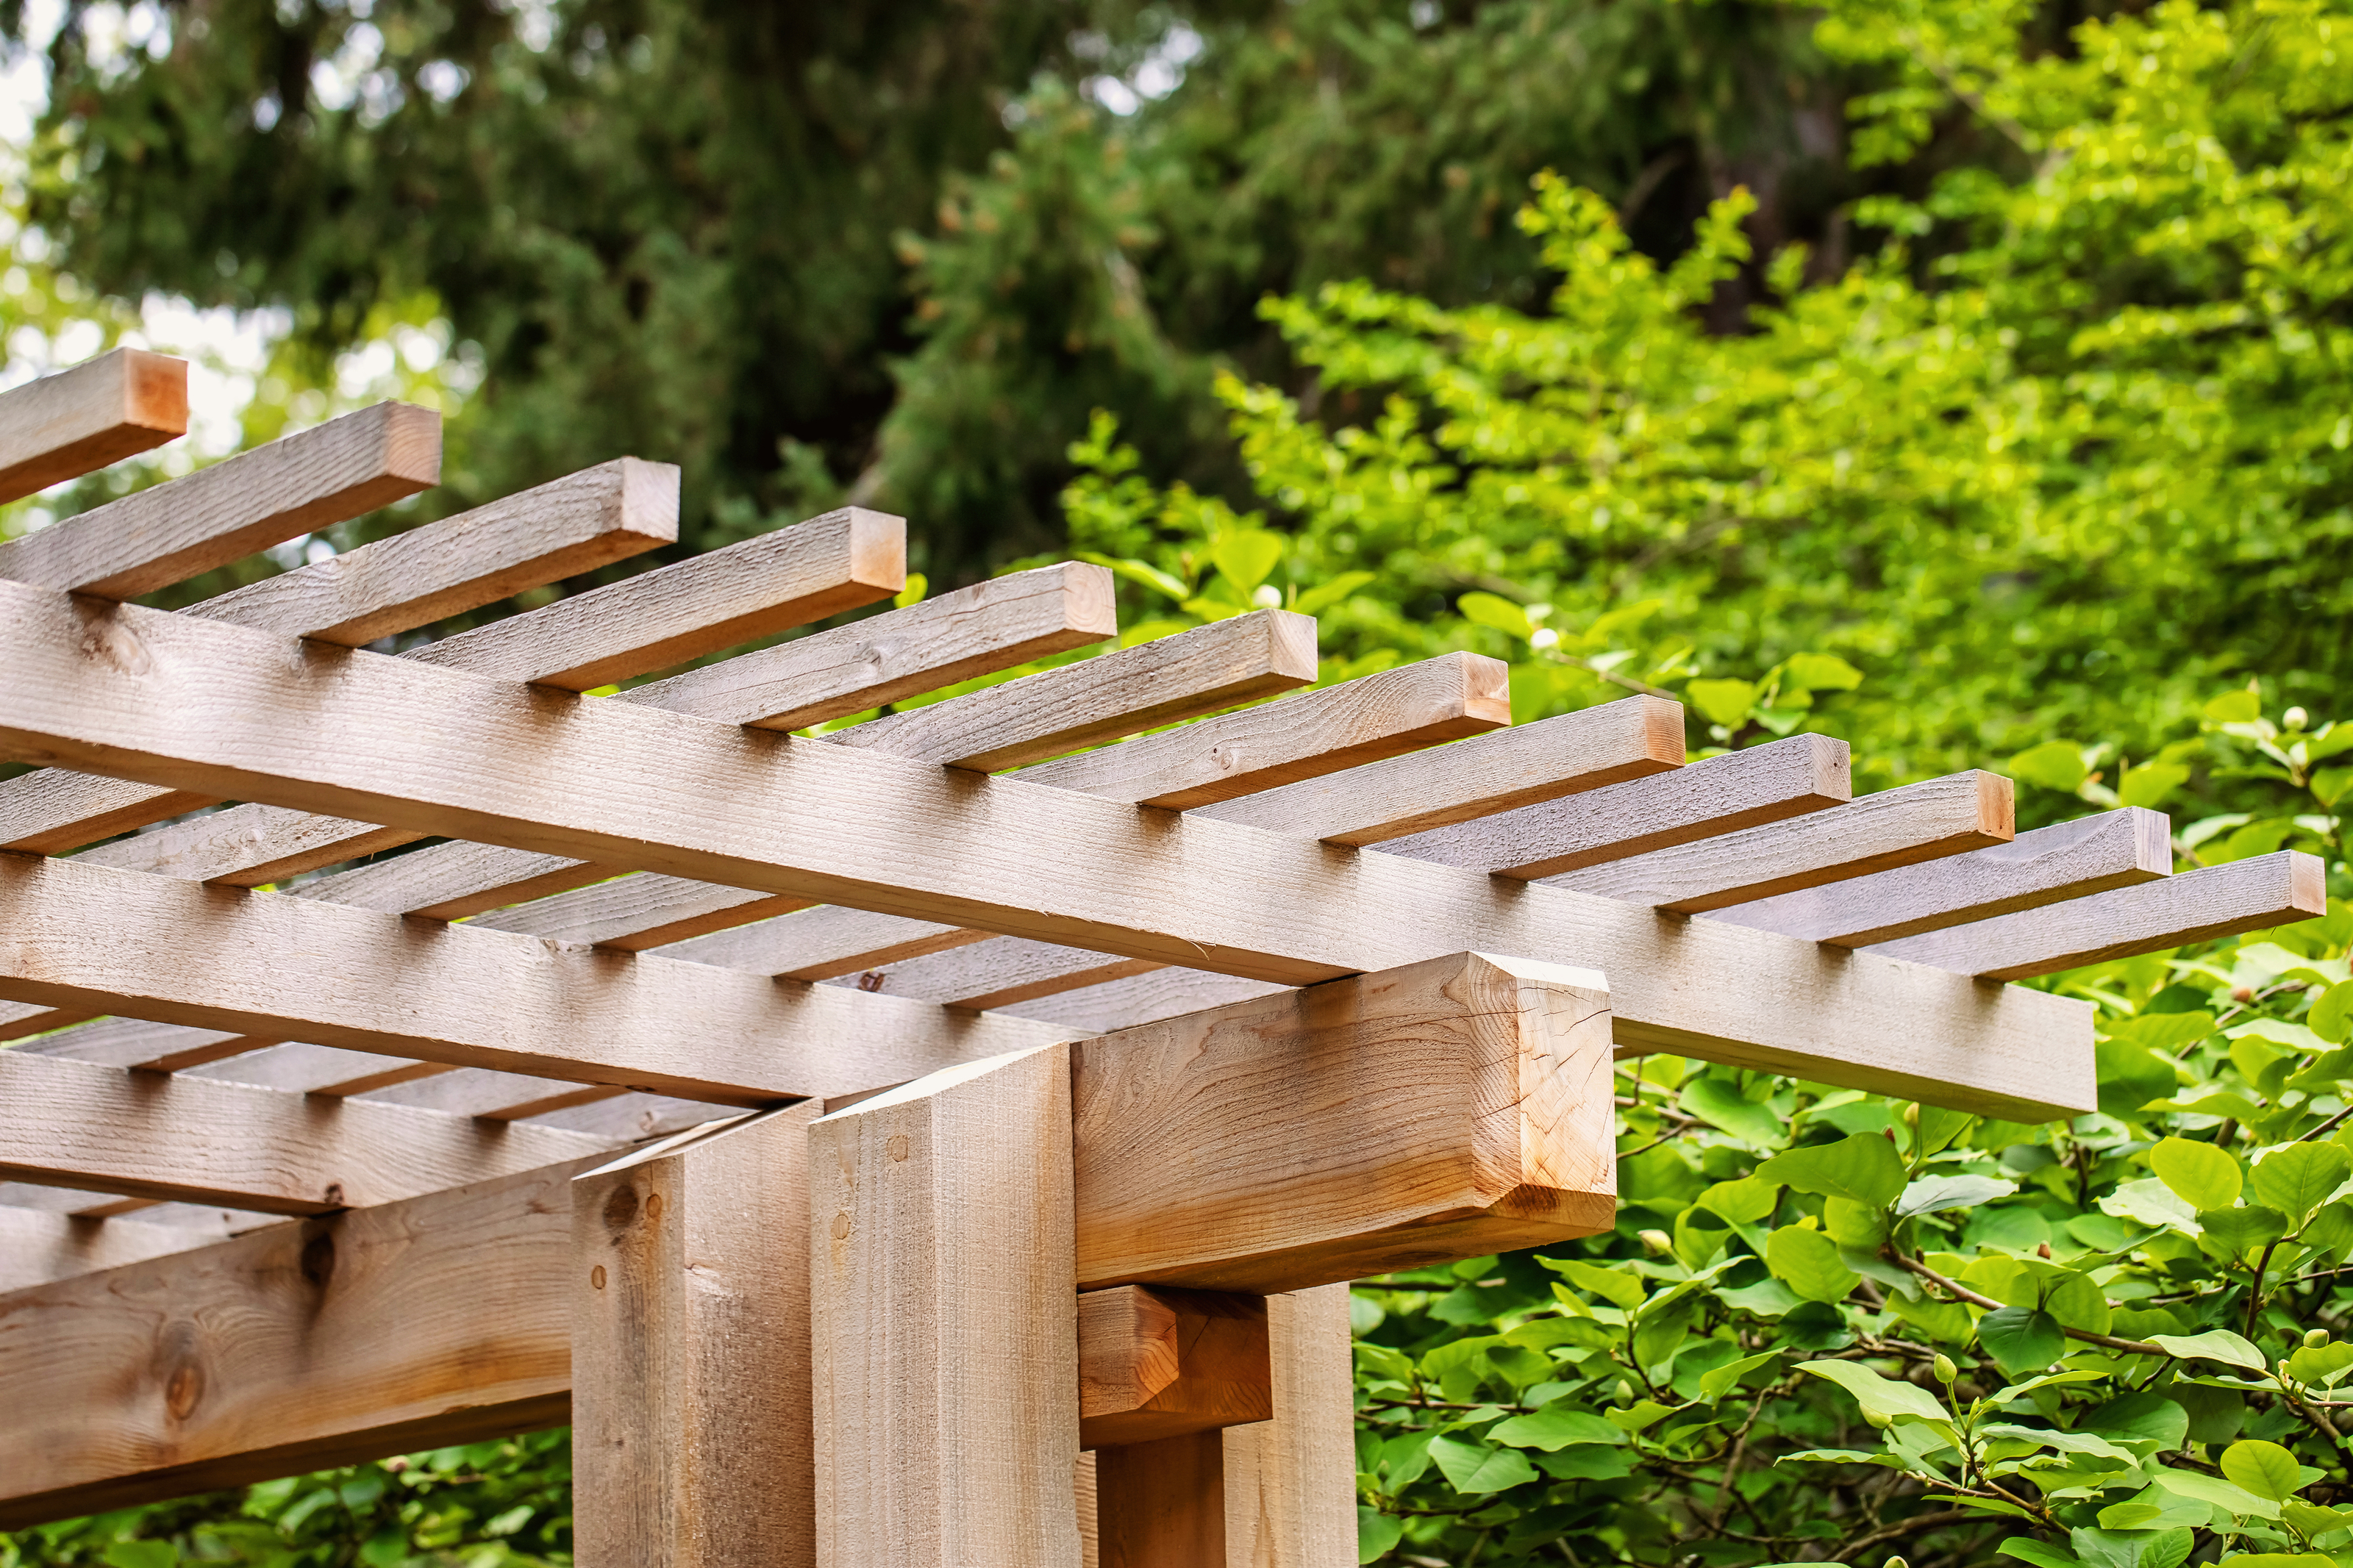
Most pergolas are generally constructed with rafters and decorative crossbeams. 'Rafters, typically 2” by 8”, will be attached to the beams with a 12-16” spacing, depending on how much light you want to seep through,' says Kamil. 'If you wanted a gridded look, lattice or stringers can be attached to the roof.'
Make sure to space your rafters evenly, securing them to the beams using screws or nails.
6. Add plants and other finishing touches
Finally, the decorative part. Popular ways of decorating a pergola include string lights or climbing plants, but you might want to paint your wood first if you want to go for a colored look. 'For a more natural look, fill in any exposed screw or nail holes with wood putty and apply a coat of paint or stain for a finished look,' says Lindsey. 'Finishing touches such as trim pieces or lattice panels can also be added to complete the look of your pergola.'
'If you want, you can then add climbing plants to your pergola to provide additional shade and beauty,' says Jason. Wisteria, clematis, and climbing roses are popular choices if you want a burst of vibrant blooms in late spring.
And there you have it - a DIY weekend project that requires less expertise than you might think and leaves you with a perfect new hangout spot for the summer months.
Be The First To Know
The Livingetc newsletters are your inside source for what’s shaping interiors now - and what’s next. Discover trend forecasts, smart style ideas, and curated shopping inspiration that brings design to life. Subscribe today and stay ahead of the curve.

Lilith Hudson is a freelance writer and regular contributor to Livingetc. She holds an MA in Magazine Journalism from City, University of London, and has written for various titles including Homes & Gardens, House Beautiful, Advnture, the Saturday Times Magazine, Evening Standard, DJ Mag, Metro, and The Simple Things Magazine.
Prior to going freelance, Lilith was the News and Trends Editor at Livingetc. It was a role that helped her develop a keen eye for spotting all the latest micro-trends, interior hacks, and viral decor must-haves you need in your home. With a constant ear to the ground on the design scene, she's ahead of the curve when it comes to the latest color that's sweeping interiors or the hot new style to decorate our homes.
-
 7 Sustainable Product Designs That Are Setting the Agenda for Environmentally-Conscious Homes in 2025
From pillows made from textile waste to sanitaryware made in the world's first electric kiln, these brands are revolutionizing sustainable design — for the better
By Devin Toolen
-
 NYC's New Rules Forced Me to Find a Chic Compost Bin — Here's 7 Options Significantly Cheaper Than the $300 Fine
Composting is now mandatory in NYC. Here’s how to do it stylishly
By Julia Demer
