4 paintbrush cleaning tricks I learned from my dad that mean I no longer dread the DIY clean-up
Cleaning up after a DIY project is easy with these hacks - and your paint brushes will thank your too


There's nothing I love more than a good DIY project, be it flipping furniture I've found at a yard sale or sprucing up my bedroom with a fresh lick of paint. The only part I dread is cleaning up. Somehow, I always make a mess that could give a toddler a run for their money. That was the case, until my Dad taught me his best DIY cleaning tricks.
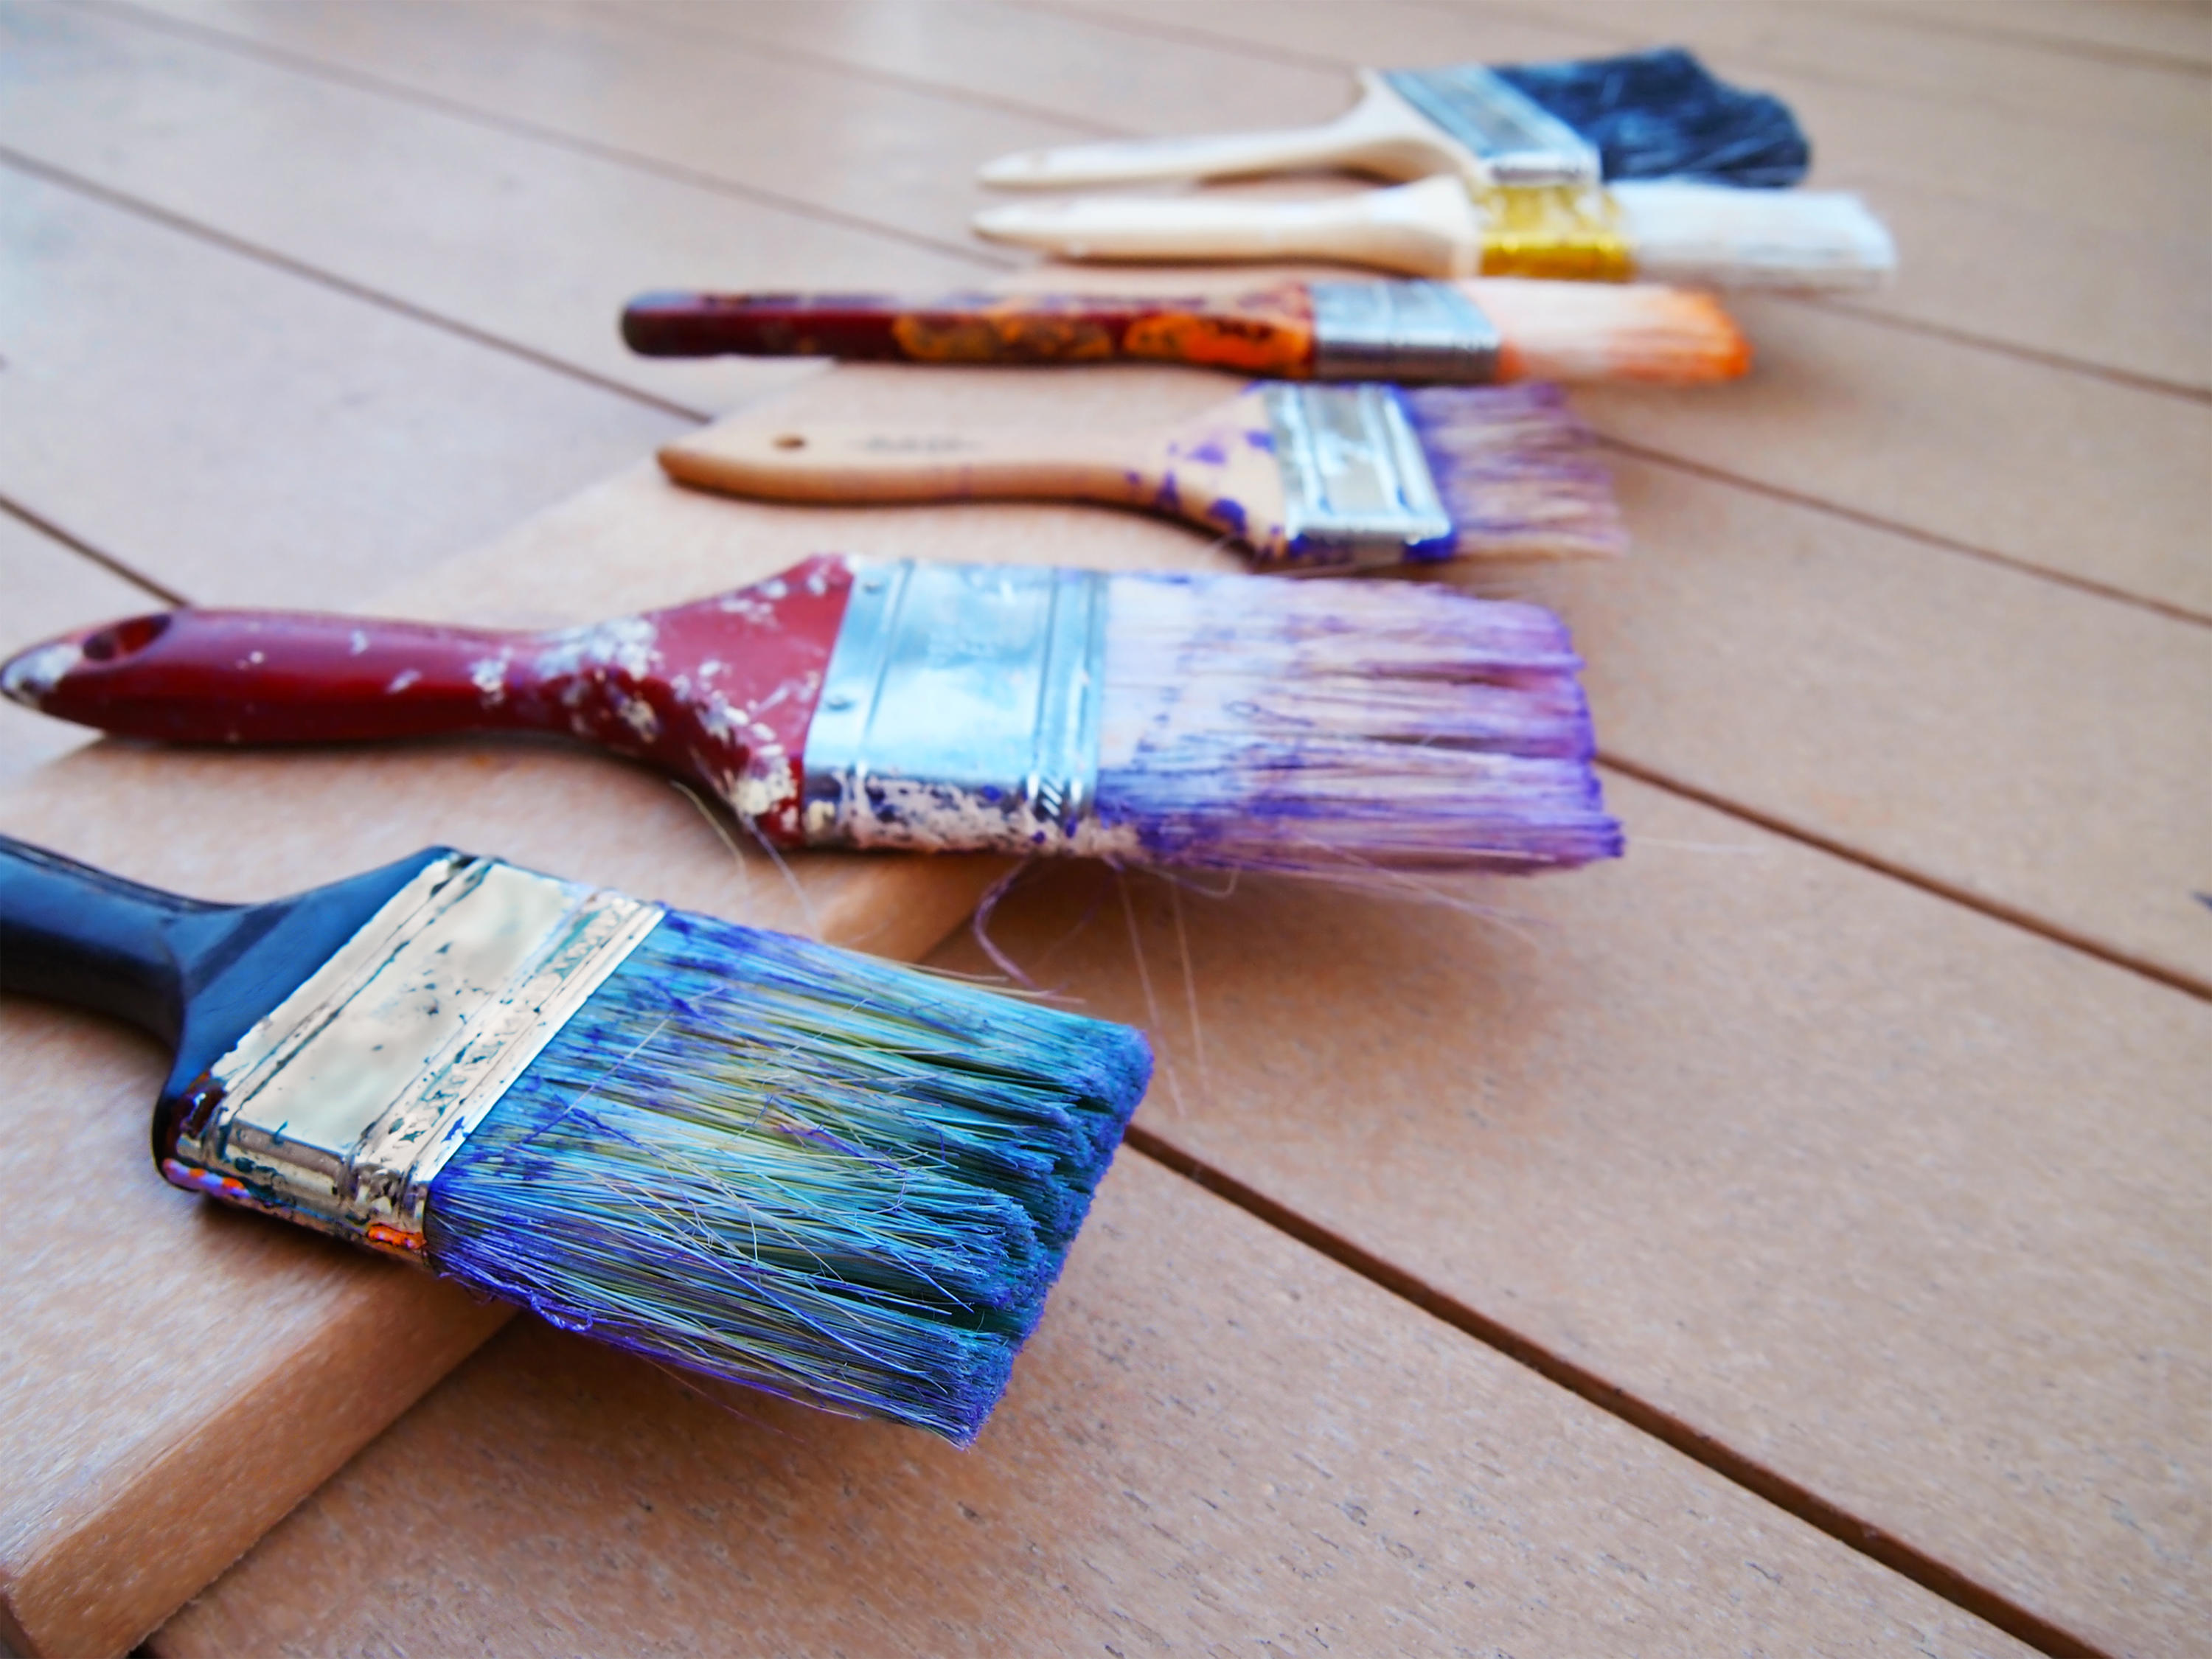
Like many twenty-somethings, I recently found myself back at home with my family between rental properties. One Sunday afternoon, my father set me to work sanding and repainting our front door. I'm pleased to say that I know my way around a paint brush and a tin of paint, but my Dad looked on horrified when at the end of our weekend project, I simply shoved my paint brushes into a jar of mineral spirits.
What I didn't know is that these volatile solvents should only be used for oil-based paints and never water-based latex paints. Not only does it not do a great job of removing the paint, but I was severely damaging the paint brushes' bristles in the process. Since then, I followed his cleaning tips religiously and I now know how to make my brushes last a lifetime. Here's what my Dad taught me about keeping the perfect paintbrush, as well as his best DIY cleaning tips I've also learned along the way.

Lilith is an expert at following news and trends across the world of interior design. She's committed to helping readers make the best choices in their homes through sharing practical tips and guides that make home renovation simple. For this piece, she shared some of her dad's best tips on how to cleaning your paint brushes alongside other expert hacks for your next DIY project.
1. Wash paint brushes in white vinegar

Let's face it, none of us enjoy cleaning up after using paint. It's messy and time consuming, and you're probably pretty exhausted by this point. My easy solution when it came to paint brushes was to just shove them in a mineral spirits solution until the following morning.
Since my dad paid witness to my lazy approach, I now know why my paint brush bristles have a tendency to fall out during painting. 'Mineral spirits are incredibly strong,' he told me. 'That's why they work so well at thinning oil-based paints and varnishes. All you're doing if you use it for water-based paints is damaging the bristles, especially if you're submerging the brushes up to the ferrule.'
Even when you use mineral spirits on oil-based paints, all it takes is a couple of swishes around the jar. Soaking shouldn't be necessary. If the paint has hardened and won't dissolve in the solution, then your brushes are probably too late to be saved.
So, how should I clean my brushes instead? According to my dad, white vinegar is a brilliant choice for cleaning water-based paints, and it's a far safer and more inexpensive option, too.
'The best way to do this is to heat some white vinegar on the stove until it's simmering,' dad tells me. 'Once it's hot, pour it into an old jar and place you brush in it.' To avoid mis-shaping the bristles he suspends the brush using a bulldog clip so it's not touching the bottom, then leaves to soak for half an hour or so. If stubborn dried paint remains, he gives the brush a comb through with a nail brush.
I always make sure to give my brushes a thorough clean these days and I avoid soaking them for too long. I've definitely noticed a difference! I no longer find stray bristles in my paintwork and they're far softer and smoother during application, too.
2. Use mild soapy water
If you're paint brushes are relatively new and have only been used for a quick job, a rinse in warm water with dish soap should do the trick.
According to Mike Sherman, the paint brush expert and CEO of Zibra paint brushes, it's always best to clean your paintbrush immediately after use. 'Use warm water, soap and a brush comb, holding the filaments under water to wash out the soap and remaining paint,' they say. 'Shake the brush by hitting the ferrule on the palm of your hand until most of the water is no longer in the filaments.' Of course, this depends on the type of paint finish you're decorating with - you can only use soapy water for water-based paints.
They also stress the importance of the brush comb. 'It makes cleaning so much easier, faster and gives you the best results,' the explain. 'The brush comb separates the filaments that are closer to the ferrule all the way to the bottom allowing the soapy water to penetrate and clean all the filaments.'
3. Use fabric softener to keep bristles smooth

My mom is the one who does the laundry, so you can understand my shock when I saw my Dad reach for our fabric softener after he'd cleaned our paint brushes. After a tough clean, inevitably, the filaments become less soft over time, but this nifty trick helps to keep the softer for longer.
'In a large jar of warm water, I add a cap full of fabric softener,' he explained. 'It doesn't need soaking for long, just a minute of swishing the bristles around the jar.' As a surfactant, fabric conditioner will also help remove any remaining paint residue. After treating the brushes with fabric softener, give your brushes a pat dry on some kitchen towel and make sure to reshape any stray bristles.
One of the most important steps that I would always overlook after painting a room is properly drying my brushes. To do this, make sure they're either horizontal or vertical and never upright as this way the water can run down into the ferrule damaging the glue or causing the wooden handle to swell. When laying the brushes horizontal, my Dad places a clean brush handle under the handle of the brush he's just cleaned to lift it slightly and help excess water run down onto the towel.
If you have holes in your paint brush handles, Mike at Zibra recommends hanging them vertically on a hook to help them dry.
4. Use a brush to remove accidental paint stains
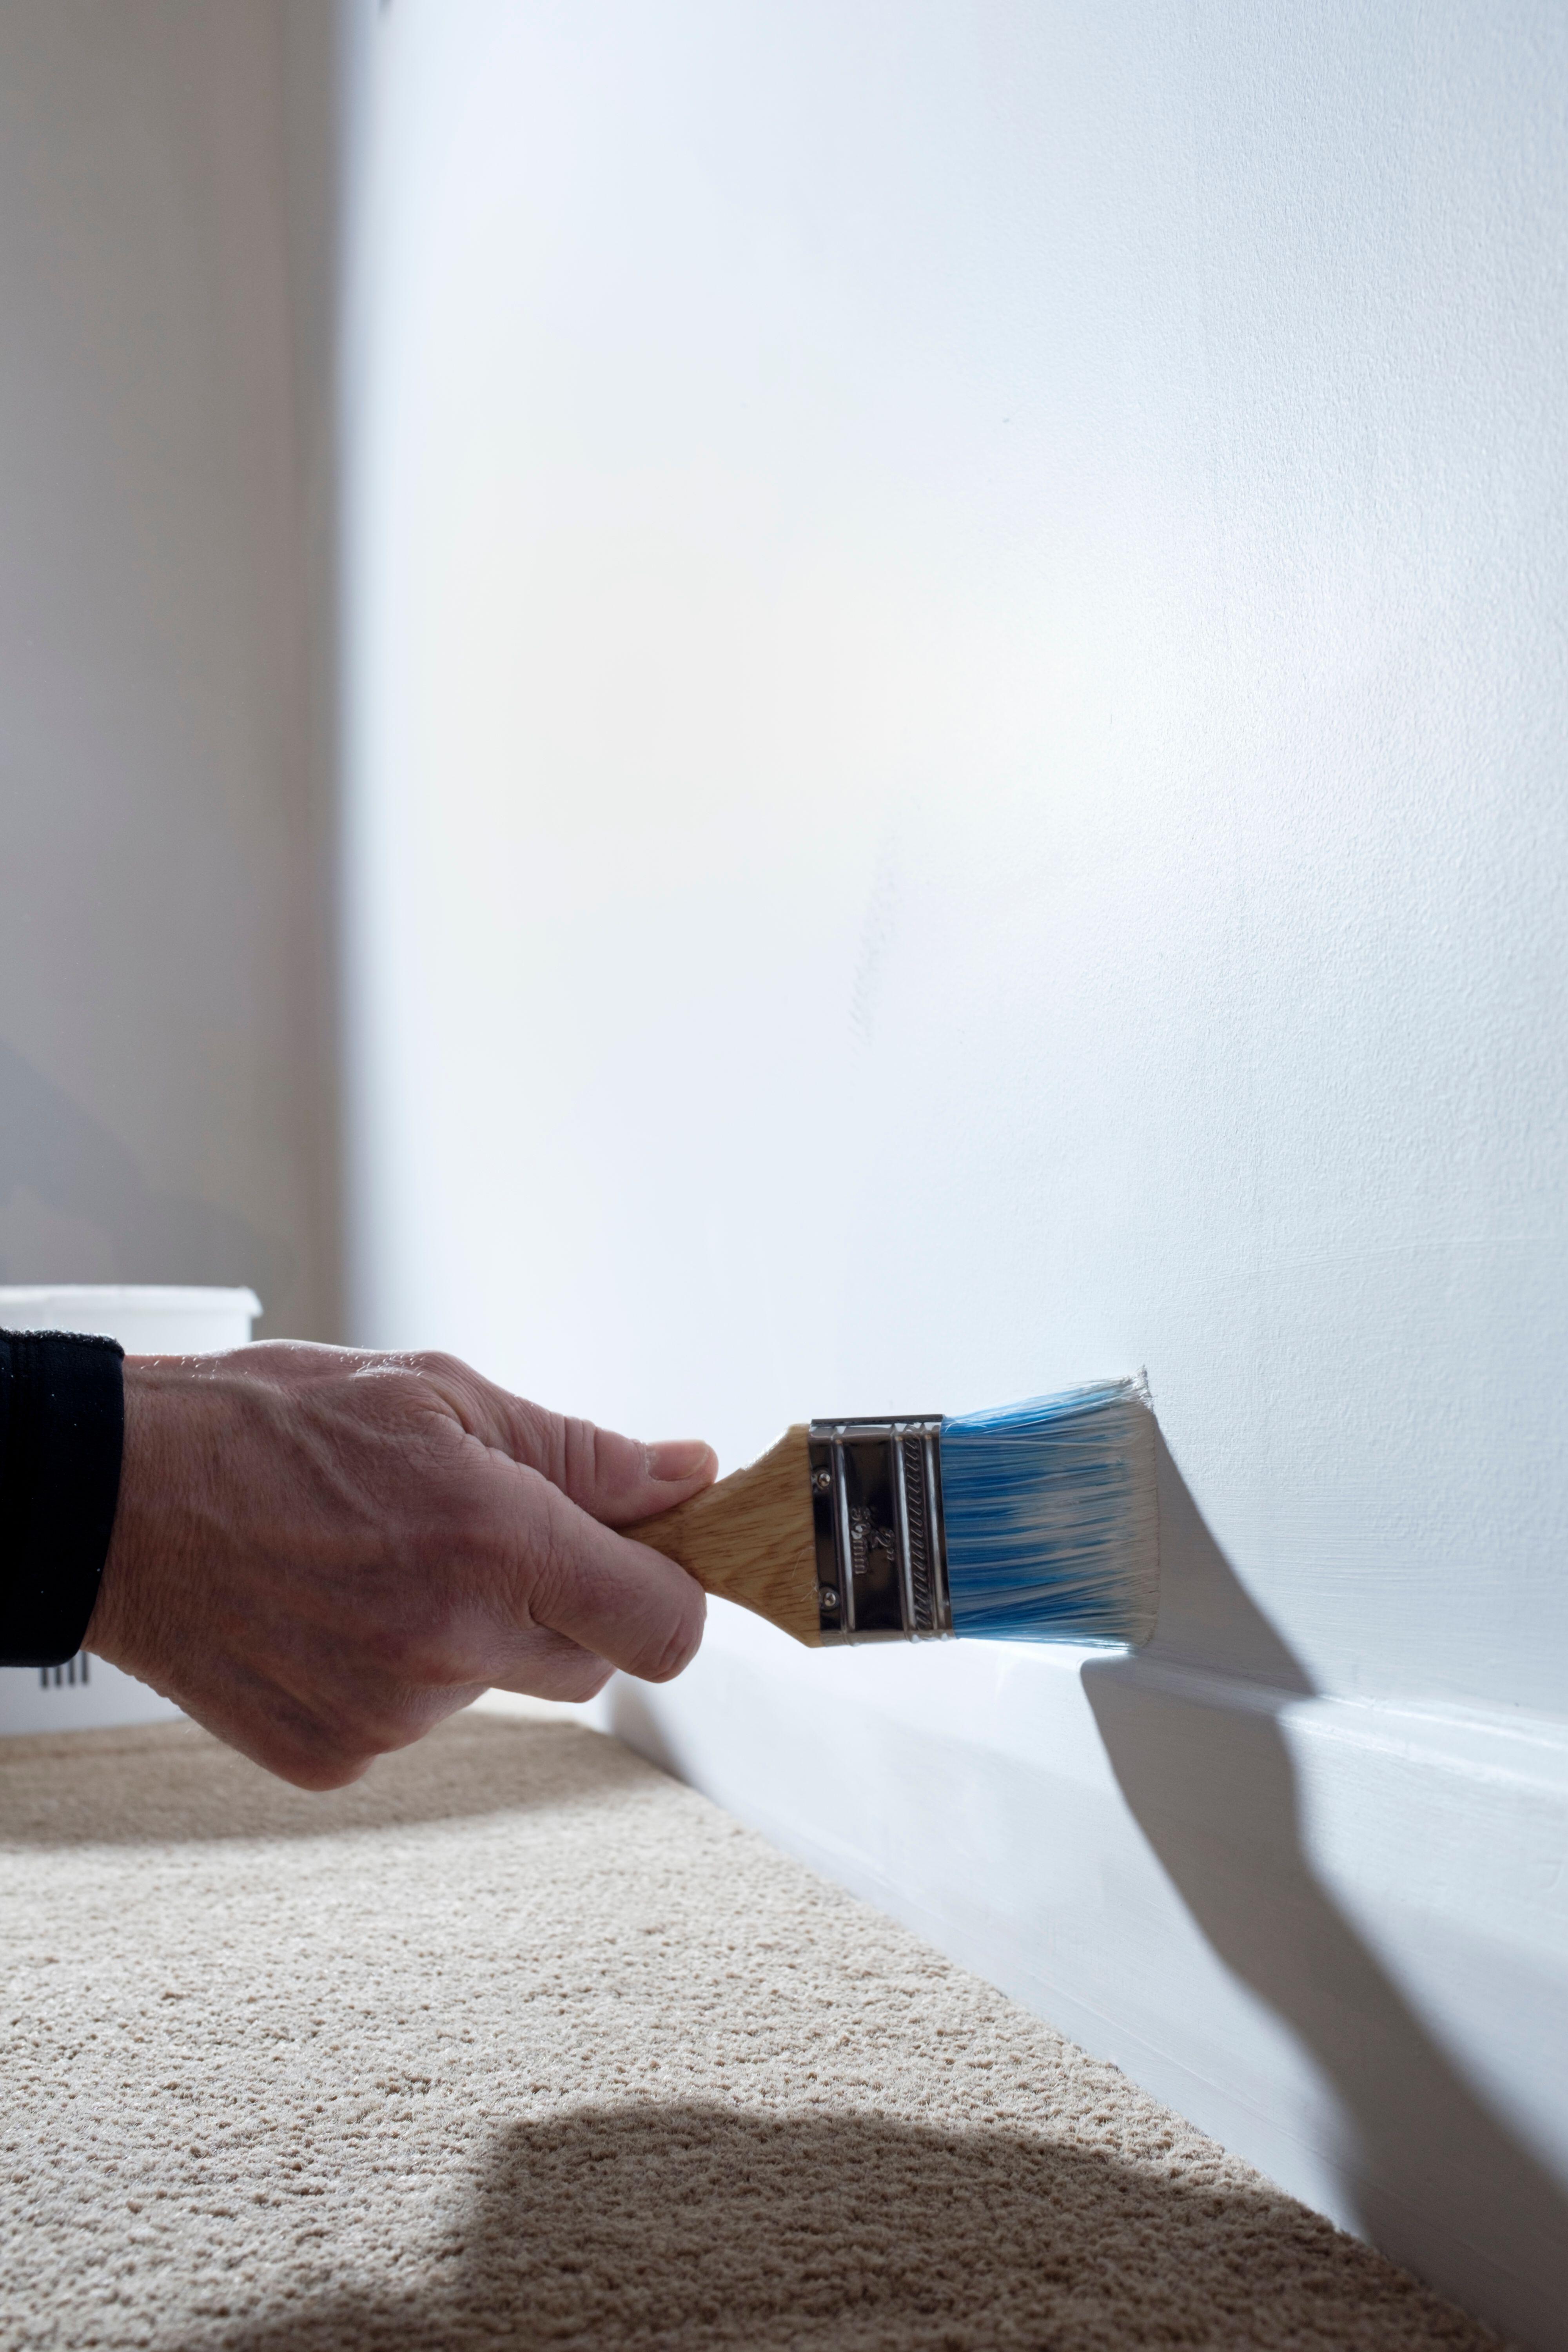
While I like to think I'm skilled with a paint brush, my messy ways often lead to accidents. When painting my dad's front door, a swipe along the window with the primer left a big white stain on the glass. I acted fast and rubbed with the dust cloth to remove it, but apparently a clean brush can work even better.
'A stiff brush in a mixture of soapy water will helps remove paint stain, but you have to act quickly,' my dad told me. 'You'll want stiff filaments, so a packed chip cutting brush works well. Dampen it in soapy water and gently scrub at the paint.'
I've since found that this trick works just as well on wooden doors and trim, and for more stubborn dried marks, steel wool can also help. To minimize spills and stains in the first place, check out our clever hacks on how to pour paint from a can, too.
I can safely say my weekend DIY projects are a lot less messy and my brushes are in far better condition these days, and yours can be too! Be sure to use these hacks for your next DIY project - you can thank me later.
Be The First To Know
The Livingetc newsletters are your inside source for what’s shaping interiors now - and what’s next. Discover trend forecasts, smart style ideas, and curated shopping inspiration that brings design to life. Subscribe today and stay ahead of the curve.

Lilith Hudson is a freelance writer and regular contributor to Livingetc. She holds an MA in Magazine Journalism from City, University of London, and has written for various titles including Homes & Gardens, House Beautiful, Advnture, the Saturday Times Magazine, Evening Standard, DJ Mag, Metro, and The Simple Things Magazine.
Prior to going freelance, Lilith was the News and Trends Editor at Livingetc. It was a role that helped her develop a keen eye for spotting all the latest micro-trends, interior hacks, and viral decor must-haves you need in your home. With a constant ear to the ground on the design scene, she's ahead of the curve when it comes to the latest color that's sweeping interiors or the hot new style to decorate our homes.
-
 These Are the Flower Crowns I’m Wearing This Spring (Spoiler: They’re Actually for My Door)
Coachella confirmed the comeback of flower crowns. At home, they just go by another name: the spring wreath
By Julia Demer
-
 Bunny Ears, Be Gone — 7 Easter Table Styling Mistakes That Will Take Your Setting from Tawdry to Tasteful
From fussy floral displays that disrupt conversation to over-relying on tacky tropes, don't fall victim to these errors when decorating your Easter table
By Lilith Hudson