How to paint a bathtub - experts explain how to master this easy DIY overhaul
Knowing the hacks for how to paint a bathtub means you can totally transform your bathroom in less than a weekend
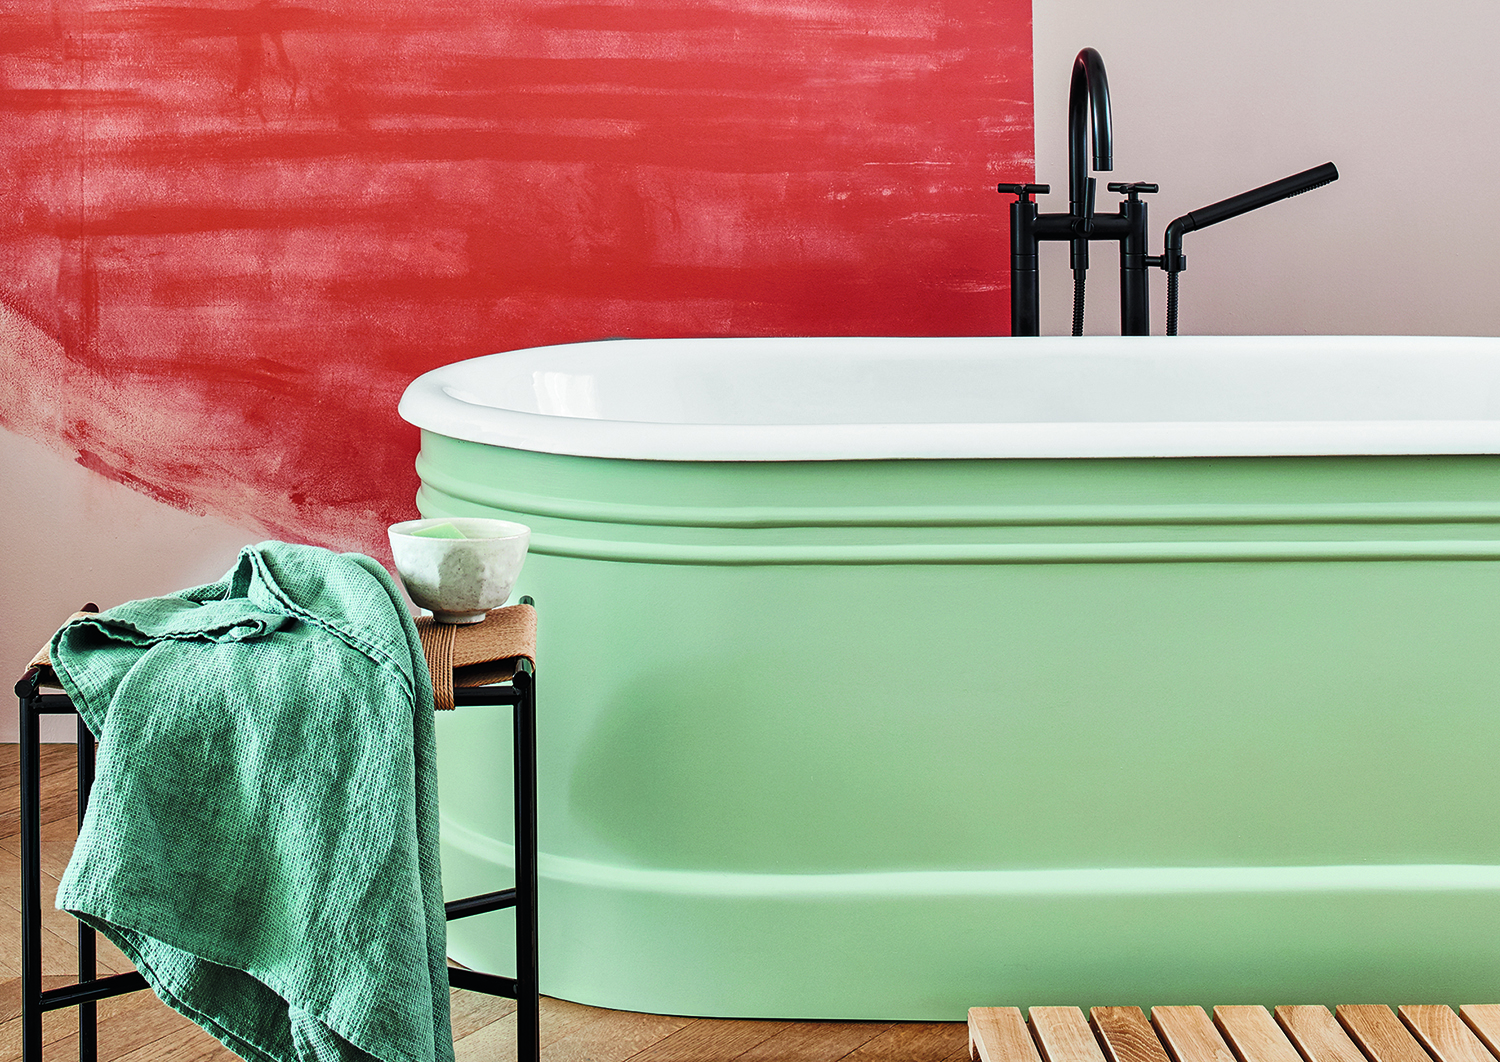
The secrets behind how to paint a bathtub are something all of us should know. For being able to change the color of this central piece which, realistically, takes up more space than anything else in the room, can totally transform the entire decor.
Perhaps you have installed a new sink, toilet or retiled your bathroom recently, and you’re looking now to the bath as the next item on the DIY hit list. Ask yourself first though: maybe all it needs is a fresh lick of paint?
When it comes to bathroom color ideas, you can do a lot with just the tub. 'I tend to prefer bathrooms to be neutral, calming spaces,' says Livingetc's editor Pip Rich. 'Pale shades on the wall, wood flooring and a sense of serenity throughout. What that means if you have a relatively plain backdrop on which to constantly reinvent the color of the tub, updating as often as your whims decide.'
Thankfully, painting a bathtub is an easy, cheap and non-disruptive way to redefine your space. If you haven’t painted before, it might seem daunting; but it’s a simple, clean and quick method of changing your space, at the fraction of the cost of installing a whole new system. Removing and installing a bathtub can be disruptive, expensive and even create more DIY jobs than you expected. By simply painting it, you can do it leisurely within a day on your own, listening to an audiobook or podcast, and create a fresh new environment as a result. Sound good? Let’s then look at how we go about it.
We have curated a novice-friendly simple step-by-step guide on how to paint your bathtub, including tips on methods and materials from leading industry experts.
The preparation for how to paint a bathtub
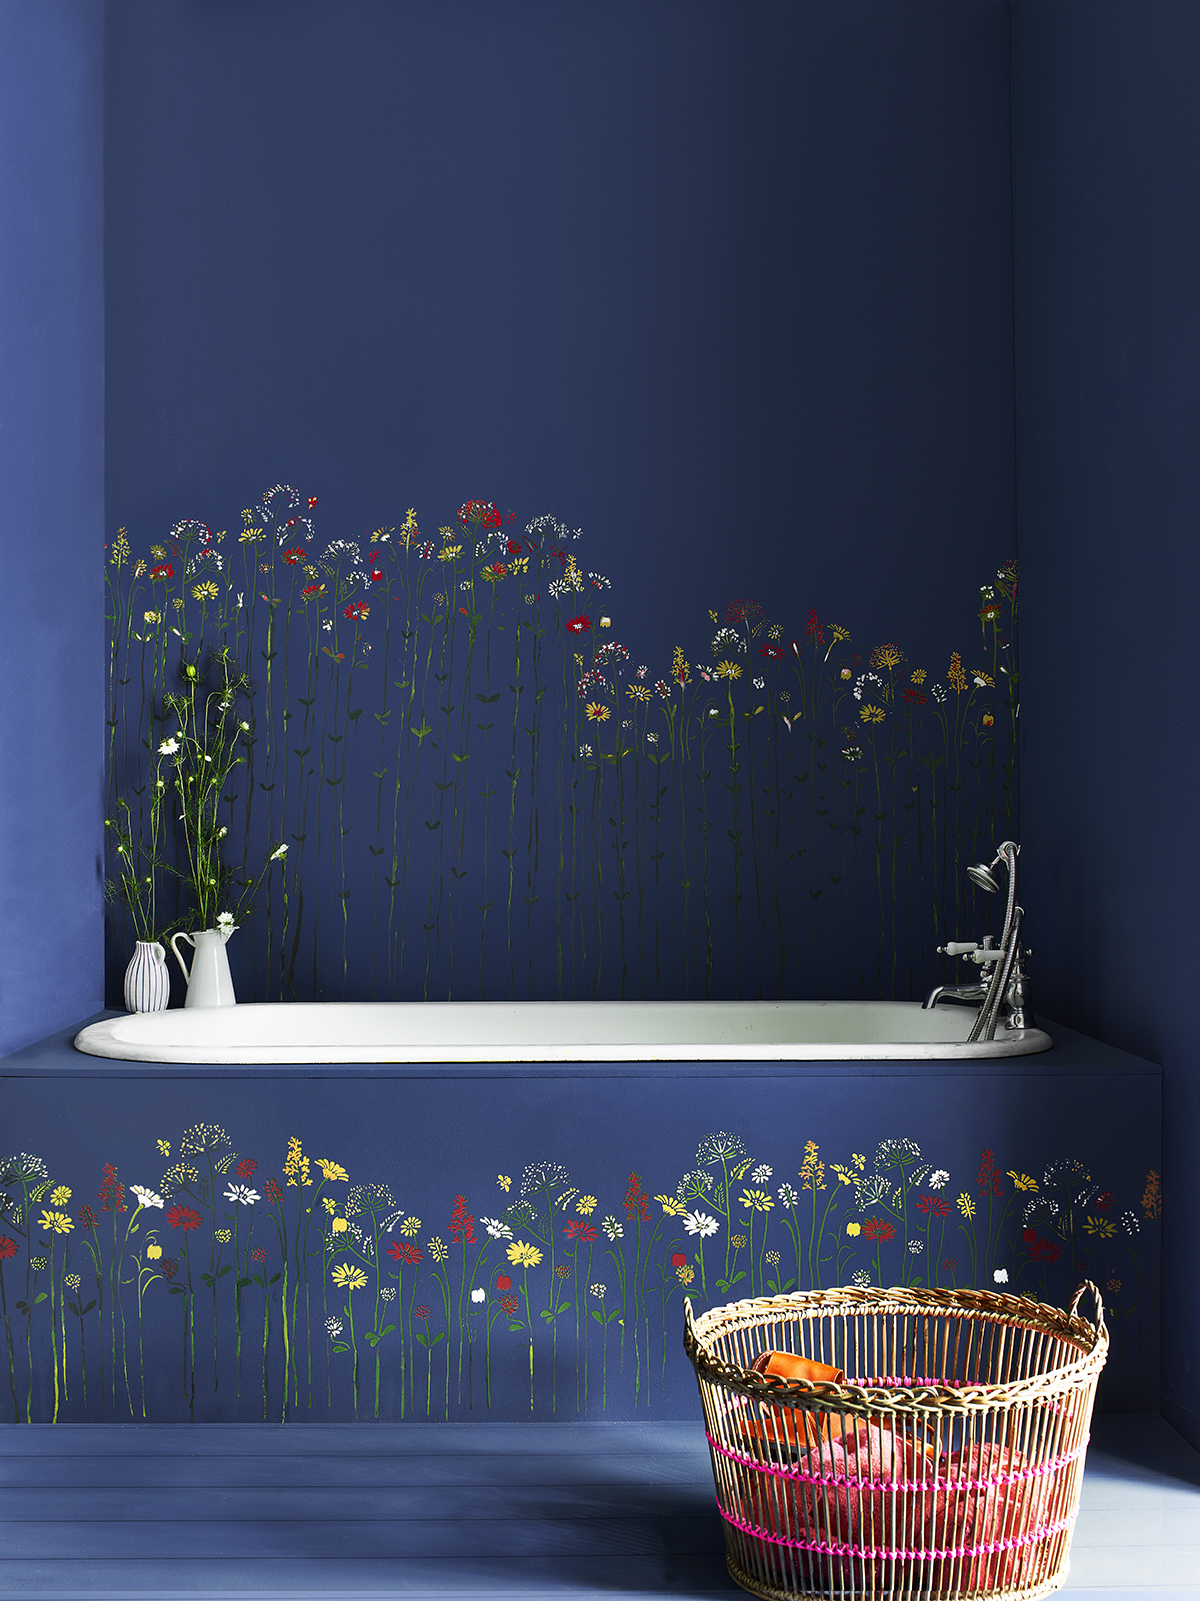
You will need:
- Constant Ventilation (very important)
- The Pink Stuff cleaner OR Baking powder and vinegar
- Razorblade scraper
- Cleaning Cloths
- Dust Mask
- Painter’s tape
- Plastic bags/ coverings
- Blow dryer
- Paint
- Brushes
Before you get started
Make sure that your bath is in good working order. As this process is purely cosmetic and an aesthetic antidote to all the more usual white bathroom ideas, it should go without saying that it won’t fix anything that is broken! Whilst cleaning, make sure to fill in any chips with a tile chip filler kit, which can easily be found online for just over $20, here.
Be aware that once you begin the painting, you won’t be able to use the bath for two days (as everything needs to thoroughly dry before use). Also, care should be taken in the handling of the chemicals and equipment. Some of the chemicals are strong, so constant ventilation will be required throughout the whole process.
What color and type of paint should you use to paint a bathtub?
Bath painted in Floris No.27 by Mylands
The half-opened all-white emulsion under the sink won’t quite cut the mustard with this DIY project. Any tile-friendly paint is safe and usable, though we recommend Graphenstone’s GrafClean™ and or Annie Sloan's Chalk Paint™, as they are high-quality, hard-wearing eco paints that are healthy to breathe - doubly important in an humid space.
‘When painting a bathtub, I would suggest using mid sheen after priming with Graphenstone Four2Four,' says Ben Sturges, director of Graphenstone. 'It is an adherence bridge for paint and antioxidant paint for metal surfaces - to keep new metal surfaces rush and corrosion free - depending on what your bathtub is made from.’
‘The bathroom can often be overlooked in a house scheme, with bright white tiles and ageing grouting considered ‘normal’,' says color and paint expert Annie Sloan. 'What better way to bring unexpected color into your home than the lesser-painted bathtub?’ So, if the bathtub is an easy way to reinvent the space, which colors are in right now?
‘There really are no limits,' Ben Sturges tells us. 'The recent bathroom trends have been for darker shades, but I have seen patterns created pretty effectively (leopard, stripes and spots and the like)’.
So then, why not experiment! If it doesn’t turn out how you would have like, painting over it comes at no extra effort. Have fun and be playful with your DIY project!
How to paint a bathtub - the expert step by step guide
‘Make this the year you makeover your bathroom with the same love and affection poured into other spaces,’ says Annie Sloan, and we couldn’t agree more that this year the bathtub should get the attention that it is long overdue.
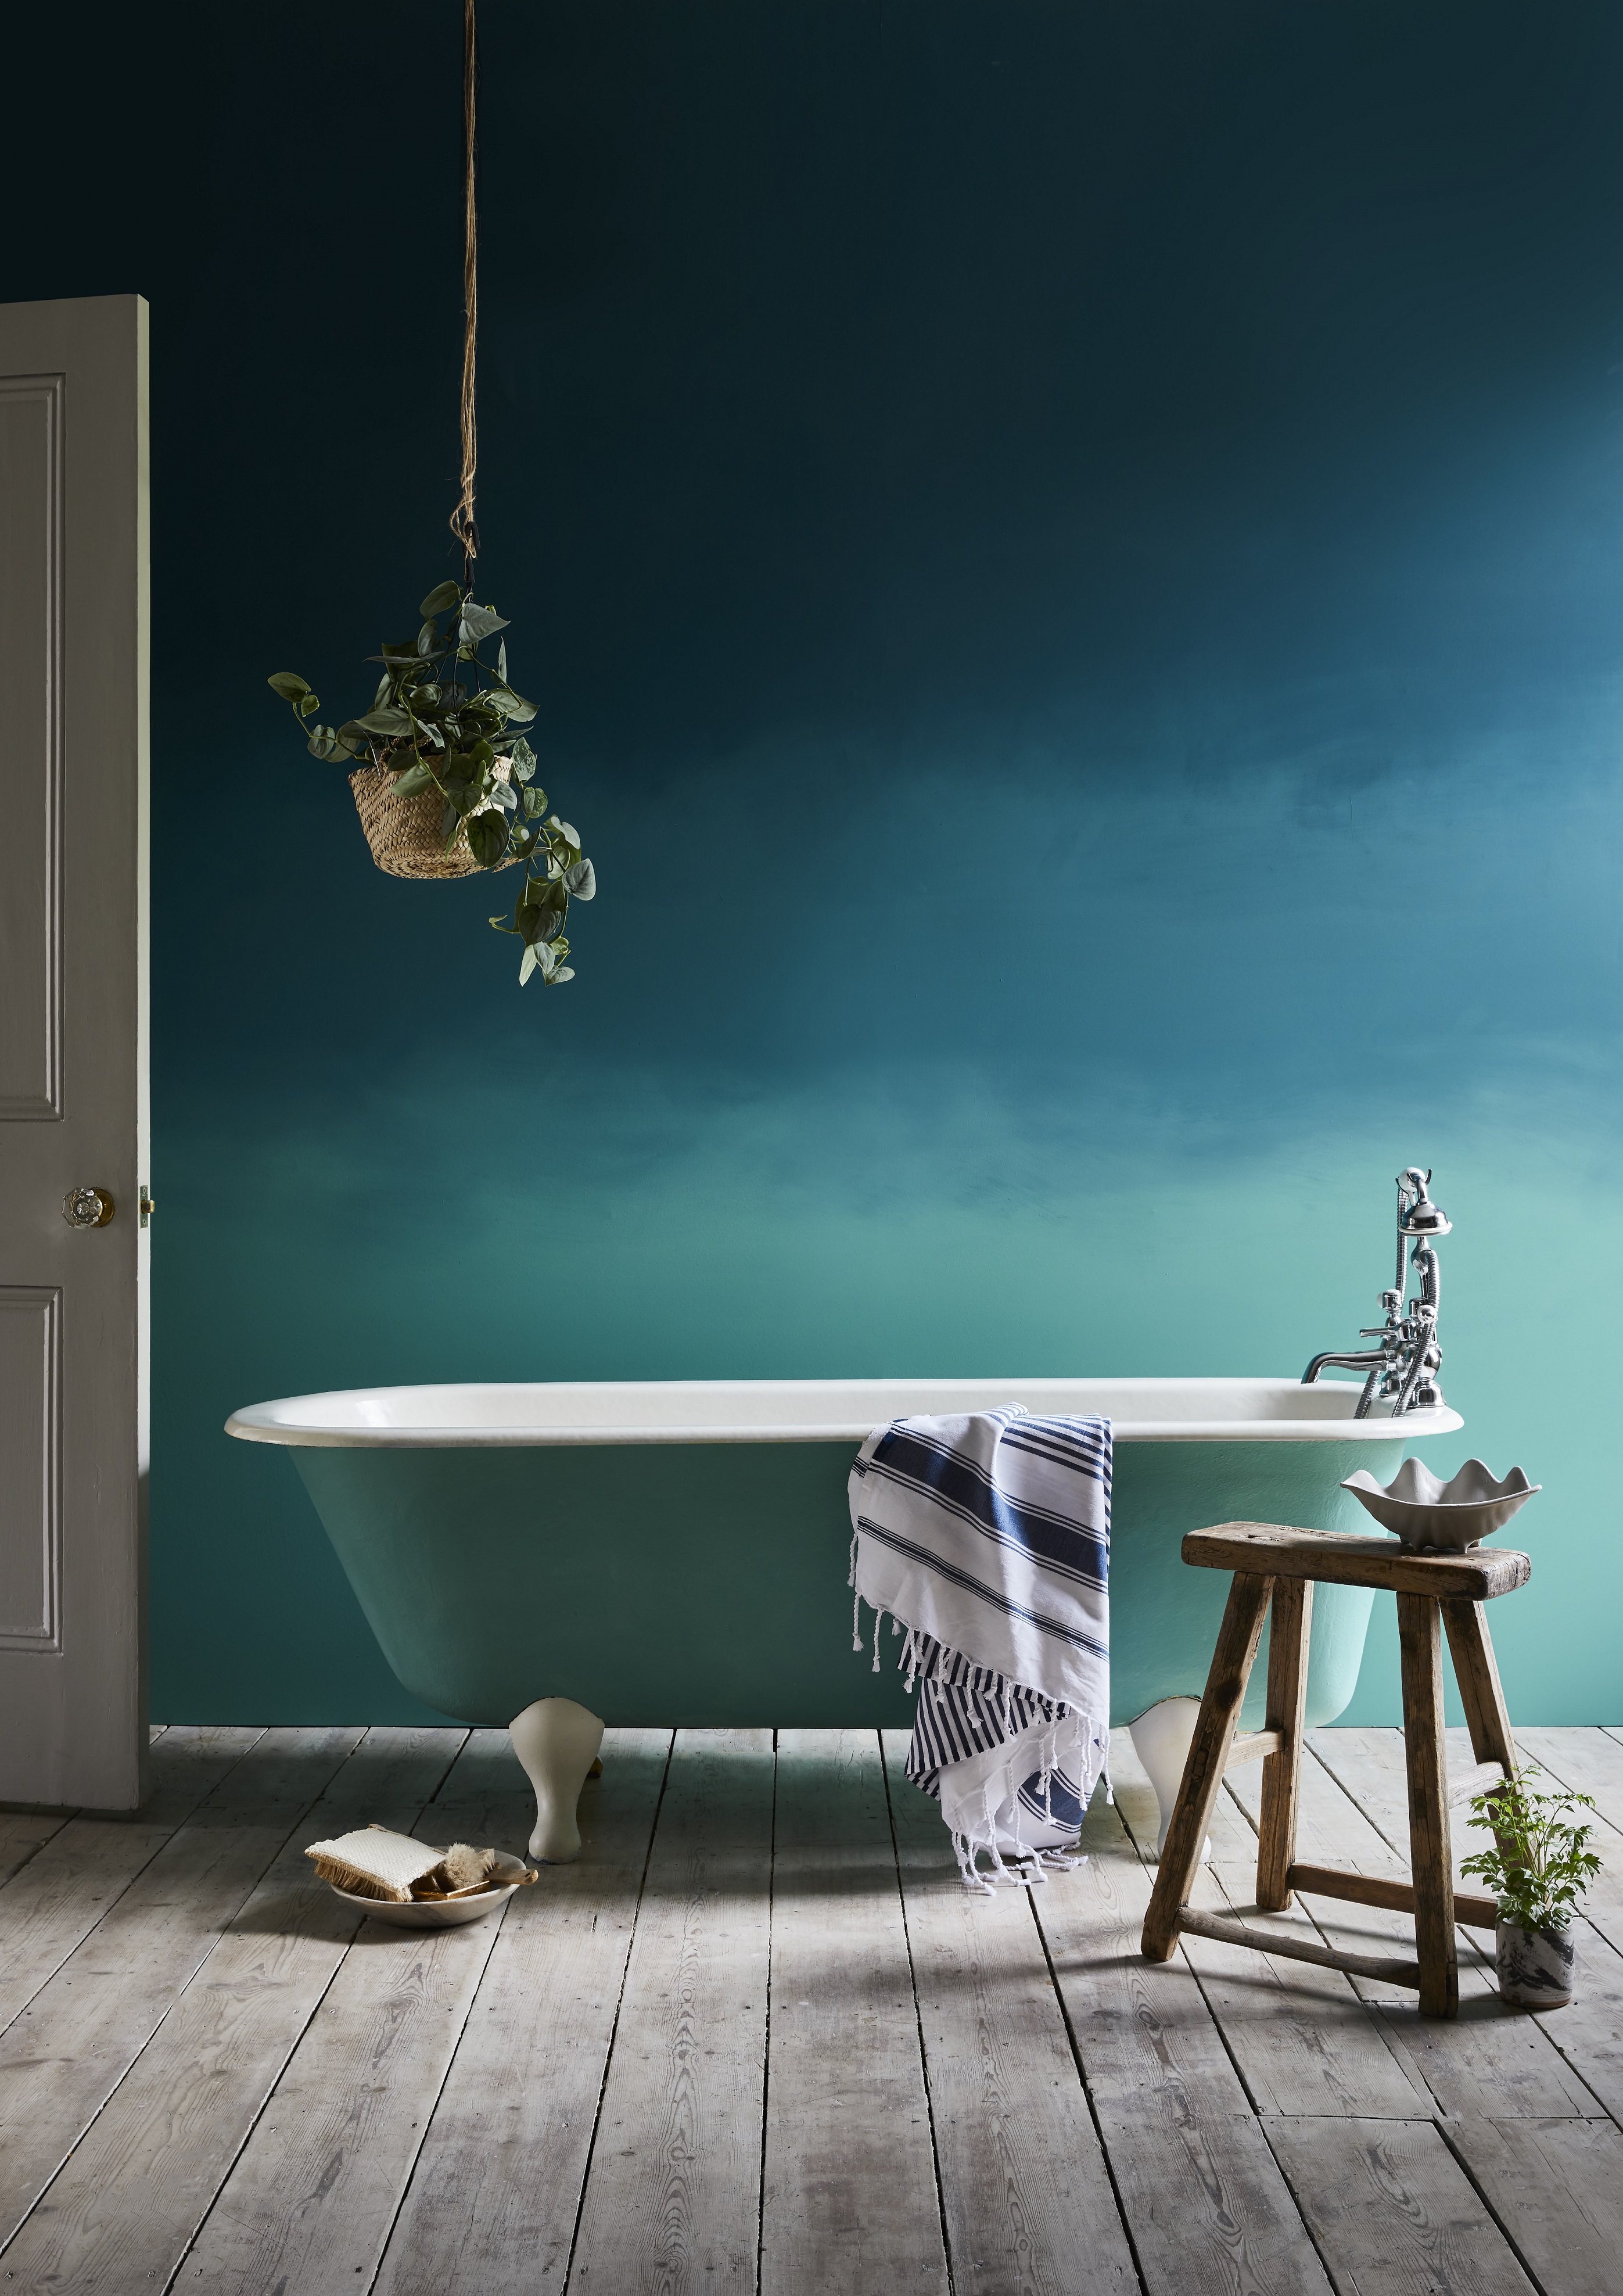
Bathtub and wall painted in Ombre Aubusson Blue Wall Paint and Provence Chalk, Annie Sloan
Step 1: Cleaning
Make sure the room is well ventilated, with windows and doors wide open, and that you are wearing a safety mask. Clean the surface area with a simple surface cleaner. Rinse, and then apply Pink Stuff or Baking Soda and Vinegar mixture to the surface areas. Leave for 30-40 minutes, then in circular motions with a scouring pad clean the surfaces, paying particular attention to fixtures and the plug hole, thoroughly rinsing once completed. If grime in any area is particularly stubborn, don’t be afraid to clean once or twice more. The cleaner the surface is before painting, the better the finish and longer it’ll stay.
Step 2: Remove Sealant
Remove sealant from around the bathtub. Use the blade scraper to remove all of it. Without doing so, the finish will look rushed, and possibly degrade the sealant underneath. Changing your sealant every so often is also good practice, as it will prevent rot and damp in the surrounding areas of the bath.
Step 3: Scrape off excess
Check with the razor scraper that all the cleaning product and soap scum is removed from the surface area. Be careful to not apply too much pressure, to avoid any possibility of slipping and injuring yourself. It’s best to lightly glide across the surface, and only apply scraping pressure when an area of scum or product built up is found.
Step 4: Sanding
Wet the surface area, and now sand the surface area down (220 grit is recommended), paying particular attention to the drain and fixtures. If there are any chips, use the chip filler kit. Instructions on the kit are straight forward: apply, let to dry, sand, and then paint over.
Cover fixtures (taps and shower heads), with rubber gloves and or plastic bags. Be sure that there is no water in the fixtures, and that the covering material is firmly wrapped around. Tying/taping a plastic bag around the fixture as an extra preventative measure is also recommended.
Step 5: Drying
Dry all parts of the bathtub and surrounding areas using the fan. For great results, pay particular attention to the sink hole and fixtures. Good ventilation is necessary for this step. When the area is fully dry to touch, use painters’ tape around the edges, fixtures and drain of the tub to keep the finish sharp and clean. Give the tub a once over with a cleaning cloth to make sure there is no debris sitting on the surface areas.
Step 6: Priming
Pour the liquid primer out onto the surface and spread evenly across with a paper towel. Pay particular attention again to the fixtures and drain. If it is a two-step primer, mix the part A and part B together, and let it sit for five minutes. If you are using a non-slip additive, then pour 1-2fl oz of the part A and B mix into the non-slip pot and mix thoroughly. Pour the resulting mixture into the middle of the bath, and using a roller, roll vertically and horizontally over the surface area into a rectangular shape along the bottom surface, repeating several times as to ensure a smooth and even finish.
Step 7: Painting
Finally! Now the fun part. Pour the rest of the primer into a paint tray, and using a brush dab around the edges of the tub, paint along the painter’s tape (where the roller won’t fit). Once done, use the paint roller to apply the first coat of paint, starting from the furthest point and working towards yourself. Always ensure that there is always a generous amount of the liquid on the roller. Try your best not to lean on the surfaces! If your arms or shoulders are tired, have a little break and shake them off.
Step 8: Taking off tape
After letting the paint dry for about 45 minutes, carefully remove the painter’s tape at a 45-degree angle. If you see any edges that need covered up, they can usually be covered up by the sealant, though if there are large patches, don’t be afraid to give them a touch up. Once finished, wait 24 hours for the bath to completely dry.
Dispose of all unused materials safely immediately.
Step 9: Sealant
Apply the sealant evenly around the edges of the bath. Using a finger or thumb to smooth it out is fine, just make sure you wash your hands thoroughly afterwards. Let to dry for another 24 hours, and your new space is ready to be enjoyed.
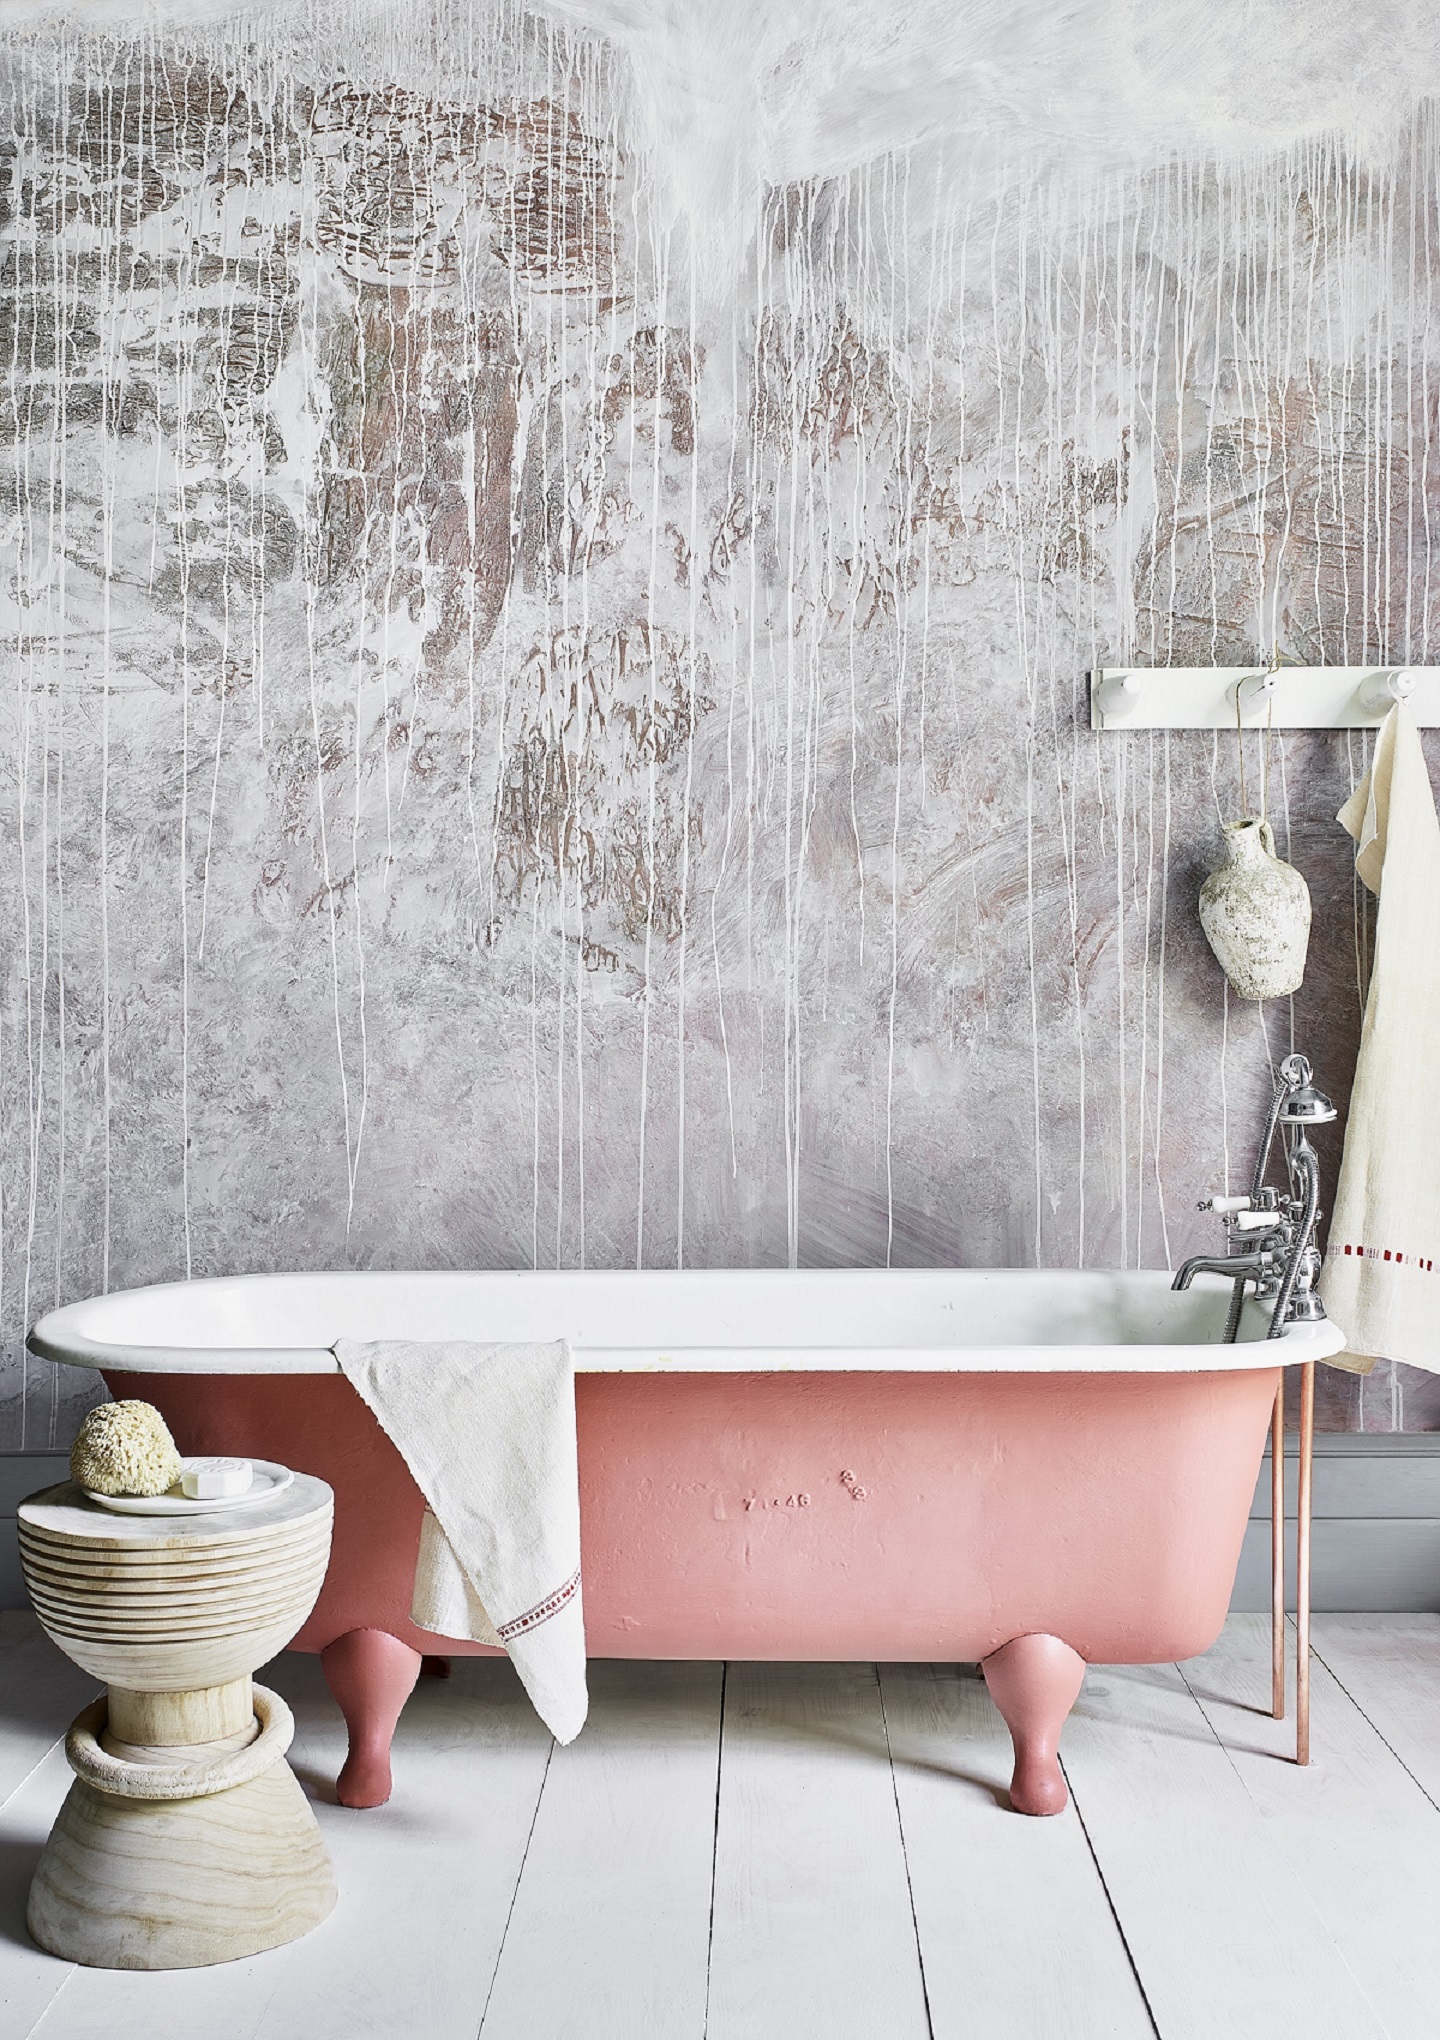
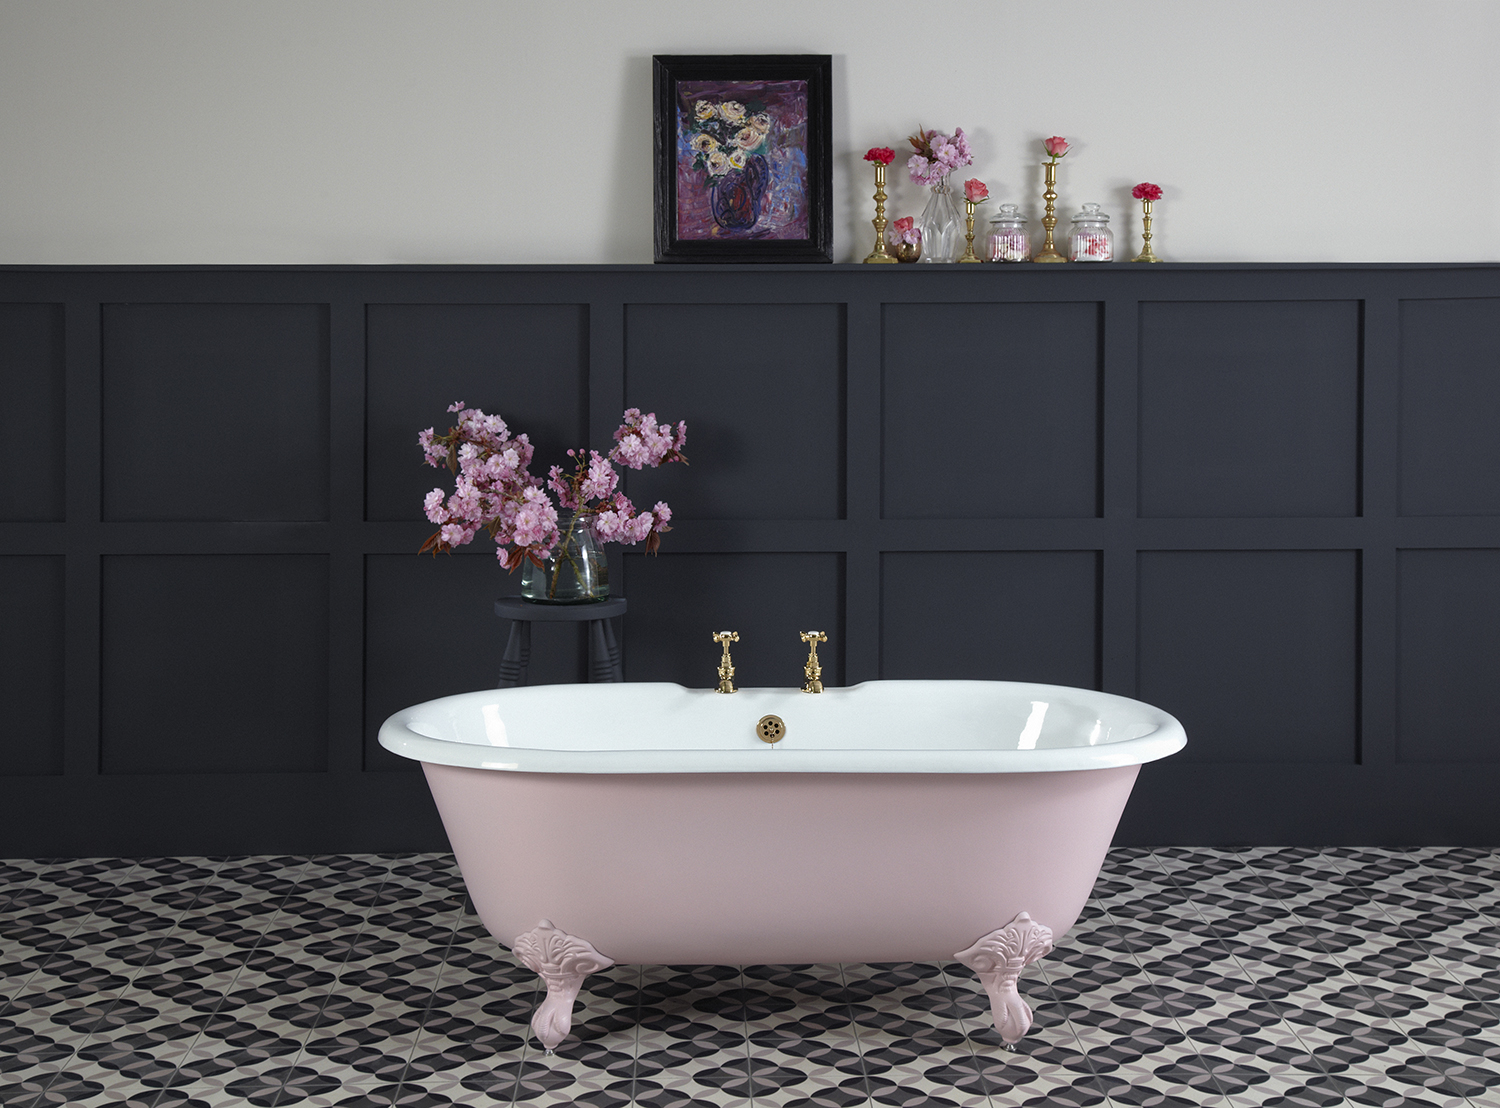
Bath painted in Annie Sloan's Chalk Paint in Scandinavian Pink
Maintenance
Try to only use simple surface cleaners instead of abrasive chemicals. Regularly, every week or so is recommended, ideally using environmentally friendly brands like Method – which are now at no extra cost than typical multi surface cleaners..
And finally! You have now just revitalised your space. The simple overhaul that works for small bathroom color ideas and bigger spaces alike (as long as they are well ventilated). Well done!
Be The First To Know
The Livingetc newsletters are your inside source for what’s shaping interiors now - and what’s next. Discover trend forecasts, smart style ideas, and curated shopping inspiration that brings design to life. Subscribe today and stay ahead of the curve.
Scott Clark is a writer based in London, UK. He is studying Creative Writing at Royal Holloway, and using the time around his classes to write for lifestyle titles like Livingetc. He has a keen interest in the publishing industry and in telling stories and packaging interiors advice in a way that is useful, interesting and engaging for the reader.
-
 Turns Out, Sustainable Design Can Be Chic, and Net-a-Porter's 'Net Sustain' Curation Is Proof — Here's What I'm Shopping
From the Net Sustain collection, Mud Australia's homeware is not only design-oriented, but eco-focused, too
By Devin Toolen
-
 Before and After — How This Jewel-Box Bathroom Made the Most of Its Proportions With Maximalist Design and a 'Soaking Tub'
This design offers a masterclass on creating a luxurious bathroom that is equally playful and elegant.
By Maya Glantz