How to Paint a Deck — Expert Tips for a Professional, Weather-Resistant Finish
Take pride in your decking with these expert tips on how to paint your outdoor flooring


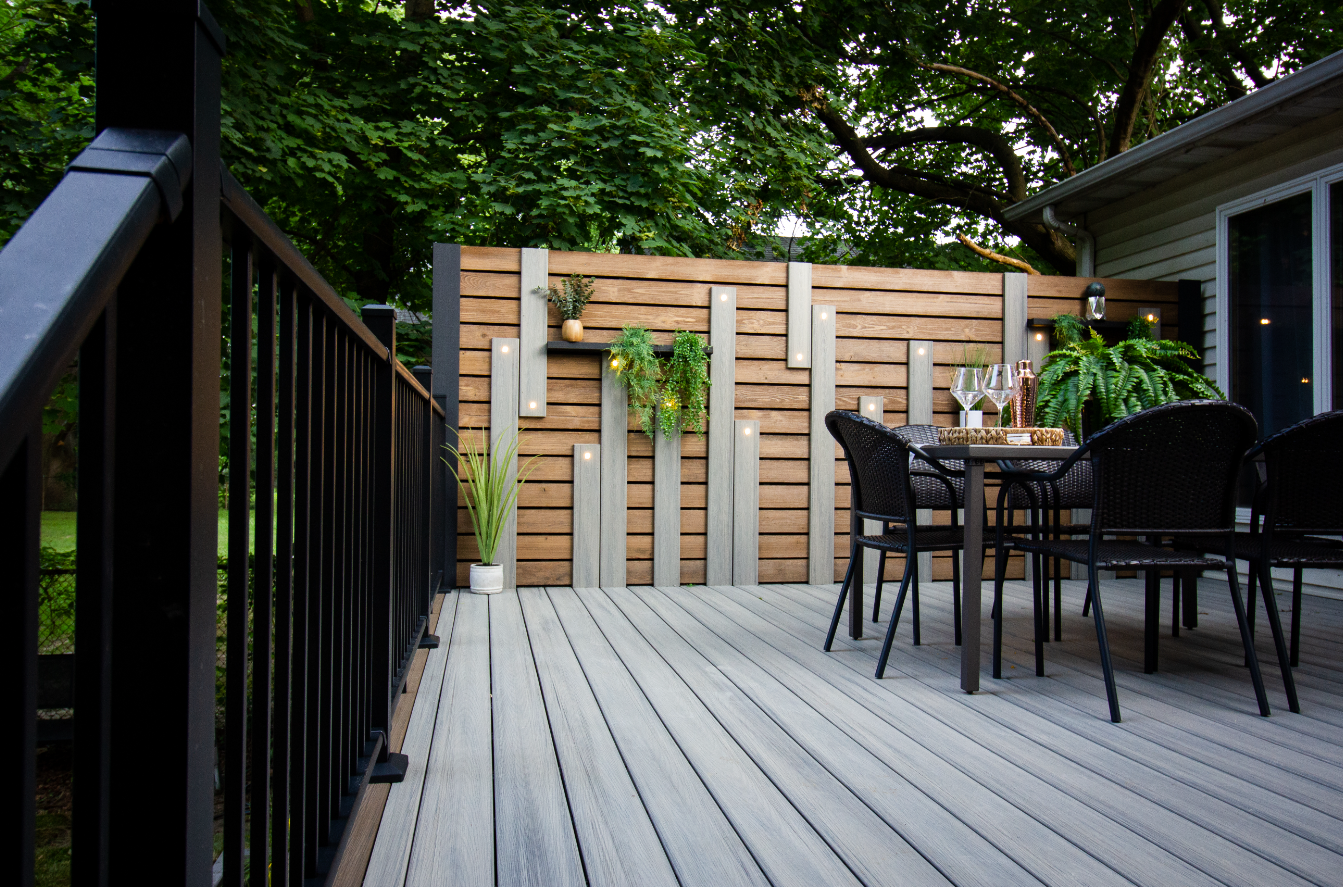
Perfect for a summer’s night entertaining friends, an intimate dinner with your partner, or a peaceful reading session alone, a deck can become whatever a homeowner wishes it to be. Whether it’s your chosen space for a retreat or the hub of memory-making outdoors, such a versatile spot deserves to be treated with proper maintenance and care.
Painting your deck could do just the trick, serving as a way to both maintain the health of the wood as well as provide an aesthetic overhaul if you’re in an SOS situation. If your current wood stain has faded, or you’re met with chipped, peeling paint, it’s definitely time to address the decking disaster accumulating in your backyard.
We spoke to painting experts to learn the best approaches when it comes to painting wooden decking. From the top ways to prep your planks, to learning how paint can benefit your outdoor space, you’re sure to walk away from this advice feeling ready to embark on a project.
What color should you paint a deck?

Many homeowners opt to keep the natural hues of wood or stained wood for their decking, as such a neutral color palette remains interchangeable with most furniture. However, painting your deck doesn’t have to mean the end of this ease. See it as an opportunity: you can paint your deck in a fresh, semi-transparent coat of your favorite neutral or choose to inject a pop of personality into your backard through the use of bold solid color.
The perks don’t end there – passing a lick of paint over those planks is beneficial for the health of your decking as a whole. ‘Choosing to paint your deck can enhance the overall look of it, while also protecting the deck from the elements as the new layers add longevity to the wood’s lifespan,’ says Anthony Kulikowski of Five Star Painting (a Neighborly Company).
Painting your decking is also a great way to hide any annoying imperfections you may find in the wood. ‘There are several reasons why a person might prefer an opaque paint for their deck, including the ability to achieve bolder colors and to better hide imperfections in the decking material,’ says Matt Richman, VP of Stain and Speciality Products at Behr.
If you opt to paint your decking, using the correct types of paint and preparation, you will be looking at having it around for years to come. Just make sure that the wood isn’t breaking or in need of dire repairs first – those are things that paint can’t fix!
How do you prep your deck for painting?

Prior to painting comes preparing, so it’s time to bust out the cleaning supplies. Warm water and soap are all that’s needed to decking materials in good form although, if you have tougher stains or dirt to remove, consider using an all-purpose cleaning agent.
Scrub at the planks with these solutions using a broom with strong bristles, a hand brush, or a standard sponge, then allow adequate time for drying before moving on to further steps. It’s recommended to paint decking during a forecast period of neutral weather to ensure it won’t rain while under maintenance, but regardless of weather leaving twenty-four hours between drying and painting your deck is best.
The next step is to inspect the deck’s surface for debris. ‘Proper surface preparation is required for any painting or staining project, including removing failing coatings or loose wood fibers,’ says Matt. Loose pieces of wood will get in the way or break off, getting stuck in your fresh coat of paint. Either way, it isn’t something you want to happen!
If you encounter small pieces of damage that aren’t extensive enough to require a board replacement, you can use epoxy to fill in small holes and cracks. Bear in mind this isn’t a long-term solution, or a fix for rotting wood.
So long as your wood is in good condition to proceed, sand down the entire surface with sandpaper or a sanding tool to rough it up. This will help the primer to stick, as well as take off the top layer which is likely sun damaged and worn. Wipe off any excess sawdust with a cloth.
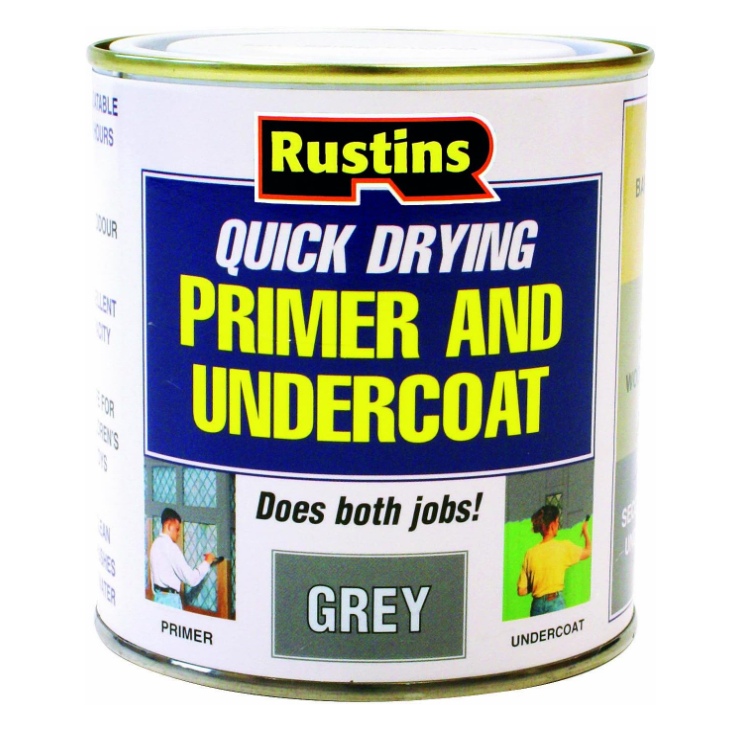
Finally, before painting you need to prime. The best option out there for the job is a decking primer undercoat as it’s specially designed for decking. This specificity means all of those necessary properties – anti-corrosion, chemical resistance, etc – are right there within the primer. Never skip the priming step in your painting projects – it helps your paint adhere to the surface!
How do you paint a deck?

You have now reached the painting phase - the key step that will make your deck look more inviting. According to Andre Kazimierski, CEO of Improovy Painting, acrylic paint is the top choice for decking for a variety of reasons. ‘Acrylic paint typically works best for decking because it is significantly weather-proof in comparison to other types of paint,' he says.
Andre goes on to add: ‘Deck paint lasts longer than deck stain, and it shouldn’t need to be repainted more often than every ten years or so.’ Of course, unless you want to switch things up, or if your deck has been subjected to heavy use or severe climates.
Rollers, paint brushes, or sponges can be used to apply paint or stain to your decking. A roller that can be attached to an extendable pole may be an especially handy tool to have with you though as you won’t have to bend as much to reach the floor.
Apply a minimum of two coats of paint, allowing four to six hours of drying time between coats. The amount of coats required to produce a streak-free full coverage on your deck depends on the type of paint being used, so keep applying coats and touch-ups if you continue to see your old wood planks through the paint layers.
Once twenty-four to forty-eight hours have passed, you can resume regular deck use. This definitely isn't a one-day renovation, but the results will speak for themselves!
Be The First To Know
The Livingetc newsletters are your inside source for what’s shaping interiors now - and what’s next. Discover trend forecasts, smart style ideas, and curated shopping inspiration that brings design to life. Subscribe today and stay ahead of the curve.

Ciéra is a writer and regional laureate with particular passions for art, design, philosophy and poetry. As well as contributing to Livingetc, she's an Editorial Assistant for Design Anthology UK and a contributing writer for Homes & Gardens and Apartment Therapy. Previous commendations of hers include being Highly Commended by The Royal Society of Literature and receiving a prestigious MA Magazine Journalism scholarship to City, University of London.
-
 My 10 Favorite Designs at Milan Design Week 2025 — Out of the Hundreds of Pieces I Saw
There is a new elegance, color, and shape being shown in Milan this week, and these are the pieces that caught my eye
By Pip Rich
-
 Iridescence Is Chrome’s More Playful, Hard-to-Define Cousin — And You're About to See It Everywhere
This kinetic finish signals a broader shift toward surfaces that move, shimmer, and surprise. Here's where to find it now
By Julia Demer


