Painting a Dining Table — 6 Steps to Follow for a Durable Finish
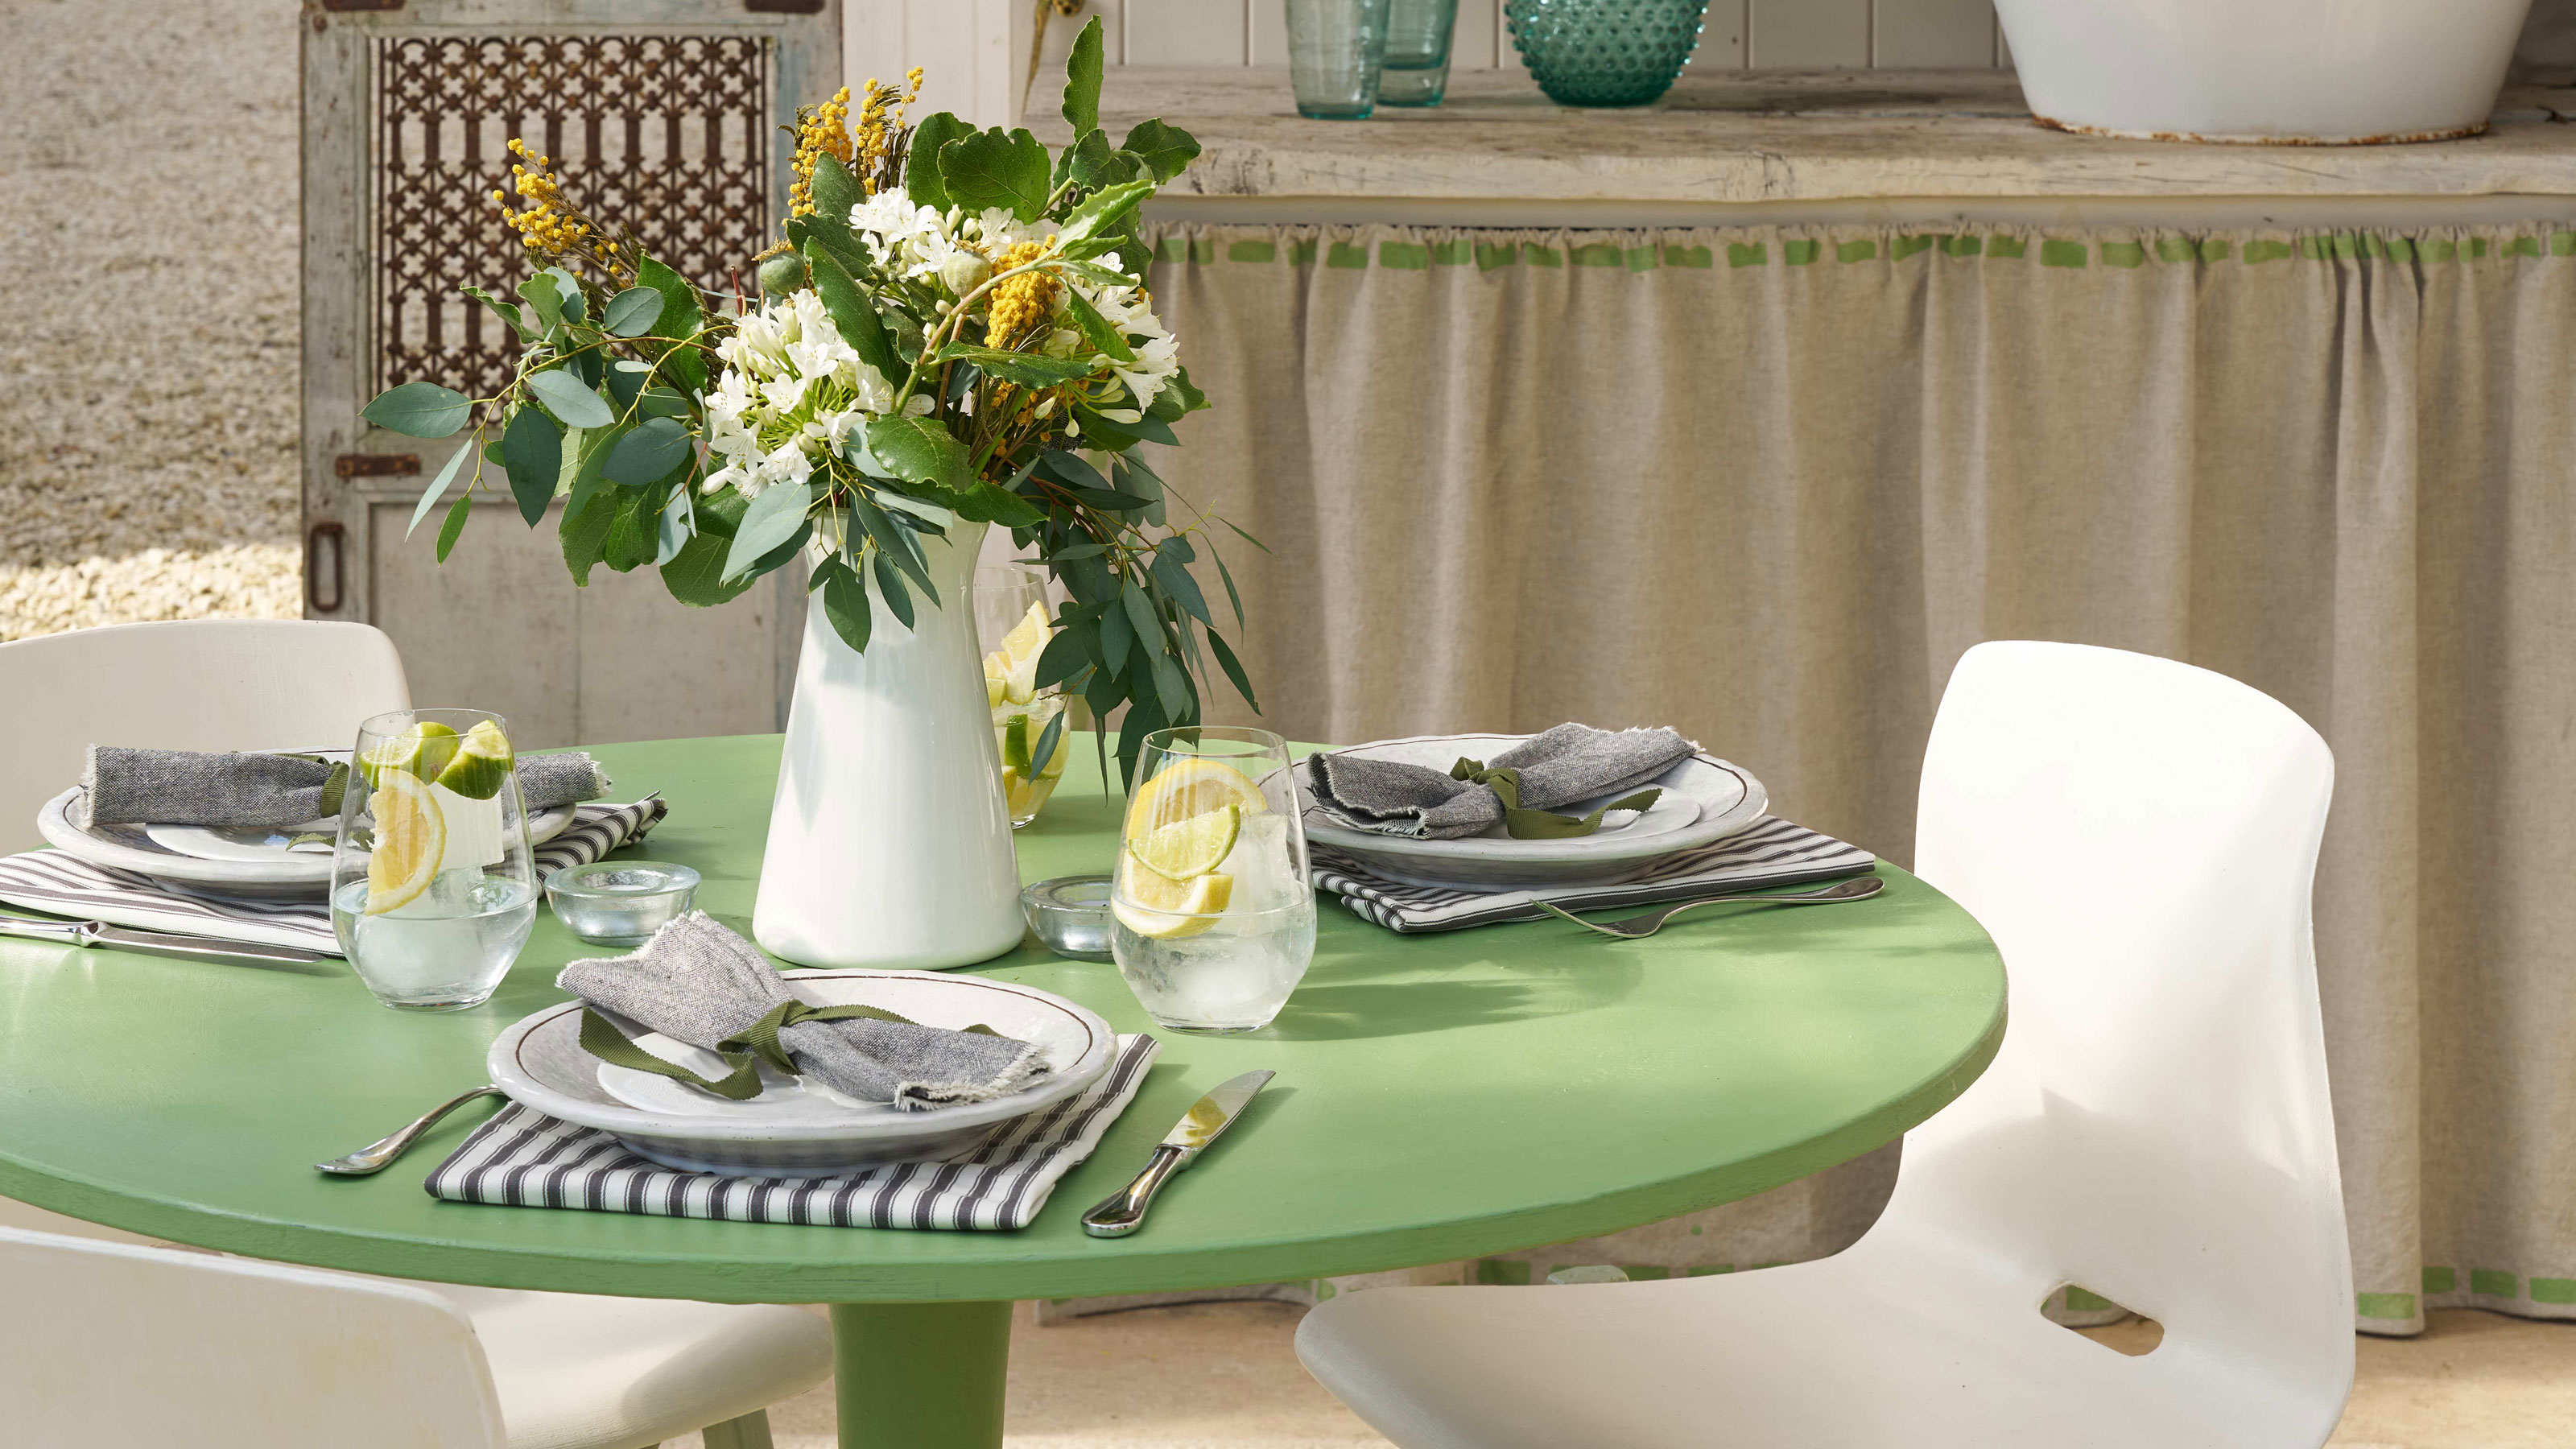
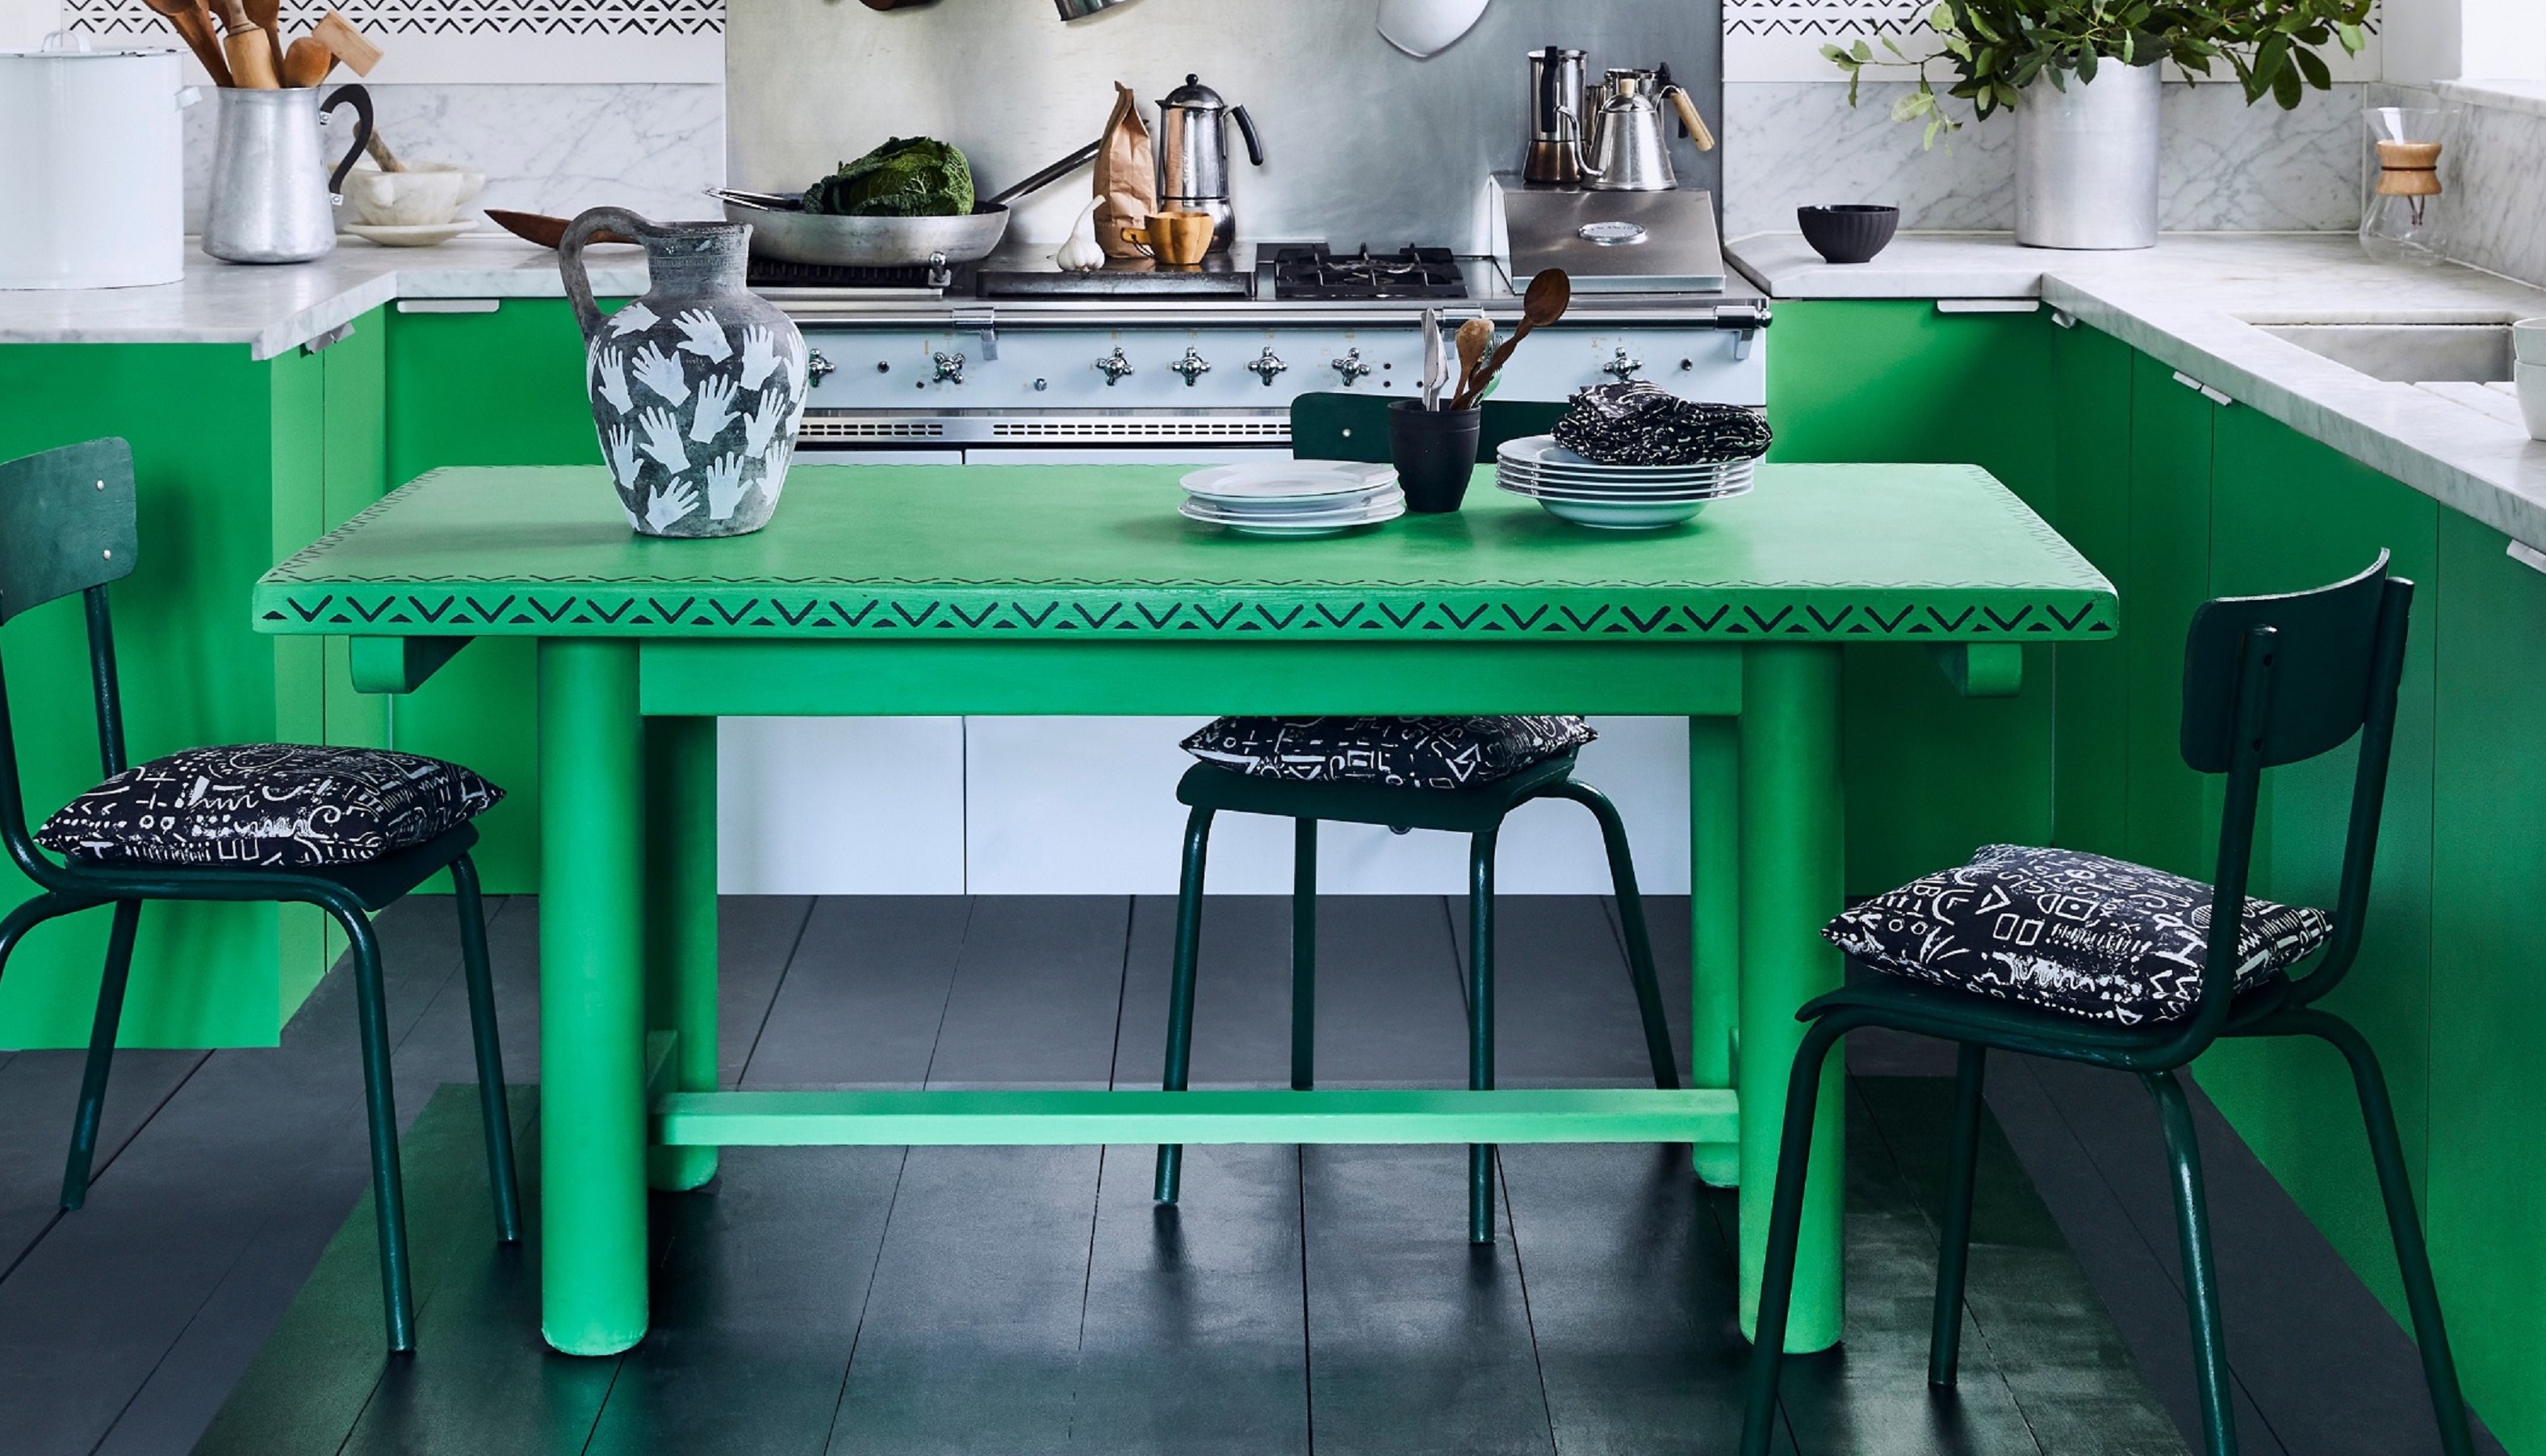
If you want to transform a dining room, painting its centerpiece will make a big impact. But how do you paint one and get a good-looking, durable finish


Painting a dining room table is much like painting any other kinds furniture, aside from the fact it needs to be able to stand up to a little more rigor. Think elbows on the table, food dropped on the paintwork, and evenings spent with the kids doing homework.
If your dining table has faded in color and looks a bit rough around the edges — painting your dining table will certainly bring it back to life. Jessie Read, expert painter, artist and the founder of Jessie Read Art says: "I love restoring old furniture, and repainting a table is easier than you may think. I recently repainted a friend’s dining room table for her. We decided on painting versus staining as she wanted an entirely new look."
Understanding how to paint furniture will give you a space filled with color, style and lots of allure and painting a dining table — the right way — will transform your home. Here is how you can paint a dining table and what you'll need.
What You'll Need

Before starting the process of painting a dining table, you'll need to have the right tools and knowledge to get the best out of your furniture. Can you paint wood furniture without sanding? What tools are needed and should you paint or stain your furniture?
We're here to answer all your questions, but first up — Jessie Read, abstract painter, expert and the founder of Jessie Read Art says you'll need to the right tools, before you start on your project.
TOOLS:
- Clean rag towels
- A bucket of soapy water
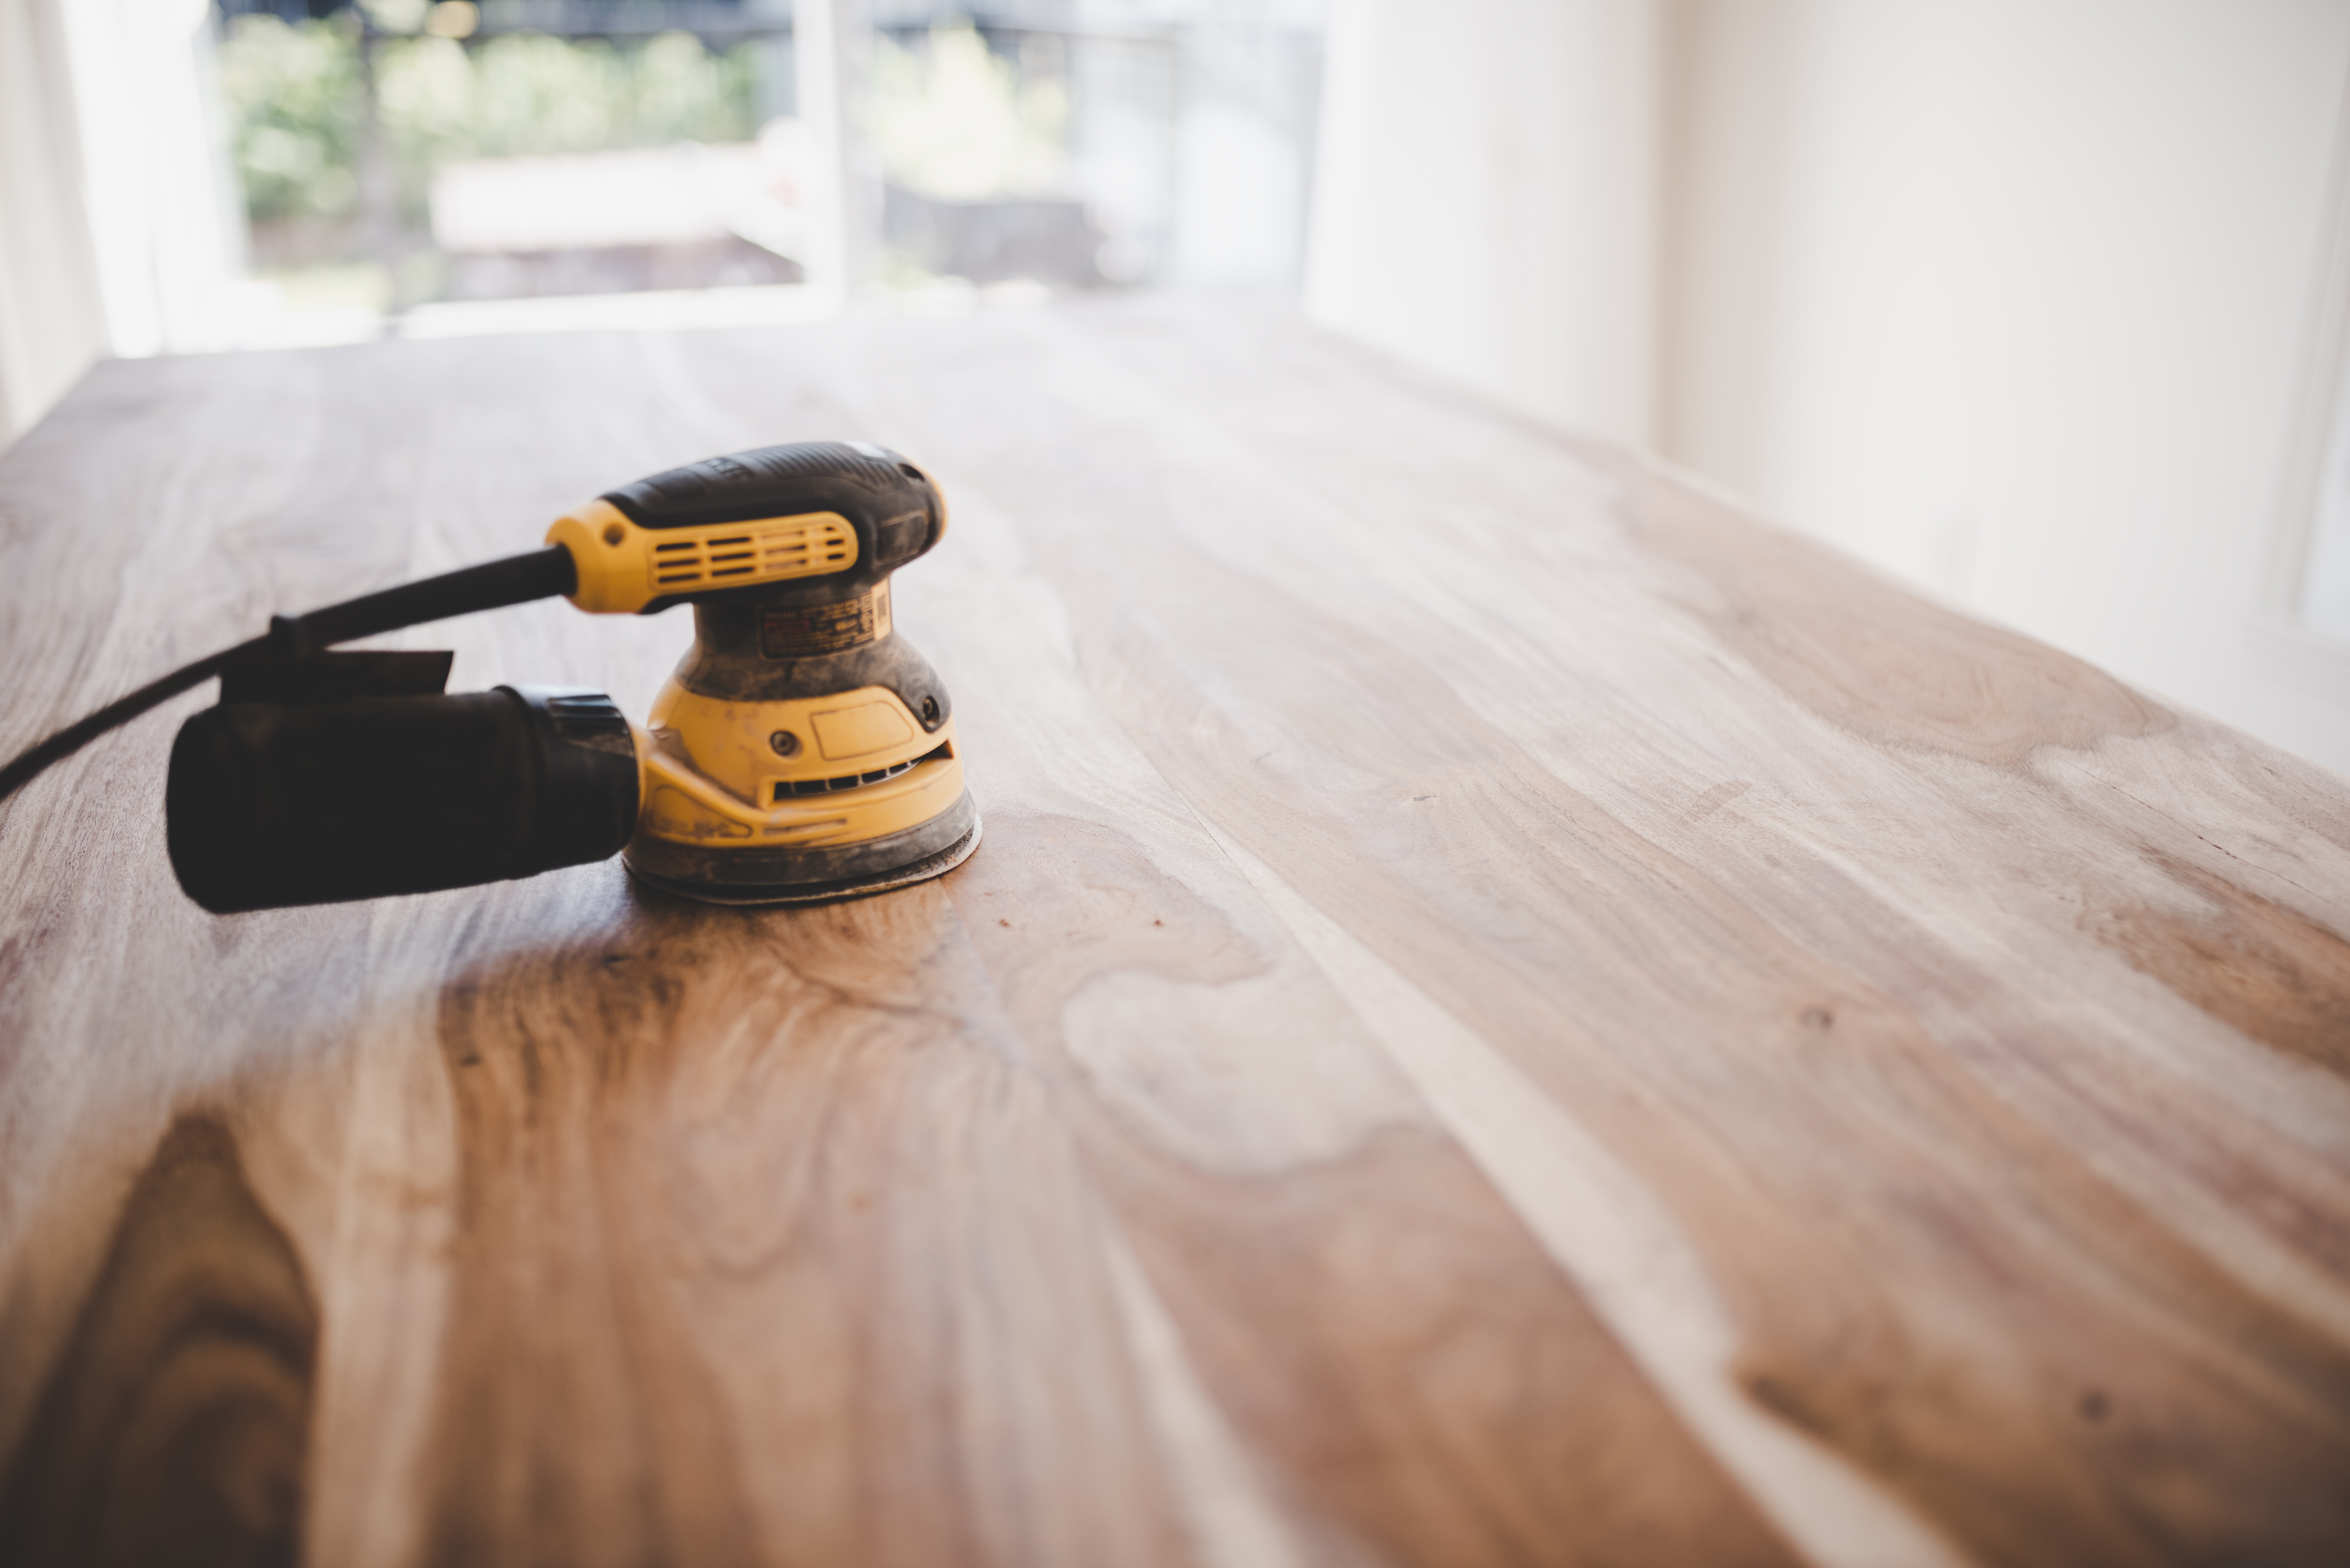
- Electric orbital sander, like this Dewalt 20V Max Orbital Sander from Amazon or a 80/120 grit sandpaper — which can be found at Target, Home Depot, Amazon and other retailers.
- Deglosser (If needed)
- Primer
- Paint brush — Jessie says she uses a 2" angled brush, but recommends you use what you are most comfortable with.
- Paint of your choice
- Top coat (if needed)
Without further ado, here's how to paint a dining room table — according to the experts.
The Livingetc newsletters are your inside source for what’s shaping interiors now - and what’s next. Discover trend forecasts, smart style ideas, and curated shopping inspiration that brings design to life. Subscribe today and stay ahead of the curve.
How to Paint a Dining Table
Step 1 - Clean Your Table
Now that you have all your tools in place — it's time to begin the process of painting your dining table.
First up, Jessie says you'll need to remove any dirt or grime that may be laying on your table. "Soap and water does the trick. If your table has an old coat of paint, varnish or wax on it, this has to be removed. I have been using a deglosser as an alternative to sanding, although I seem to still do some sanding along the way too. Simply rub the deglosser on with a clean rag, then wipe it off with a clean, damp rag".
Step 2 - Sand Your Table

Just as you do when you refinish wood furniture, it is important to sand your table if it is looking a little rough on the edges.
For this, Jessie recommends "smoothing out any dents and scratches with an electric sander and 80 grit sandpaper. This will remove any of the finish that remains as well". She continues: "I suggest going over the entire table again with a finer 120 grit sandpaper to ensure the surface is as smooth as possible. Don’t forget to wipe off any dust from sanding".
Paint expert and construction manager Brandon Walker from ASAP Restoration LLC, tells us that sanding is an important part of the process as it helps remove old finish stain or paint from the surface of the table. "This means getting the old stain or paint out of every single nook and cranny in the wood," Brandon adds. "You may also need wire brushes or a rotary tool with different attachments to get all of the finish out of every spot. After you’ve taken off the bulk of the old paint layer, you can switch to a finer grit sandpaper so that you get a nicer finish on the final table. Many people sand dining tables to a very fine grit of 300+, but it’s entirely up to your aesthetic choice".

Jessie Read is a contemporary abstract painter and furniture up cycler based in Philadelphia, refurbishing dining room tables and chairs. In her work, she strives to a precarious balance of creativity and technical precision, which requires constant attention to detail.
Step 3 - Add a layer of Primer

There are a few painting mistakes that you need to be aware of before you begin the process and for some decorators, it may be the fact that you're missing a crucial step — such as adding a coat of primer before painting.
Jessie tells us: "Primer helps the paint stick and ultimately last longer. I use an angled paint brush with both my primer and my paint. I find it easier to access the corners. Some people prefer a roller or foam brush. The most important tip I will share is to apply your primer and your paint in thin layers going with the grain of the wood".
The expert says once your primer is dry (this may take about an hour) you can then begin painting your table.
Step 4 - Choose Your Paint Type
Take a moment to gather those brewing paint color ideas that you might have. It's important to consider what paint finish you want on your furniture and what color you love most.
The choice is yours, however Jessie says you should "consider not only the color, but the finish you want. Chalk paint is a water-based paint that dries to a flat finish, and minimal prep is required. It is thick, so I usually water down." The paint expert says her favorite is Dixie Belle chalk paint — which you can purchase over at Amazon.
Jessie continues: "Mineral paint is an extremely durable paint that dries to a matte finish, and dries very quickly. Mineral paint requires very little prep as well. It’s self-leveling, meaning few if any brush marks, and you do not need a top coat (you can add various waxes to achieve different finishes). I have used Fusion mineral paint, and I love it for painting furniture. For a high gloss finish, I use a high gloss acrylic paint vs high gloss oil. High gloss takes a while to dry. I would keep things off of the table for at least 4 days".
Step 5 - Begin Painting Your Table
The moment we've all been waiting for. It's time to grab your paint brush and finally start painting your dining table. How is this done? Well, Jessie says "I start in the center of the table and distribute the paint to the edges; this helps with drip marks on the sides".
"Don’t press down to hard, and use long brush strokes," the expert painter warns. "This helps achieve a smooth finish". Jessie says she also sands in between coats — especially when using high gloss paints as it helps with the brushstrokes. "From chalk paint to high gloss paint the drying times vary significantly," she adds.
Choosing the perfect type of paint finishes for your dining table is an important step, so choose wisely and take your time!
Step 6 - Add a second coat after drying
Now that you've added the first coat of paint onto your dining table, it's time to add your second layer. Typically, a dining table will need two coats to get the best color and finish.
"Let your table dry completely before applying the second coat, and do the same if applying a top coat," Jessie explains. And if you're keen to use your dining table as soon as possible, the expert says you should give it a day or two to let it dry fully just to be on the safe side.
Which Paint Should I Use on a Dining Table?
I particularly love bold and brave colors around my home, and when it comes to my dining table — I like to mix it up a bit.
Here are a few paint colors you can use on your dining table.

Price: $134.95
Size: 1 Gallon
Color: Rich dark brown and black
As recommended by Jessie, Dixie Belle is a quite a popular furniture paint company. You can bring your paint ideas to life with this stunning rich dark brown and black paint which effortlessly flows into any space and create a warm atmosphere.

Price: $25.05
Size: 1 Quart
Color: Highland Blue
Bold and bright, bringing color onto your dining table will certainly elevate its appearance and make meals more enticing. This paint color will create a unique brushed effect on your dining table and can dry to the touch in just 30 minutes.

Price: $27.05
Size: 16oz
Color: Beige/cream
Ideal for dining tables, this all-in-one paint provides a durable and washable surface with its water-based properties making it easier to apply on surfaces. Best of all, the product promises no stripping, no sanding and no priming.
FAQS
How long shall I wait until I use my dining table after painting?

Paint expert and construction manager Brandon Walker from ASAP Restoration LLC, says this depends on the type of paint you've used. "If you go with an oil-based paint, it will likely need six or so hours to dry, but it won’t be cured for up to two weeks. This means that it may feel dry to the touch, but if you place a plate on top of it for more than a second or two, it may leave an impression of the underside of the plate. This is because it isn’t cured".
He continues: "Curing is critical before the surfaces can be used. There are some paints that can be cured with UV light, but this requires a special lamp to set the final coat of paint, and is really a professional grade product".

Brandon Walker has been in the painting and construction industry for more than 20 years. After running his own company, he decided to advance his skills as a Superintendent with ASAP Restoration. Brandon cut his teeth as a teenage painter working for Walker Paint Masters doing commercial projects for Planet Hollywood and Elizabeth Arden’s Red Door Spa among others.
Is It Better to Paint or Stain a Table?
To paint or to stain? That is the question.
Brandon tells us: "If the dining table has a huge number of grooves or nooks and crannies, or it has a lot of ornate woodwork, then it might be best to try and repaint it rather than to remove all of the paint and re-stain it. This is because it will be extremely difficult to get all of the old color out of these spots in the woodwork".
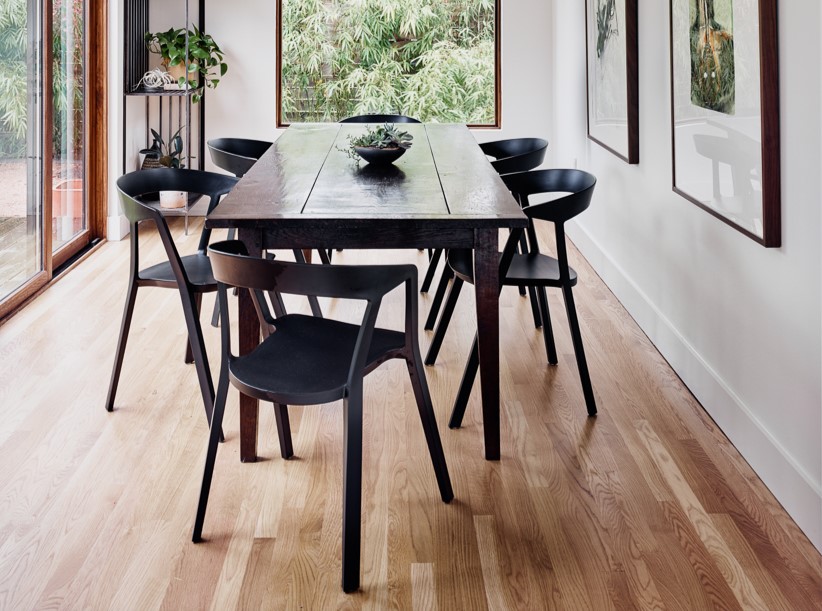
For the most part, Brandon says "a table made of good quality wood will look better with a high quality stain than it will with any kind of paint because it brings out the grain and texture of the wood appearance. Odds are strong that the dining table was built with a high quality hardwood, and these usually have a gorgeous contour to them that would be a shame to cover up with any kind of paint".
Brandon explains that staining brings out the natural colors and textures which hardwoods naturally have, "and this is usually why most high-end dining tables are treated with stain and a high-quality sealant to keep the wood and stain safe".
Do you have to sand a table to paint it?
Brandon says yes! "You also need to prime it," he adds. "This is what makes the paint stick to the surface. Sanding also makes it a much more favorable texture to the touch. No one wants to eat food off of a table that feels like sandpaper itself".

Faiza is the Renovation Editor at Livingetc. She previously worked for The Independent as a News Feature Writer, where she crafted lifestyle, entertainment, and news stories. She also worked as an Audience Editor for the newspaper for almost two years. Thriving in the busy newsroom, Faiza also spent her time crafting stories for Sky News as an SEO reporter, where she produced stories based on trending topics. Lifestyle and interior design have been areas of interest for her for some time, and as she advances in this field, she will continue to refine her skills in all aspects of design. Faiza has a background in SEO, social media, and reporting. Her passion for writing goes beyond her work as she loves all things poetry and creative writing.