How to paint bathroom cabinets – a quick and easy way to transform your bathroom
If you are looking for a quick bathroom refresh for the new year, our guide to how to paint bathroom cabinets is the weekend project you need

We love a bathroom makeover, but it doesn’t have to be as complicated as a whole bathroom overhaul to elevate your space. Simply painting learning how to paint bathroom cabinets can inject new life, whether you’re aiming for light and airy or moody and muted.
Bathrooms tend to be the smallest rooms in the house, but that doesn’t mean you can’t get creative. Whether you’re looking to make a calming, neutral space or make a statement with bold colors, repainting your bathroom cabinets is a quick and easy DIY to update your bathroom.
Keep reading for our simple step-by-step guide on how to paint bathroom cabinets, plus plenty of lovely bathroom ideas, to get you inspired to take on this weekend project.
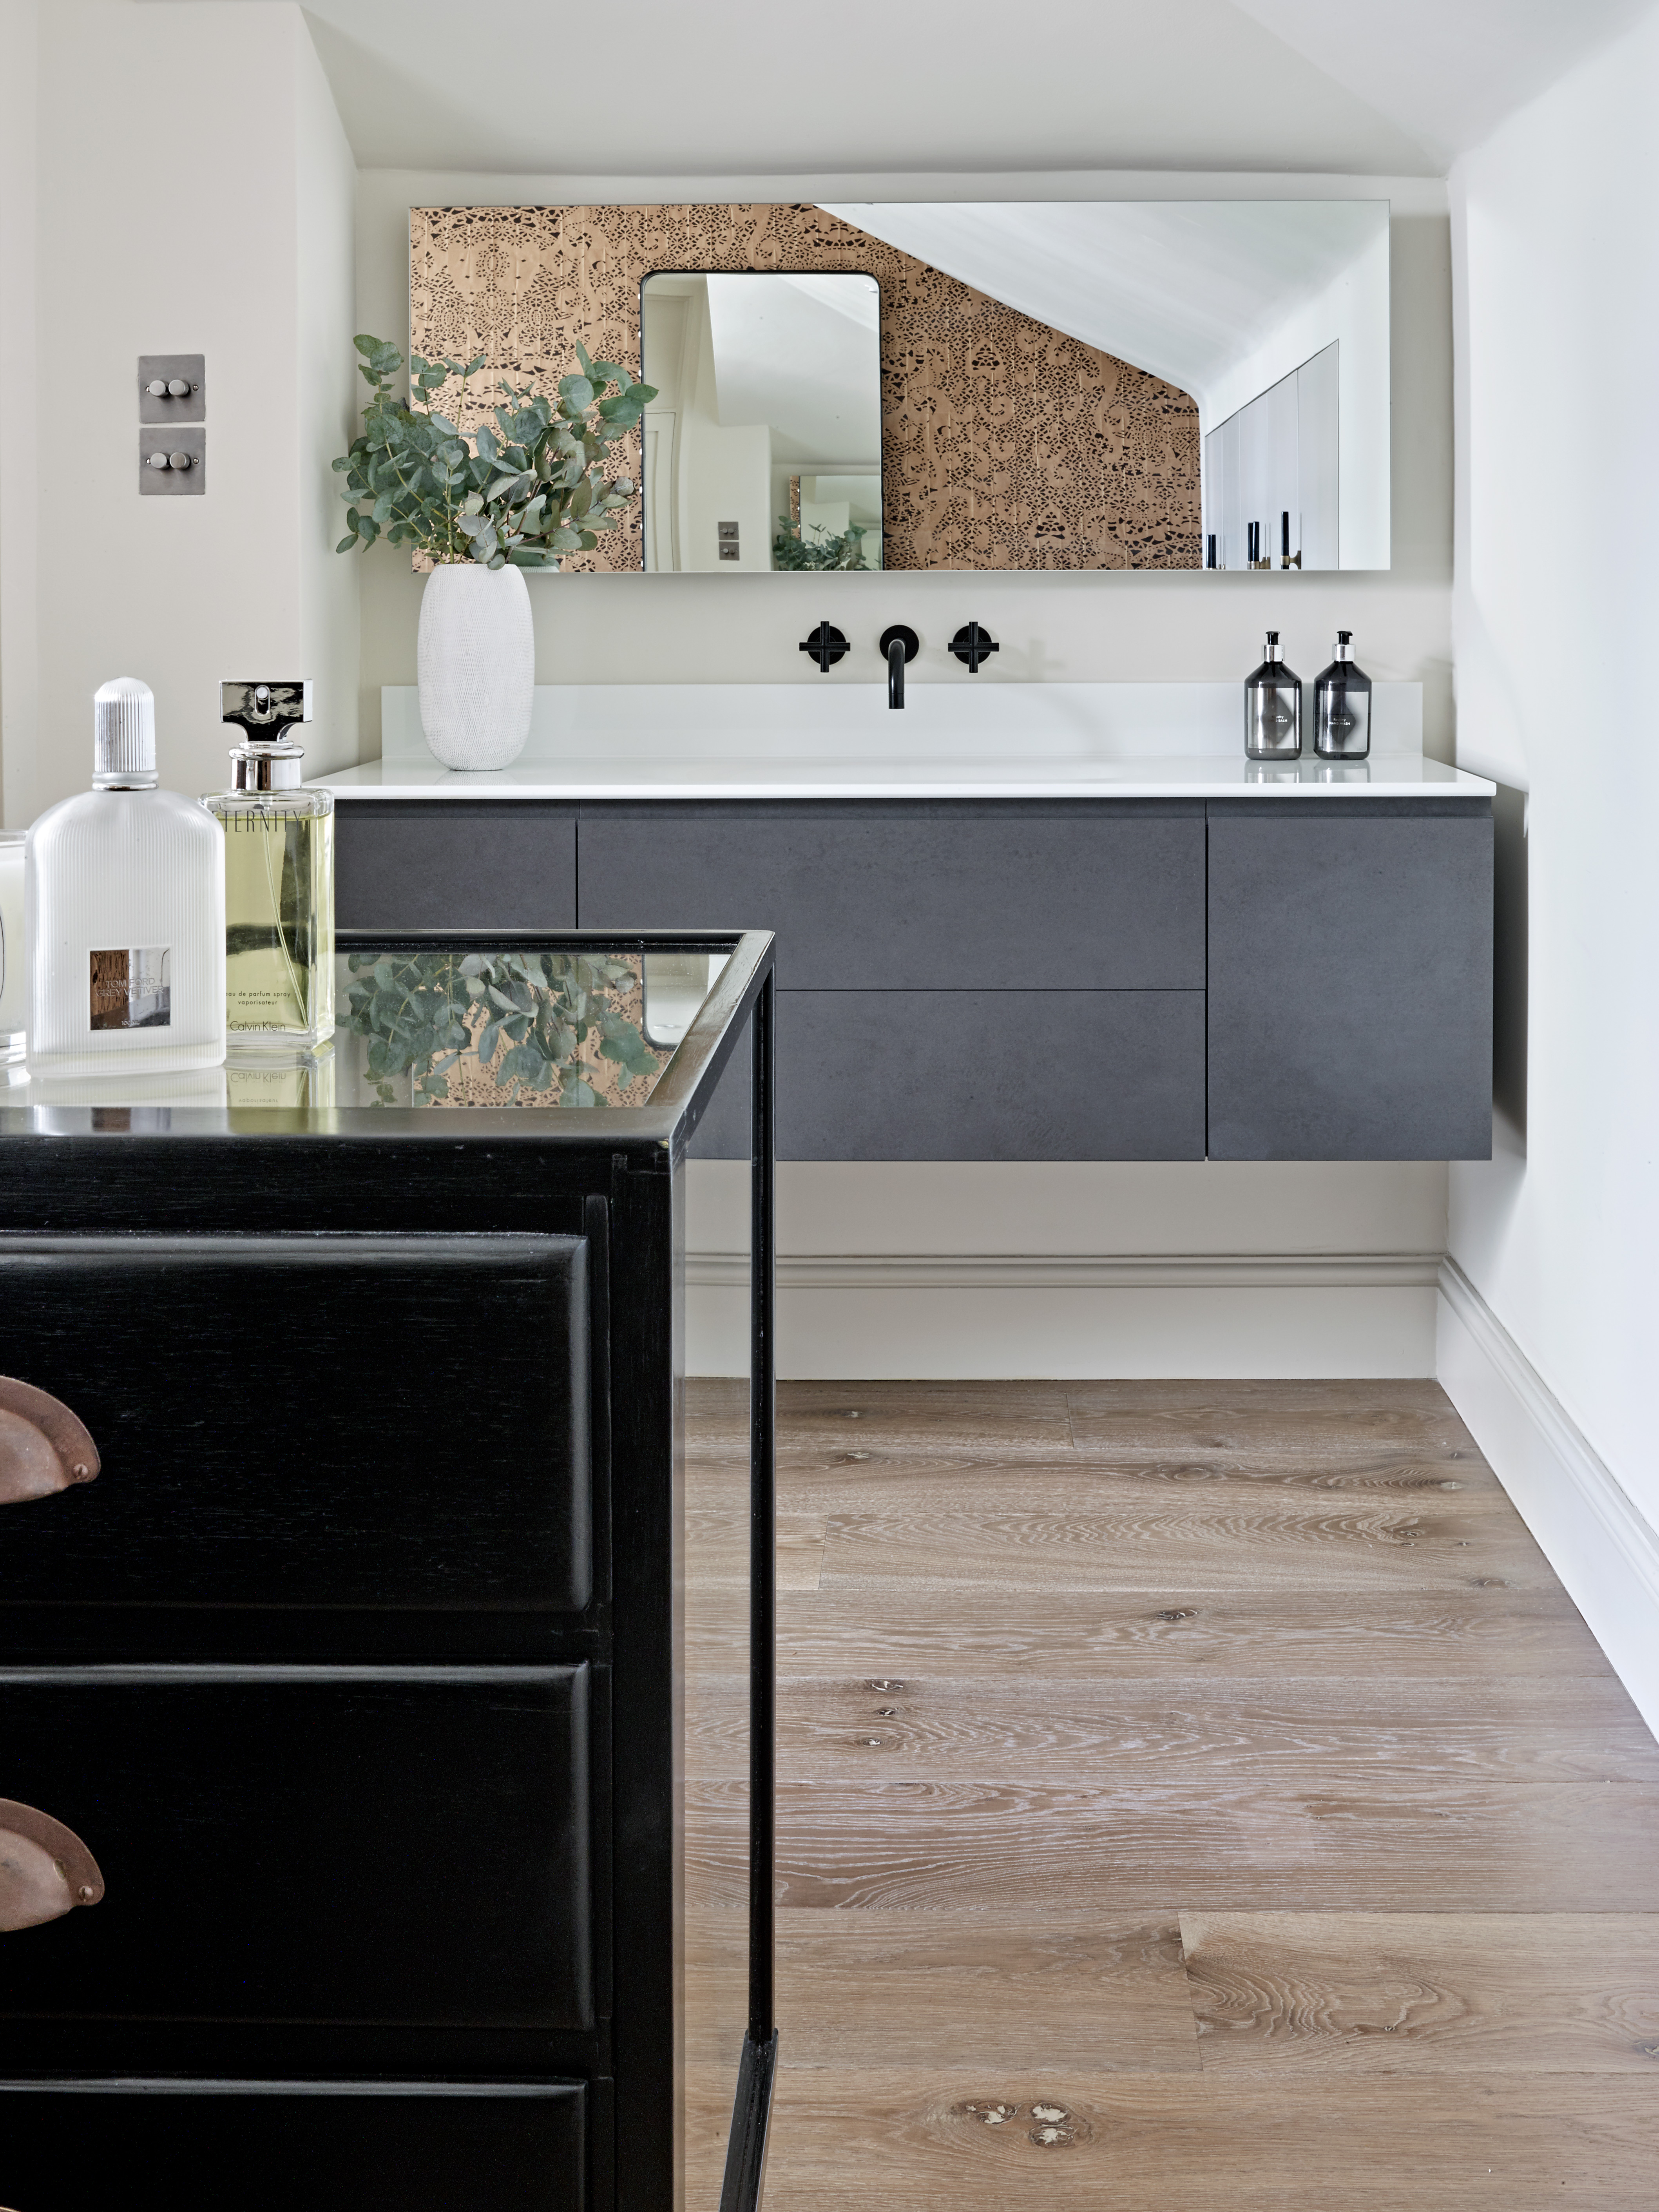
How to paint bathroom cabinets
You will need:
- Your paint of choice
- Primer
- Good quality brushes
- Paint roller
- Sandpaper
- Masking tape
- Screwdriver
1. Prepare the room
Starting by emptying all of the bathroom cabinets and drawers, and clearing all of the surfaces, including any appliances that can be moved.
Cover all surfaces, the floor, and anything that cannot be moved with rosin paper or paint sheets, and mark off the wall around the cabinets with masking tape.
2. Remove doors, drawers, shelves and hardware
Unscrew the doors from your bathroom cabinets, remove all interior shelves, and remove all hardware. If you have multiple bathroom cabinets, label each item with a numbered piece of masking tape, so you know which door or drawer matches which cabinet.
Set aside all screws and hardware, putting into groups that correspond with each drawer and cabinet. Take the time to label everything properly to make putting back together easier – you could use small ziplock bags to do this.
If you cannot remove your doors you can still paint your cabinets, although the finish will not be as clean. Cover the hinges and hardware with masking tape and be careful when painting around it, using a smaller brush in these areas if possible.
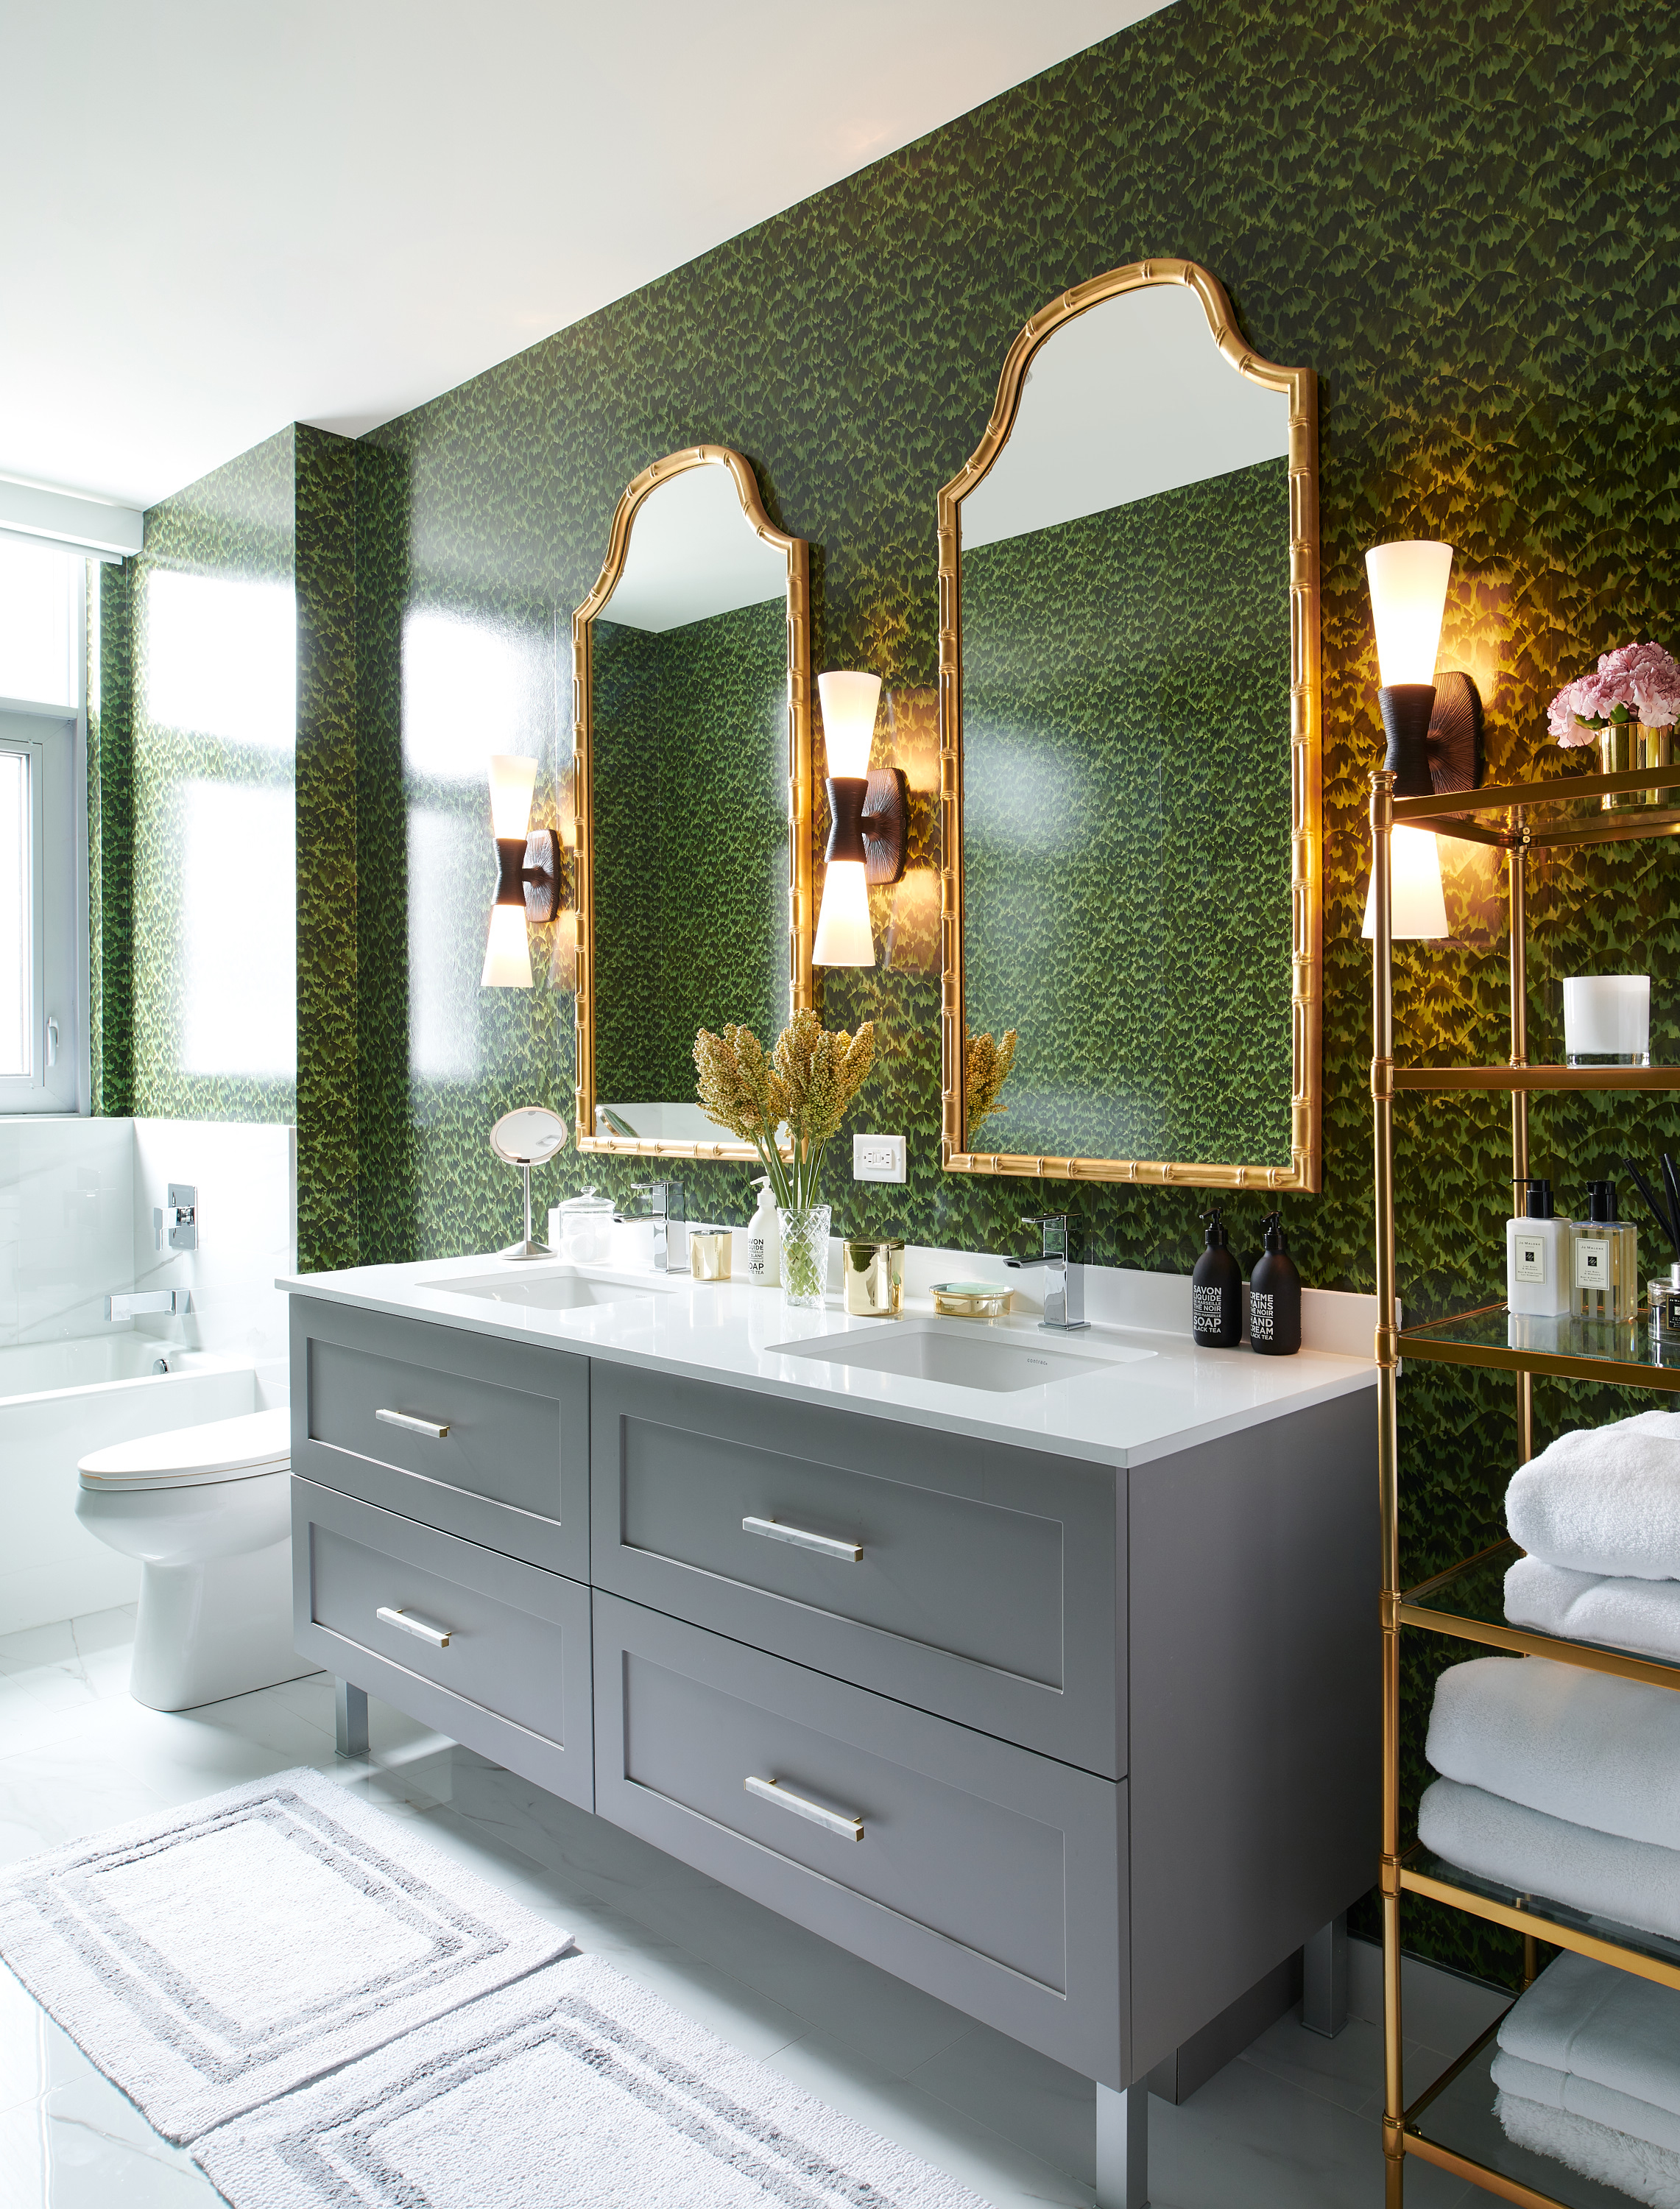
3. Clean your bathroom cabinets and wash the hardware
The bathroom can be a messy place, so take this opportunity to give your cabinets and hardware a good clean and keep the bathroom hygienic.
Spray your cabinets with a degreaser and wipe them down with a rag to remove any oil or grease that has built up over time. Once your cabinets are clean, rinse them thoroughly with water and leave to dry completely.
Meanwhile, soak the hardware from each item in a bowl of warm water and dish soap, scrubbing with a sponge or brush where necessary. Then dry and store in labeled bags.
4. Sand down your bathroom cabinets and remove old paint if necessary
Rub down the cabinets with medium-grade sandpaper. Then use wood filler to repair surface imperfections, and use a damp cloth to remove dust and debris.
If your cabinets are already painted, now is the time to remove the old paint so that you can apply the new paint more effectively. Do this by sanding, or use a chemical paint stripper if sanding is not enough.
If you do not want to remove the old paint, you can cover the cabinets with an oil-based primer instead. However, you will get the best results if the old paint is removed.
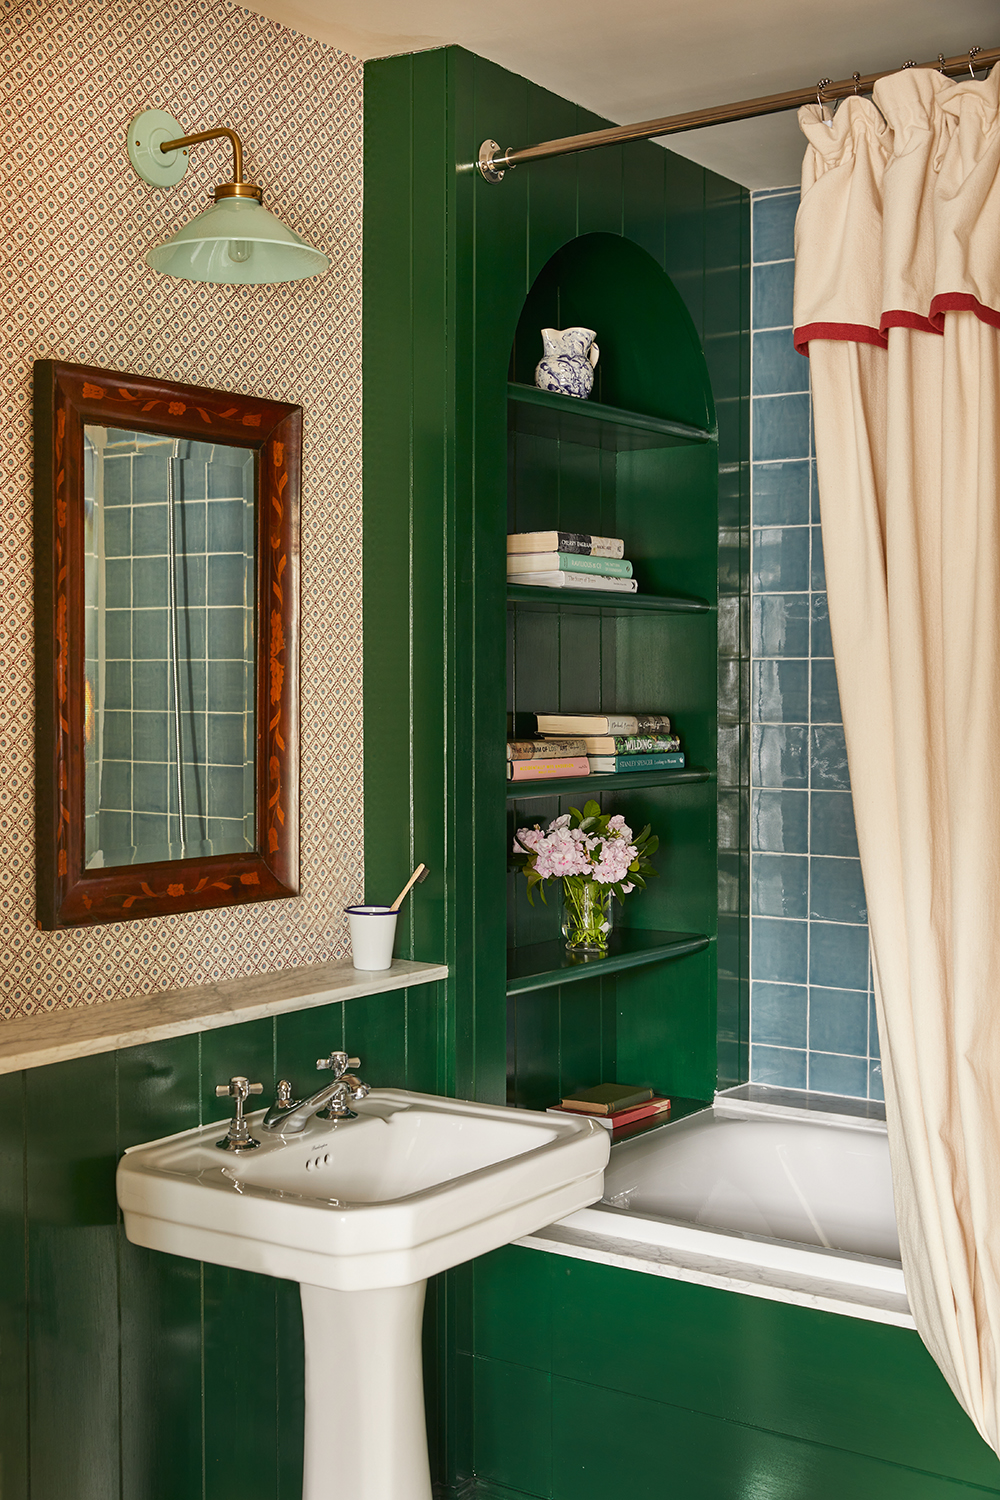
5. Prime the cabinets, doors, drawers and shelves
When it comes to painting modern bathroom cabinets, priming is key. Sanding the surface will ensure primer and paint adheres better, and priming stops the wood’s imperfections from showing through the paint.
Pour your primer into a paint tray, and apply to the cabinet. Use a paint roller or large square brush on larger, flat surfaces and a smaller angled brush on any tighter spots.
Once the cabinet is covered with primer, leave to dry thoroughly. Meanwhile, repeat this step with all doors and drawer fronts. If possible, do this on a covered table in a different room that is well-ventilated.
Avoid drips as much as possible, and wipe them up as you go to avoid lap marks around the edges.
6. Sand down the bathroom cabinets, doors, drawers and shelves
Once the primer is completely dry, sand all flat surfaces lightly with grit paper between 180-220 until smooth. Profiled surfaces should be sanded with a medium-grit sanding sponge. Wipe up and remove all dust that is created.
7. Paint your bathroom cabinets
Start with the cabinet boxes, and then paint everything else while you wait for those to dry.
‘The key thing to know when using paint in a bathroom, is that steam is very much the enemy of paint,’ says paint expert, Annie Sloan. ‘If you’re using Chalk Paint™ in a bathroom, you need to protect the paint with a non-water based finishing sealant such as my Chalk Paint™ Lacquer. The Lacquer will seal the paint and stop it running, dripping, or evaporating away.’
If you are not using glossy paint, make sure to finish with a top coat to seal the paint and keep it safe in the damp environment.
‘Once painted, remember to avoid using harsh bleach chemical cleaners on painted areas,’ Annie adds.
Leave the paint to dry completely. Check the guidelines on the paint tin for directions on how long your should wait, but if in doubt leave everything to dry for 48 hours.

8. Put your bathroom cabinets back together
Once you have waited for your paint to dry completely, you can reattach all doors, drawer fronts, and hardware. Refer to the labels you made in step 2 to match the correct pieces to their shells.
Reattach all draw pulls and cupboard handles, or take this opportunity to replace your hardware with new pieces to go with your fresh lick of paint.
Top tips to paint your bathroom cabinets effectively
What colour should I paint my bathroom cabinets?
‘Some think that all-white can be too clinical,’ says Justyna Korczynska, color consultant for Crown. ‘But having a lighter tone will open up the space and make it feel brighter.
‘However, if this is too sterile for your taste, greys are extremely versatile and will work perfectly in your bathroom,’ says Justyna.
Ruth Mottershead, creative director at Little Greene, similarly recommends serenity: ‘To create a scheme that provides you with a calm retreat, use colors with warm undertones that add a comforting feel to a space.
‘When choosing bathroom colors, don’t overlook the soothing power of deeper shades; darker sumptuous shades such as Vulcan can give your bathroom a luxurious cozy feel,’ Ruth adds.
‘I’d say you can be pretty bold and experimental in a bathroom!’ says Annie Sloan. ‘I’d look to your wardrobe for colors which flatter you, and base my color choices around that.
‘We spend a lot of time in bathrooms looking at our reflections so choose a color which suits you!’ says Annie. ‘I’ve seen lots of Hollywood Regency and Art Deco transformations which can be done quite easily in a small space with room dressing and smart color choices.’
‘I’m noticing people going for more statement bathrooms,’ says Annie Sloan.
Should bathroom cabinets match the bathroom wall colour?
‘Consider the atmosphere you wish to create,’ recommends Ruth Mottershead. ‘For a soothing, cohesive scheme, use the same shade for cabinets and walls, or be bold with a contrasting color highlight which is a simple, contemporary way to introduce color to a small space.’
Which paint finish should I use when painting my bathroom cabinets?
‘Little Greene provide durable finishes to ensure your walls remain beautiful in a space that often experiences condensation and frequent cleaning,’ says Ruth Mottershead.
‘To deliver the most durable finish on a bathroom cabinet, use our hard-wearing Intelligent Satinwood, elegant low-sheen Intelligent Eggshell, or Intelligent Gloss finish,’ Ruth recommends.
‘In a small space when you can’t use so many colors, ornaments, and textiles to create atmosphere,’ Annie Sloan recommends Chalk Paint, which ‘gives a velvety matte finish.’ However, make sure to apply a topcoat on Chalk Paint in the bathroom to ensure the paint lasts.
How can I make sure the paint on my bathroom cabinets lasts?
As Annie Sloan said, ‘steam is very much the enemy of paint.’ Ensure your paint lasts well in a bathroom environment by prepping your cabinets well, allowing your paint to dry thoroughly, and then sealing with a topcoat.
Be The First To Know
The Livingetc newsletters are your inside source for what’s shaping interiors now - and what’s next. Discover trend forecasts, smart style ideas, and curated shopping inspiration that brings design to life. Subscribe today and stay ahead of the curve.
Olivia Emily is one of the most exciting new talents in consumer lifestyle journalism. Currently finishing off a Masters in Journalism at the City University, London, she has quickly proved herself at being adept on reporting on new interiors trends. A regular contributor to Livingetc, she is brilliant at being able to decode information for our audience.
-
 The Weighted Blanket That Doesn’t Make You Sweat (and the Eye Mask to Match)
Luxury has weight. And apparently, volcanic minerals
By Julia Demer
-
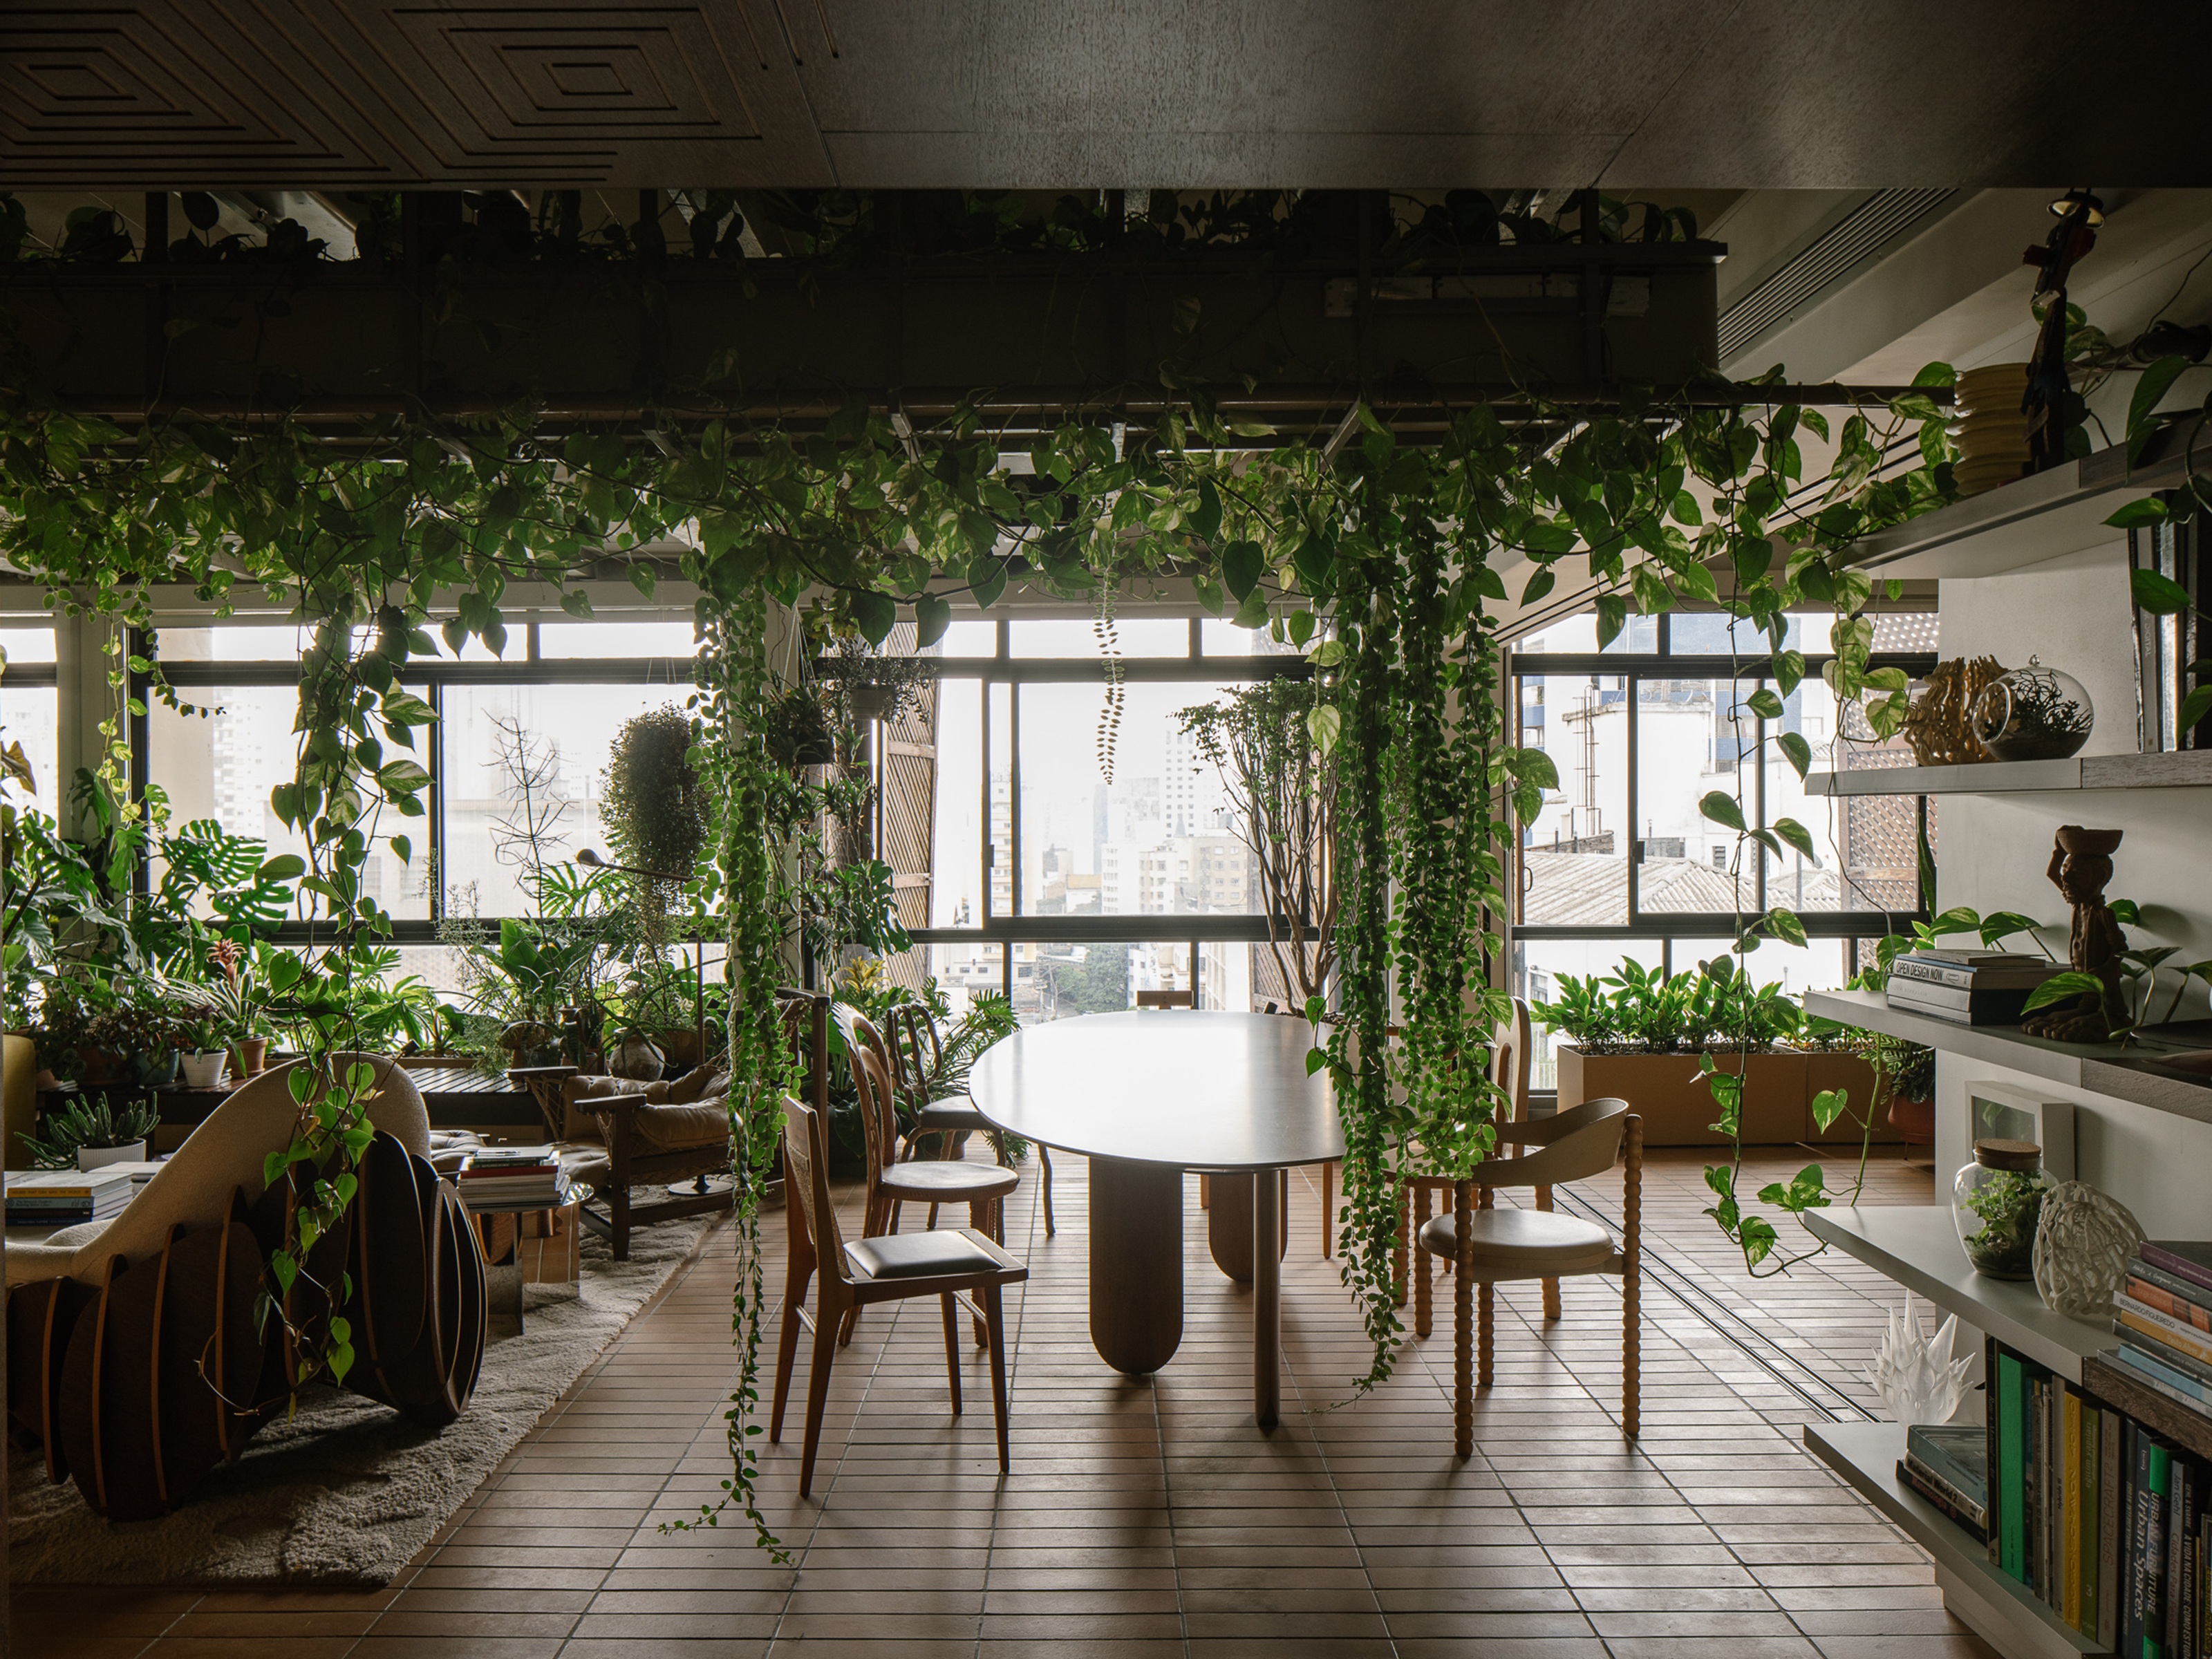 What Is Biophilic Interior Design? I'm an Actual Biophilic Designer, and This Is How to Apply It to Your Home
A biophilic designer explains the core principles of this practice, and the easy ways you can apply it to your home's design
By Marianna Popejoy