How to paint furniture – the expert guide to getting the perfect finish
Learning how to paint furniture could be all you need to refresh your space in just a few easy steps
Not only is upcycling a more affordable way to update your home, it's far more eco-friendly than buying new, so adding how to paint furniture to your DIY arsenal is not only money-saving but planet-saving too.
Whether you’re looking for a quick refresh or a complete furniture overhaul, giving your furniture a fresh lick of paint is all you need to bring your space up to date – especially if you take the time to do it well.
'Upcycling and painting furniture has become increasingly more popular in recent years because of our increasing awareness of the fast fashion impact,' says Aaron Markwell, paints color lead at COAT. 'Plus, it’s an easy and affordable way to breathe new life into old furniture.
'An increasing trend we’ve seen is painting your furniture to match your walls, or opting for a tonal scheme,' Aaron adds. 'This really opens up the room and creates an illusion of a larger space.'
If you’re the kind of person who is constantly brimming with new paint ideas, painting your furniture can definitely be a weekend project you repeat time and time again: 'Once you’ve painted furniture once, you will have all the skill and confidence to take on the project again!”'says James Greenwood, interiors expert at Graham & Brown.
We’ve collated the expert guide on how to update your space by giving your furniture a fresh coat of paint, including tips and tricks on getting the best finish along the way.
How to paint furniture – everything you need to know in 5 easy steps
You will need
- Your paint of choice
- Sandpaper
- Lacquer (if using eggshell paint)
- Wood filler
- Primer
- Sealer
- Paint roller
- High quality paint brushes
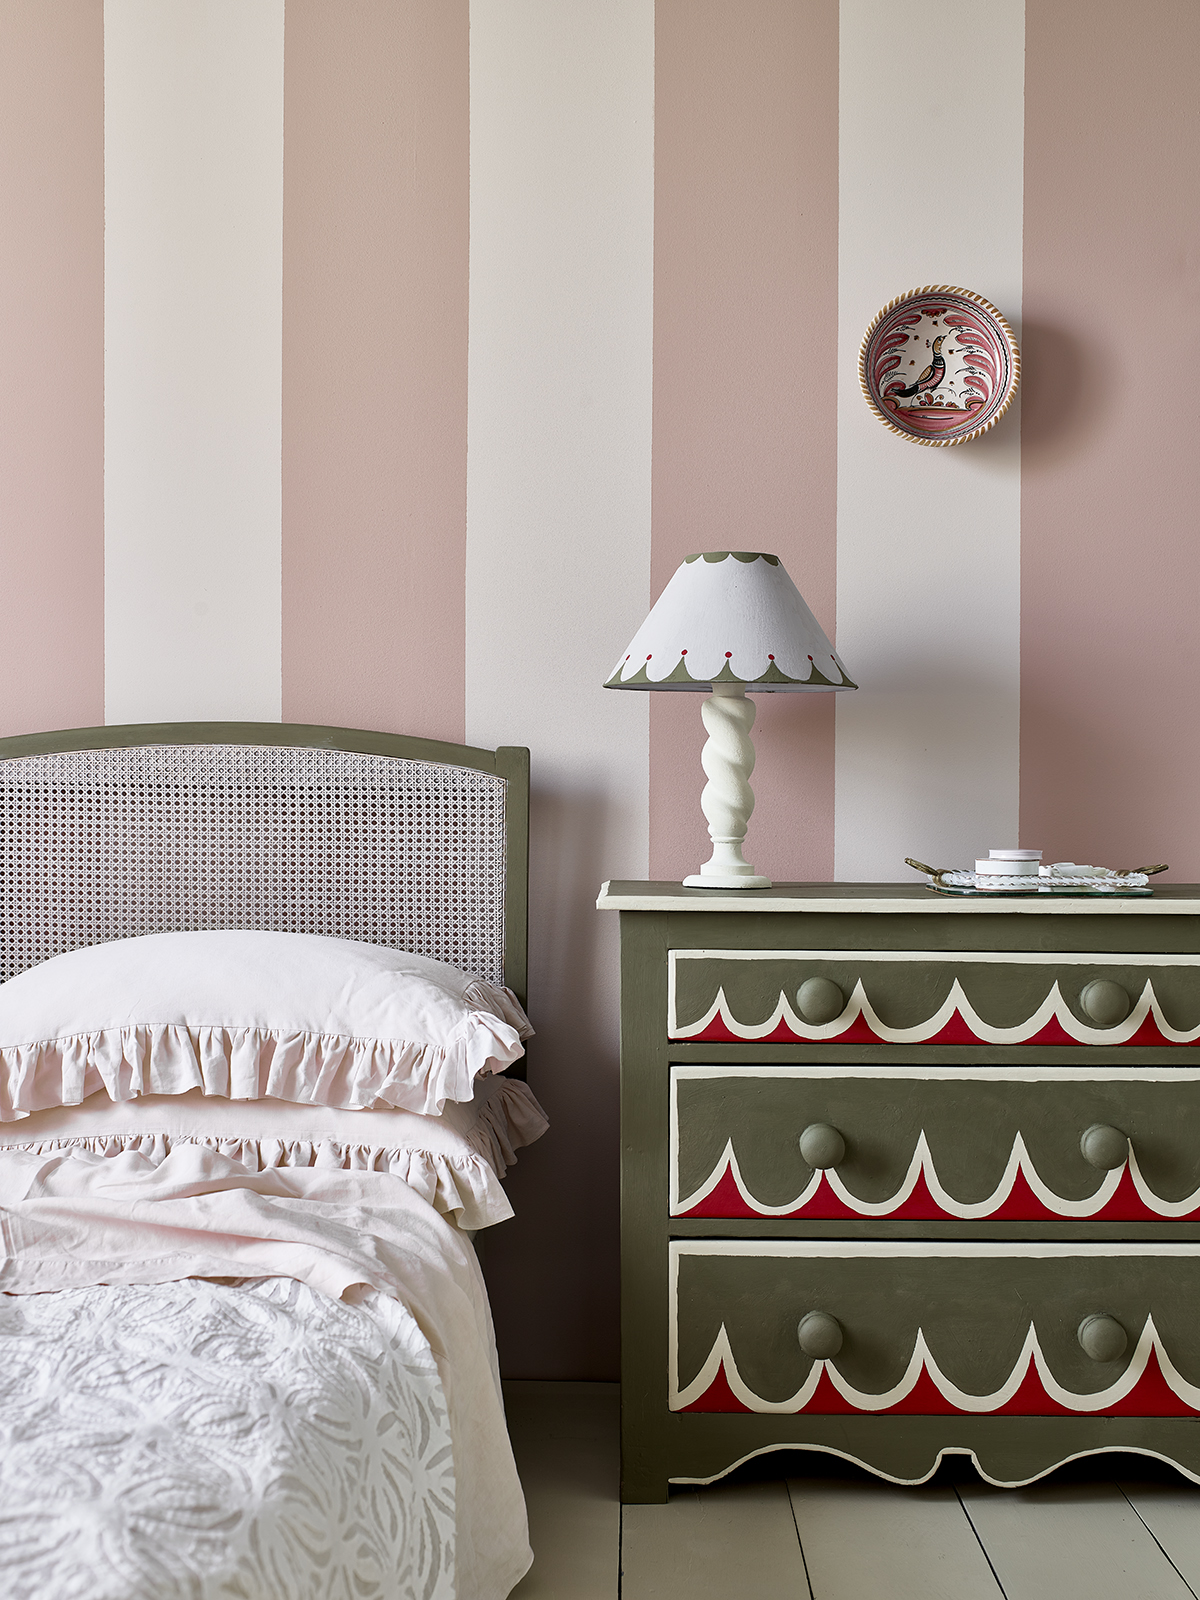
1. Start preparing your furniture to be painted
'When it comes to durability, proper prep is the difference between a piece that won’t last long before scratching or chipping, and a creation that will truly stand the test of time,' says Claire Manton, furniture artist and founder of Claire’s Crafthouse.
Take your piece of furniture to well-ventilated area, free of dust and debris. Then, you need to sand the item to create an adequate base to paint onto.
'120-160 grit sandpaper or a sanding block is perfect for the job, removing any excess paint and creating a rough texture prior to painting.' says Aaron at COAT. 'Make sure you clean the surfaces using a cloth and soapy water or sugar water to ensure all dust is removed.'
'It’s not necessary to remove old paint unless that paint is flaking and peeling,' says paint expert Annie Sloan. Instead, sanding will do the job. 'However, some old furniture may be stained with oil-based products. You’ll need to use a Lacquer to seal in the stains before painting over.'
- How to paint a wall - design professionals explain how to get it exactly right
2. Fill any holes in your furniture and be wary of wood knots
Time to fix any imperfections your furniture might be harboring.
'Carefully fill and sand any dents, bashed corners, or chipped edges with a wood filler,' instructs Cathryn Sanders, head of creative at Earthborn Paints.
Charlotte Cosby, head of creative at Farrow & Ball, adds: 'New wood can have knots which produce a sticky resin. If the knots are resinous, scrape off any excess and clean with methylated or white spirit. Allow the area to dry, then prime the patches treated with a wood knot and resin blocking primer.'
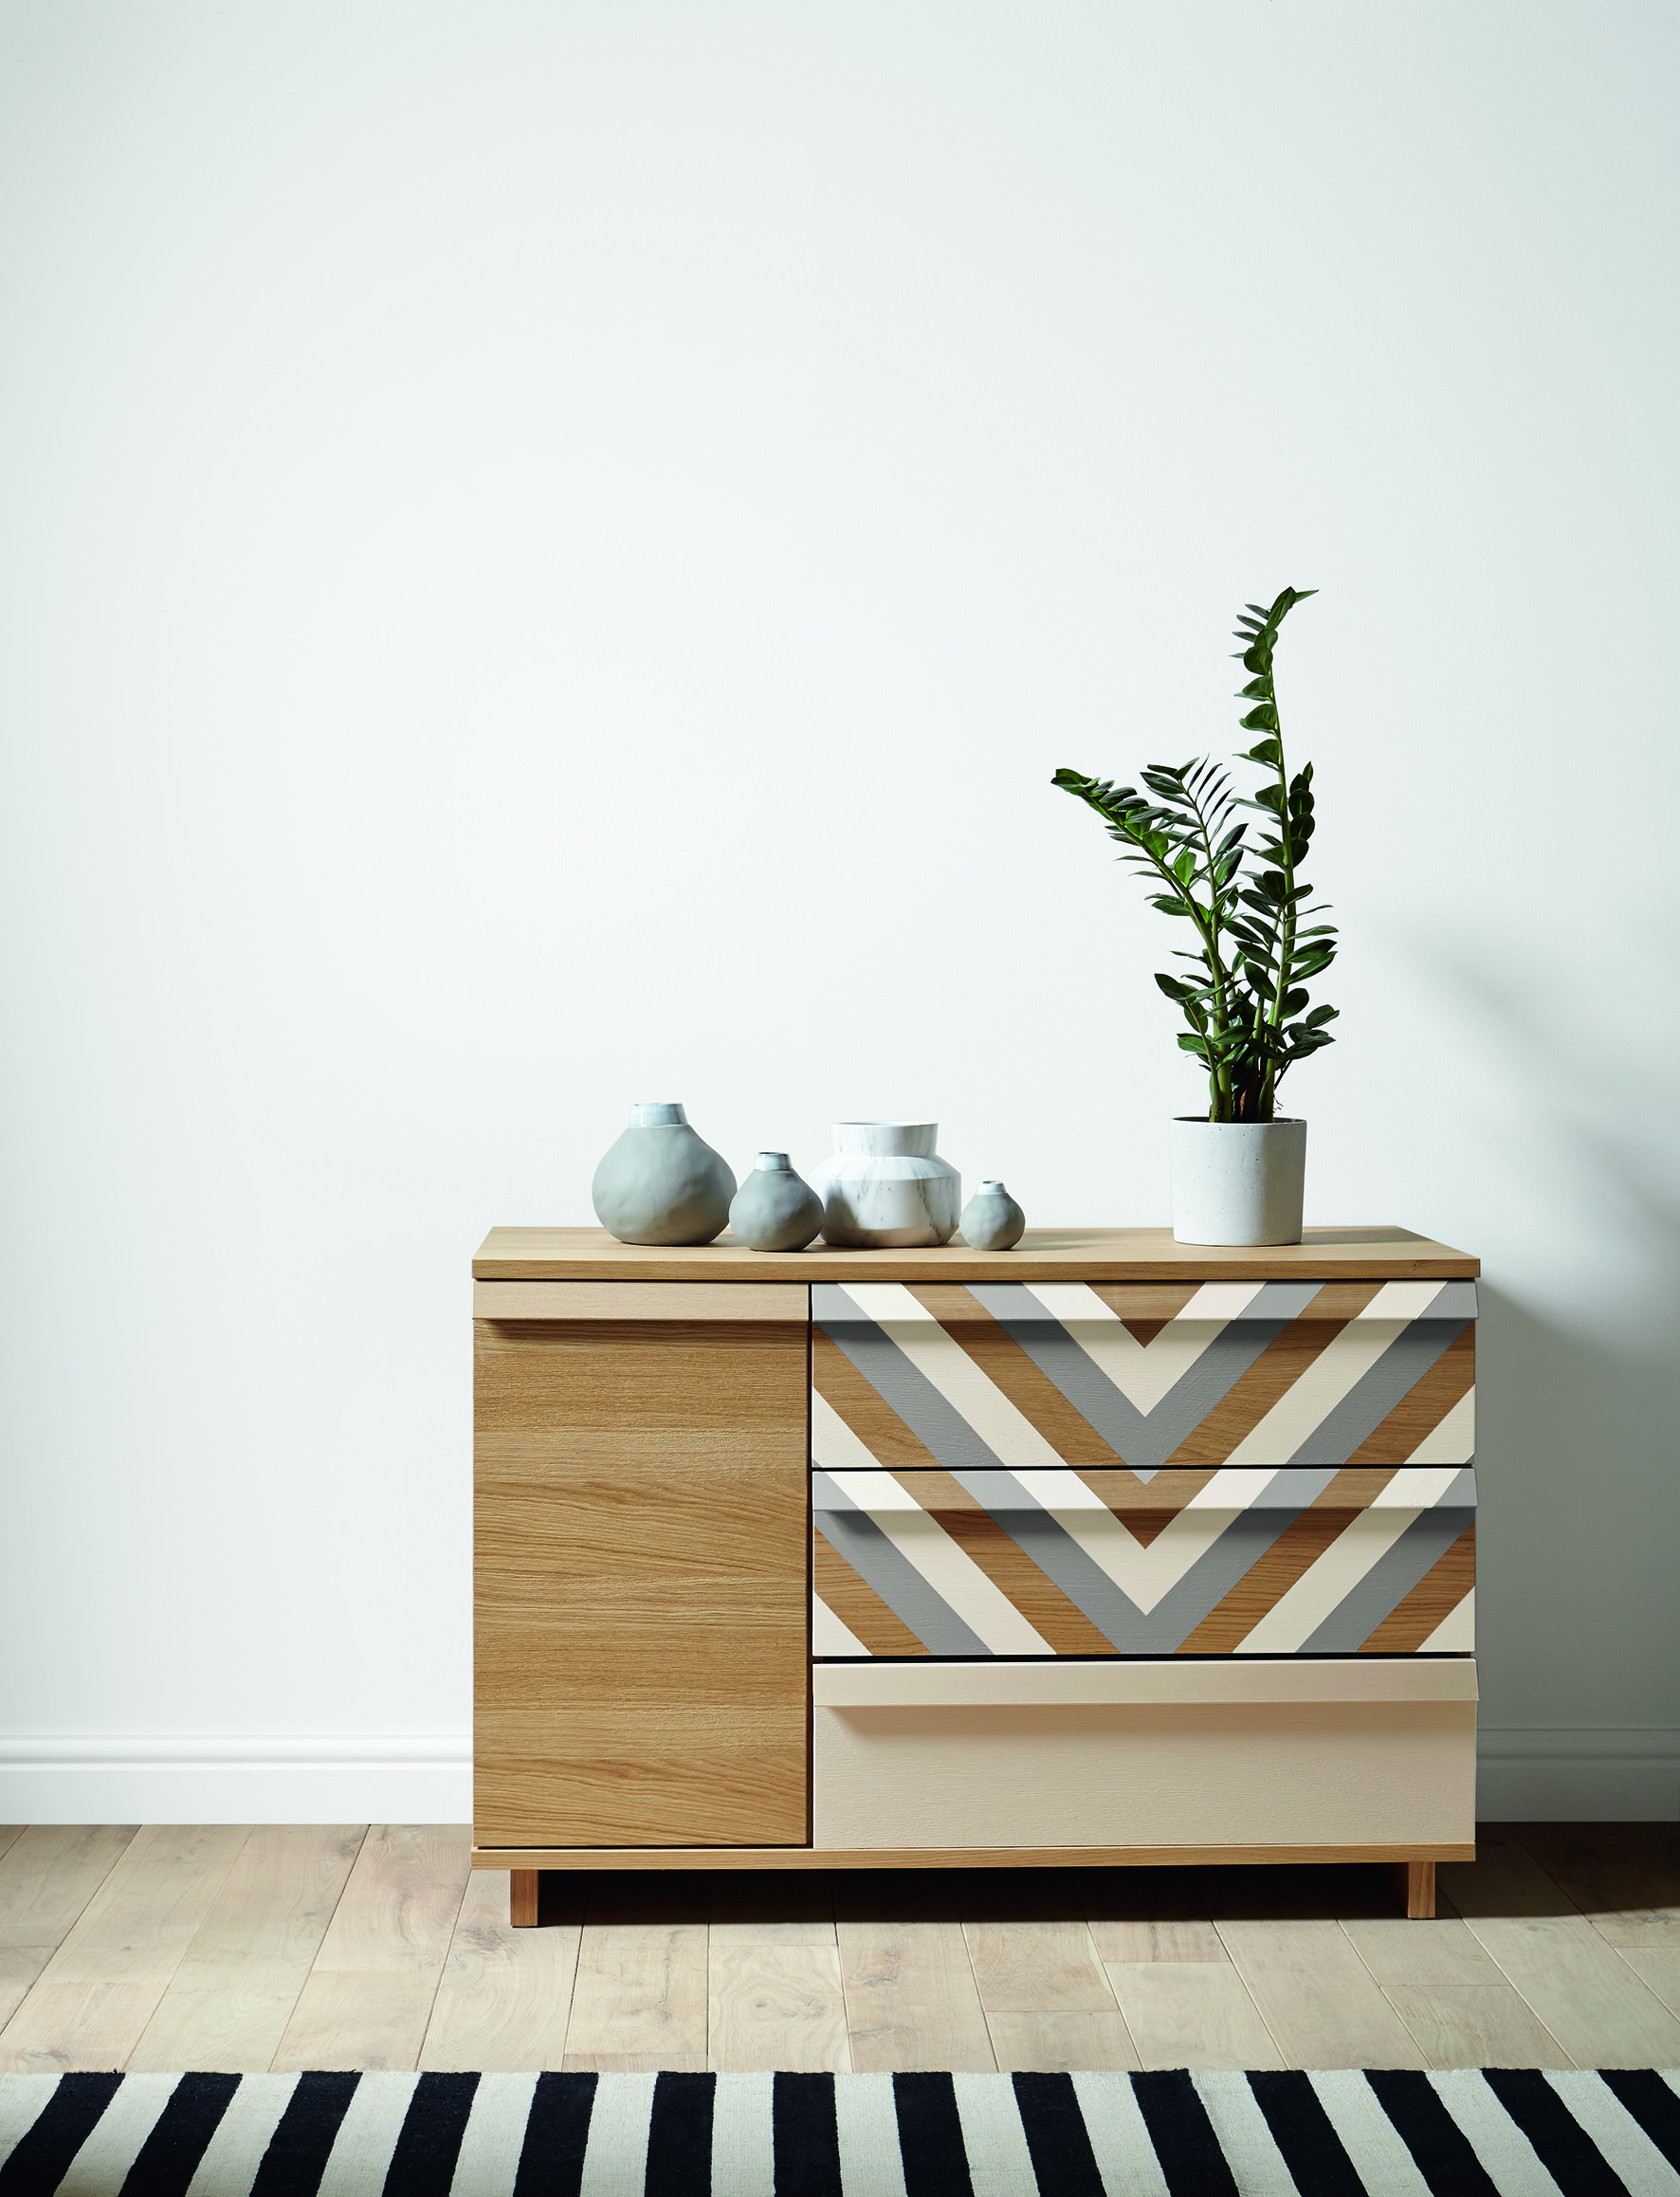
3. Prime your furniture ready for painting
'Priming isn’t always necessary when painting indoor and outdoor furniture, if the wood is new and untreated then this step isn’t necessary,' says Aaron at COAT. 'If your surface has been painted/treated previously or has a sheen to it, then priming is the way to go.'
There are multiple priming options at your disposal. Cathryn at Earthborn Paints recommends “diluting the first coat of paint with water by 10-20% to act as a primer.”
However, she adds: 'A shiny surface like melamine, will need a primer, such as our Multi Purpose Primer, to provide a key for the paint to adhere to.'
On the other hand, Charlotte at Farrow & Ball suggests, 'For previously painted wood, apply one coat of water-based interior wood primer and undercoat in the shade to complement your chosen color topcoat.'
'If the wood is bare, it will absorb the primer. For best results, dilute the undercoat by adding 20% water, followed by one full undiluted coat. Allow a minimum of 4 hours drying time between coats and before applying your topcoat.'
- How to paint wooden floorboards – an easy project to give any room a rustic vibe
4. Paint your furniture
It’s the part you’ve been waiting for: painting. For best results, paint two layers of paint, ensuring either layer isn’t too thick, and sand between coats.
'We recommend using a small foam roller for a super smooth application and then finishing off with a brush for the harder to reach areas,' says Aaron. 'Wait 2-4 hours until you apply the second coat.'
'When trying to achieve a smooth finish, less is more,' advises Claire. 'Two thin coats, using a synthetic brush or a microfibre roller, is much better than one thickly applied coat.'
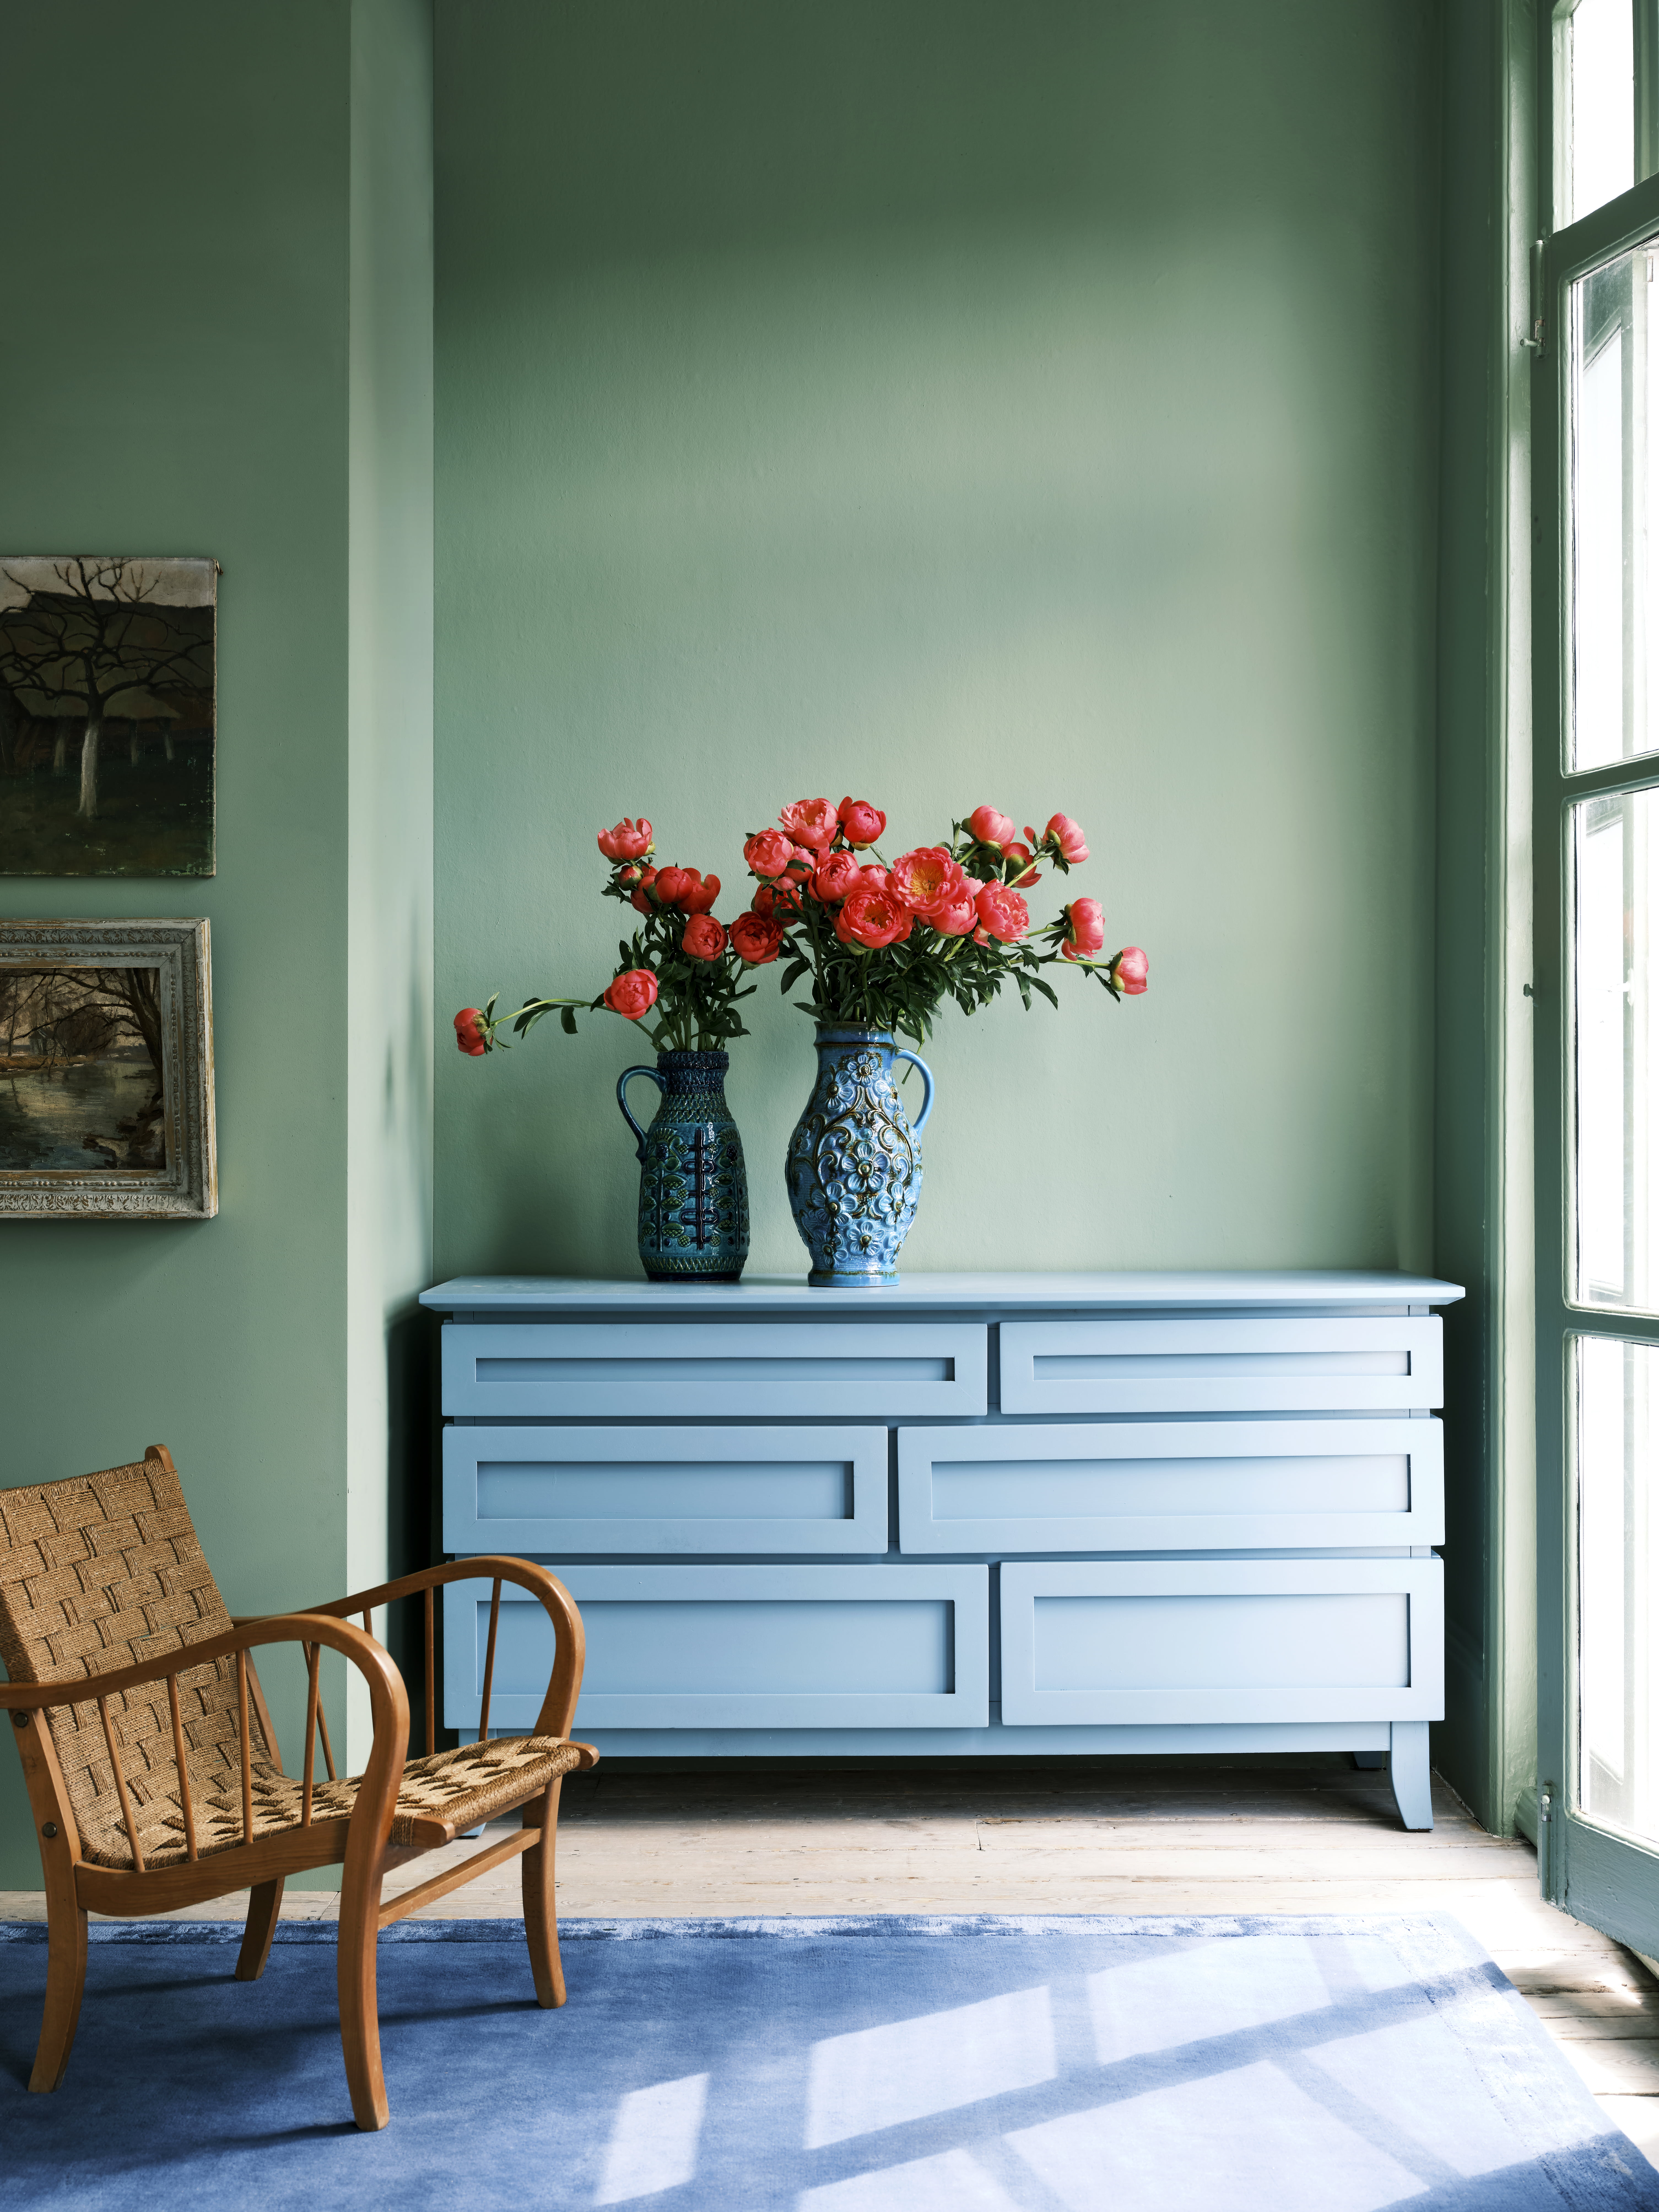
5. Seal it up
'Regardless of your style or paint choice, make sure you protect your finished piece to make it durable,' says Claire. 'Some paints have built-in sealers but chalk paints require sealing with a wax, oil or polyacrylic sealer.'
If you’re struggling to choose a sealant, Claire says: 'Oil-based sealers are best avoided over light colors, as they have a tendency to yellow over time, but work really well over darker colors, keeping them beautifully crisp.'
- How to paint a room - the foolproof guide to the perfect finish that will revitalize your home
How do I pick the correct color to paint my furniture with?
If you’re struggling to choose your paint color, try tester pots.
'We suggest using tester pots to get an idea of what colors work well, as sometimes colors can differ from paint pot to wall,' says Justyna Korczynska, senior designer at Crown.
'Ask yourself some questions,' Justyna adds. 'For example, what atmosphere do you want to create – airy or cozy? Playful or sophisticated? Do you want to make a room look more spacious, or to visually bring walls inwards? How much natural light does the room get and is the light warm or cool? You can use warm or cool colours to balance out natural light.'
Do I need to remove old paint first?
It depends on the style you are going for. 'If you’re looking for a smooth, flawless finish, select a paint that delivers that,' recommends Claire.
'I use mineral paints like Fusion and Dixie Belle Silk All-In-One for these kinds of finishes. They are thinner in consistency, self-leveling and leave a very smart finish when applied with a synthetic brush or short-pile microfibre roller.'
'If your project is rustic, industrial, shabby chic, then thicker paints such as chalk paints, used with natural bristle brushes that create texture, will work well.'
What kind of furniture can be painted?
'All kinds of furniture can be painted!' says James at Graham & Brown. 'Metal and wood are the most common kinds of upcycle projects. We recommend using an Eggshell product making it scratch resistant.'
Be The First To Know
The Livingetc newsletters are your inside source for what’s shaping interiors now - and what’s next. Discover trend forecasts, smart style ideas, and curated shopping inspiration that brings design to life. Subscribe today and stay ahead of the curve.
Olivia Emily is one of the most exciting new talents in consumer lifestyle journalism. Currently finishing off a Masters in Journalism at the City University, London, she has quickly proved herself at being adept on reporting on new interiors trends. A regular contributor to Livingetc, she is brilliant at being able to decode information for our audience.
-
 Iridescence Is Chrome’s More Playful, Hard-to-Define Cousin — And You're About to See It Everywhere
This kinetic finish signals a broader shift toward surfaces that move, shimmer, and surprise. Here's where to find it now
By Julia Demer
-
 Biophilic Decluttering — What to Take Out of Your Home (and What to Put in) for a More Natural Home
Try your hand at biophilic decluttering to ground your interiors, connect to the environment, and cure chronic clutter in one go. Here's how.
By Amiya Baratan