How to paint trim - the fast way to refresh your decor without doing a total redecoration
Expert advice on how to paint trim and achieve a professional finish to a brilliantly on-trend design
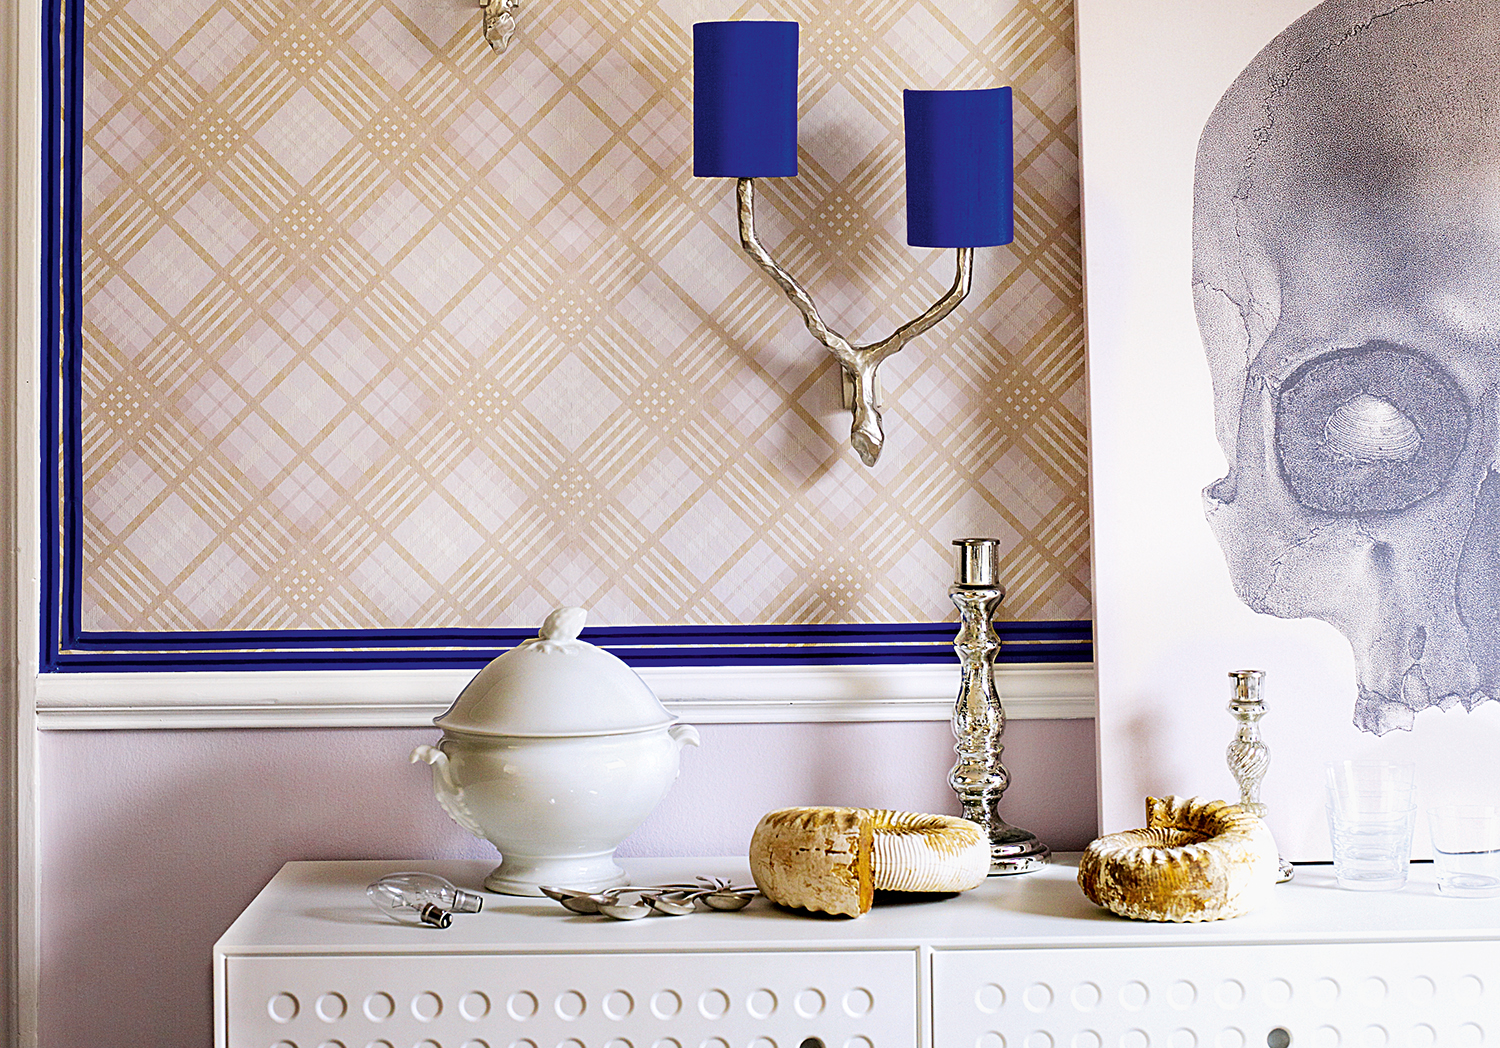
Trims and borders have seen a resurgence. From breaking up empty expanses of space to highlighting architectural details and framing features, it's a fun way to enhance an interior. Once you know how to paint trim, you can revamp a room in a weekend.
If your walls are in good condition and you like the existing color, it may not even be necessary to go all out with your paint ideas - this fine detailing could be all you need. Whether you want to paint a trim around a certain feature, such as a headboard or artwork or repaint the walls entirely, consider the best color combo for your room.
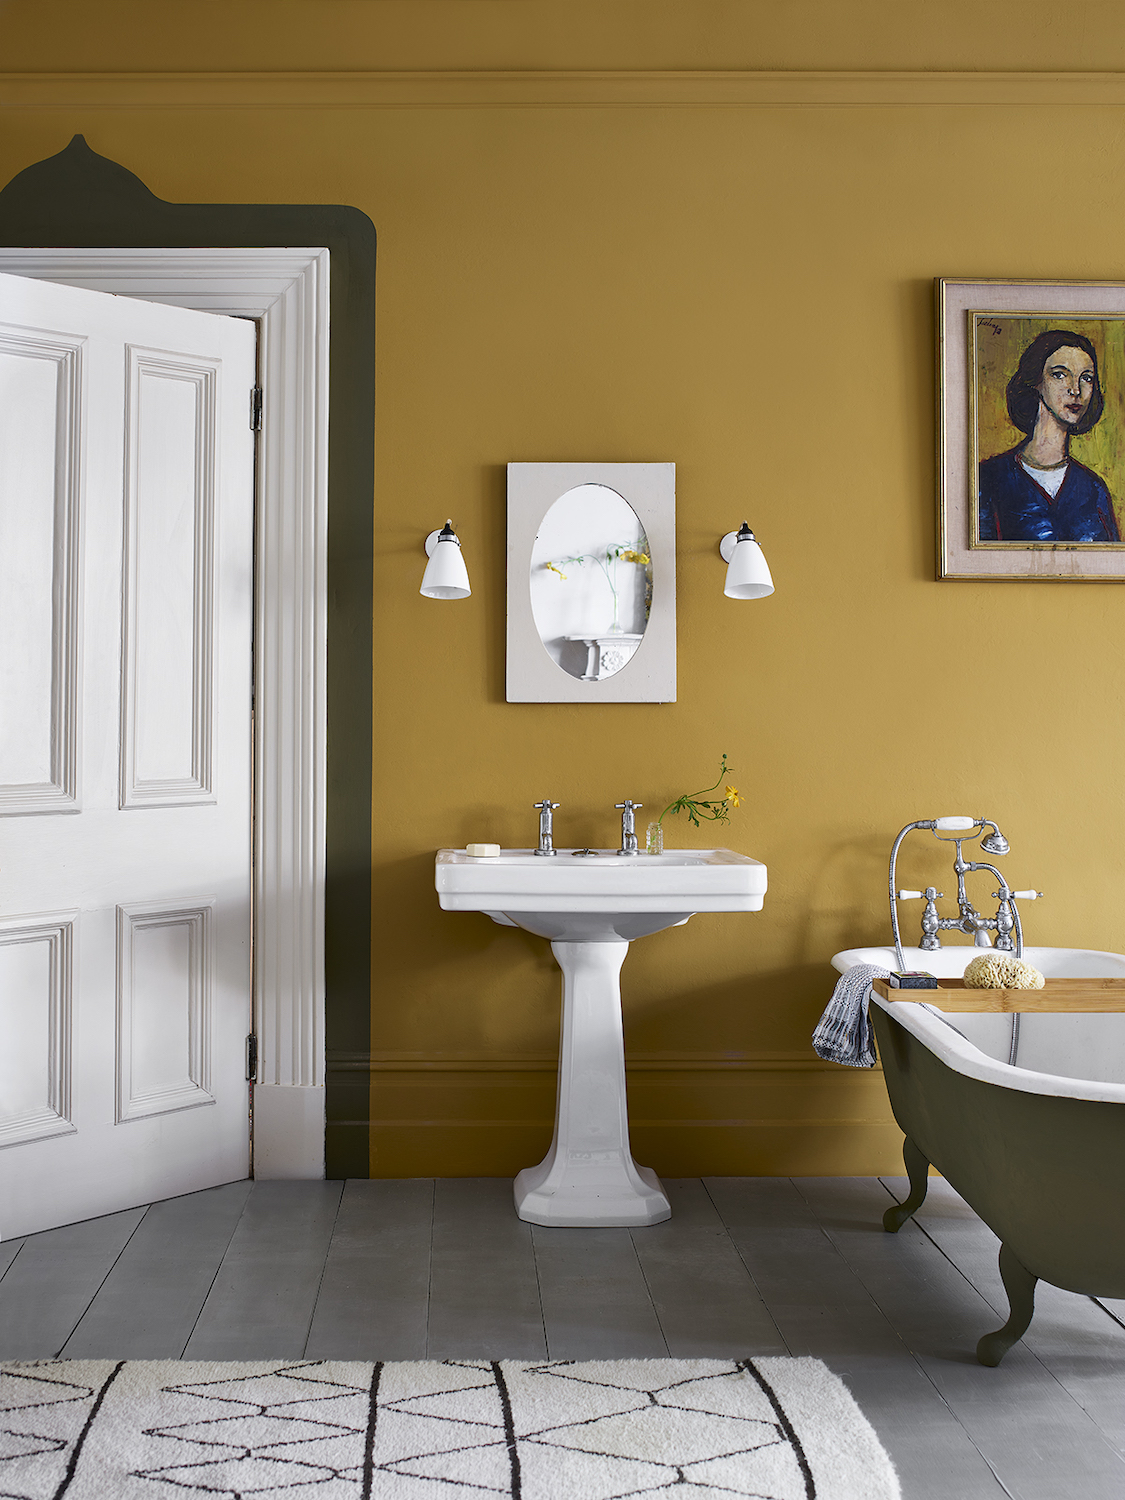
'Contrasting shades like dark green and pink work really well, or a deep blue and mustard yellow,' says Sophie Smith, founder of Zhoosh Paints. 'Grey, or colors with a hint of grey, are eternally popular, as well as white borders and trims too.
'It depends on the style of the property and the size of the room of course. Don't be scared of going dark in smaller spaces, with the right lighting and accessories it can create a room with real warmth.'
How to paint trim - step by step
What you'll need:
Frog tape - this Frog tape for delicate surfaces is the best for trim
Ruler
The Livingetc newsletters are your inside source for what’s shaping interiors now - and what’s next. Discover trend forecasts, smart style ideas, and curated shopping inspiration that brings design to life. Subscribe today and stay ahead of the curve.
Pencil
Spirit level
Microfiber cloth - we actually think the trim on these microfiber cloths is quite cute in its own right
Paint of your choice
Dust sheets
1. Prepare your surface
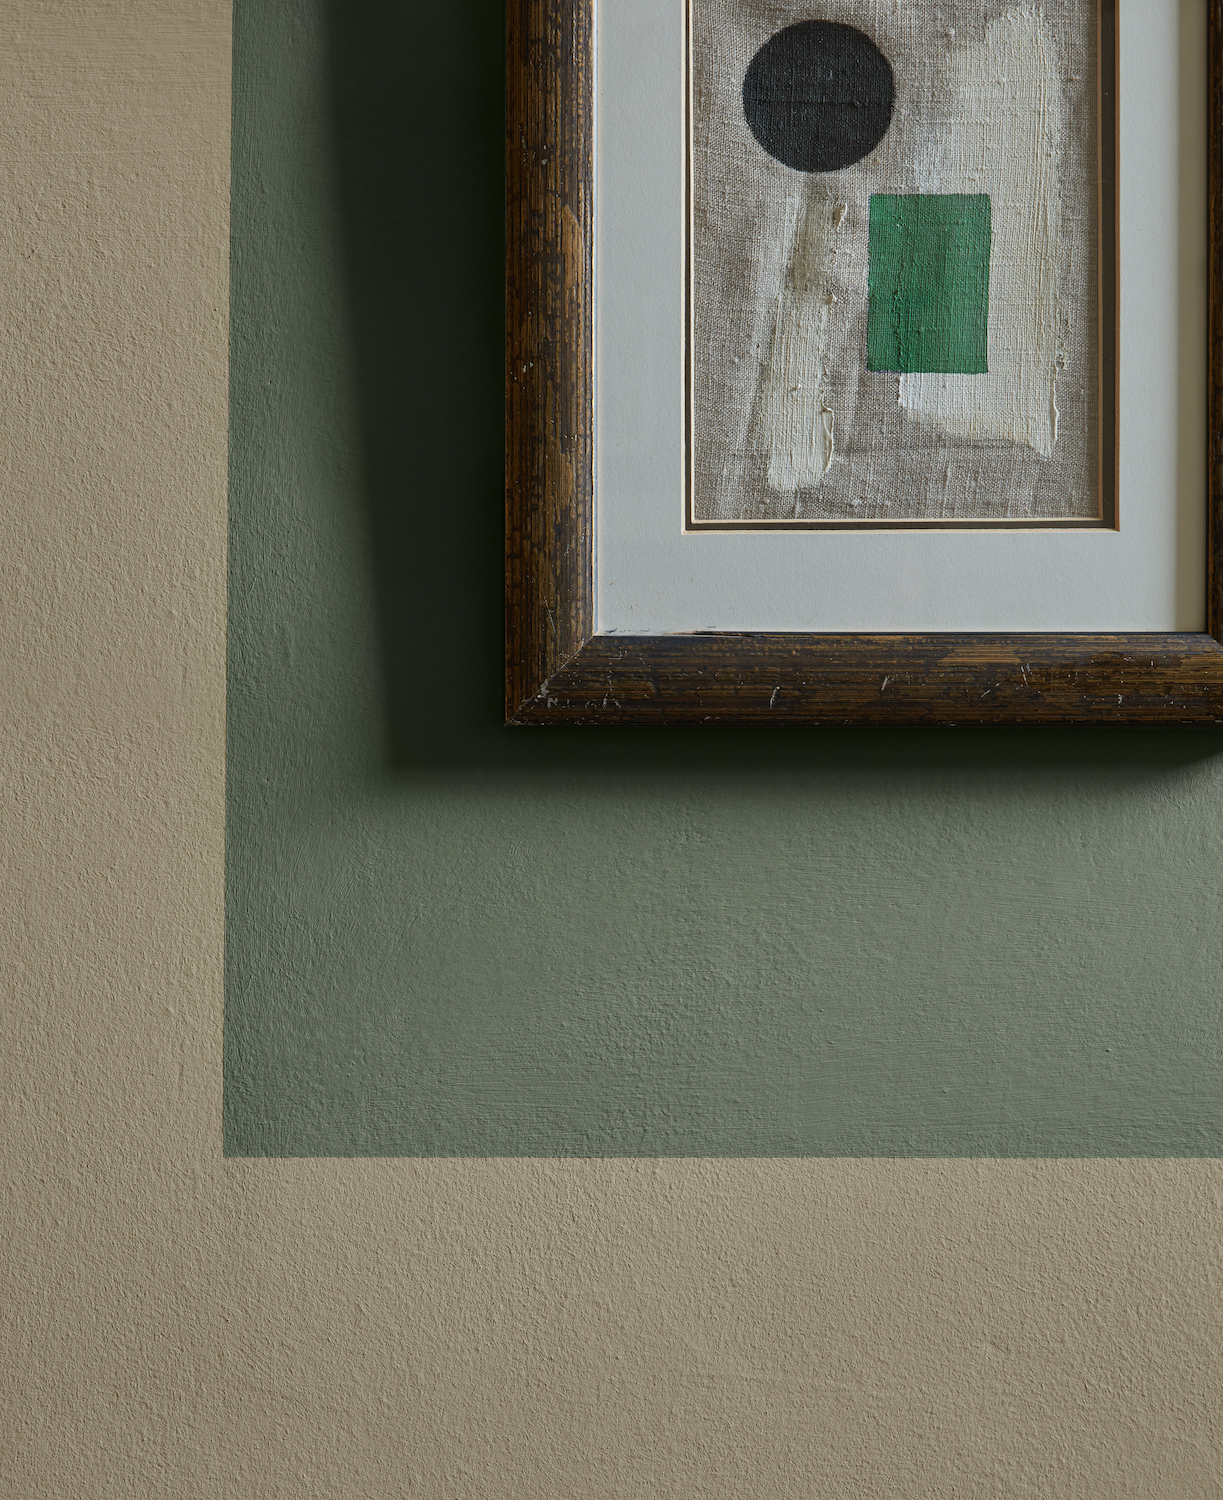
As with any time you're wondering how to paint a room, the surface needs to be clean and dry before you apply anything to it. So once you've cleared the area of furniture and laid your dust sheets, wash the walls and woodwork with sugar soap, then wipe with a clean, dry cloth.
Once the surface is clean and dry, paint your base color and leave it to dry for 24 hours. If you're not repainting the wall entirely, you can move to the next stage.
'Decide on the size of the trim you want,' says Jason Burns, MD at Frog Tape. 'You'll need to pencil it in first. The size will depend on the height of your room - houses with higher ceilings suit deeper trims and borders.'
2. Measure and mark your trim
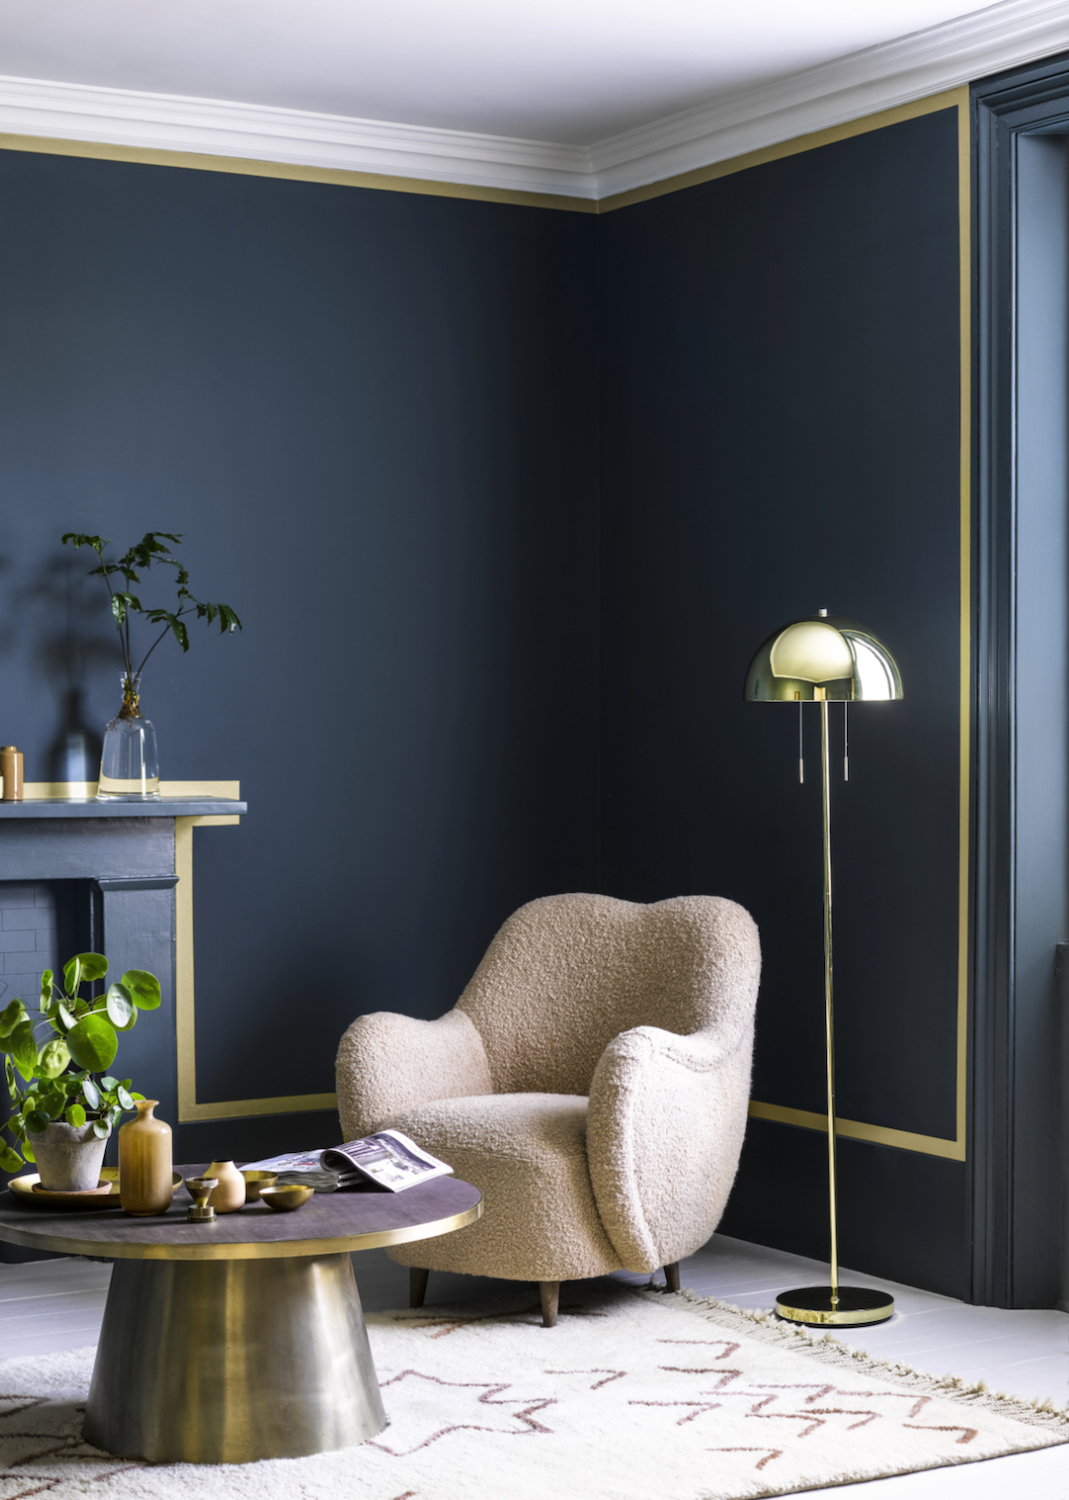
If you're painting trim lines onto a wall, then to create crisp, straight lines you'll need to measure meticulously with a steady hand.
'Use a pencil and metal ruler to draw in your outline, as well as a spirit level to ensure it is straight,' says Jason Burns at Frog Tape. 'Once your trim lines are drawn in, apply frog tape to the outside edge of the pencil marks. This way, the paint will cover up the markings.'
We suggested the delicate surfaces Frog Tape up top, but this one is good if you're trying a gloss or satin paint.
'If you're an experienced painter, unroll the tape in one long section and keep the roll flat against the wall. For less experienced painters, apply the tape in shorter sections to avoid stretching the tape,' Jason says.
'To eliminate any gaps and seal the edges of the tape, ensure it is stuck fully to the surface by running your fingers firmly over the edges.'
3. Paint the second color
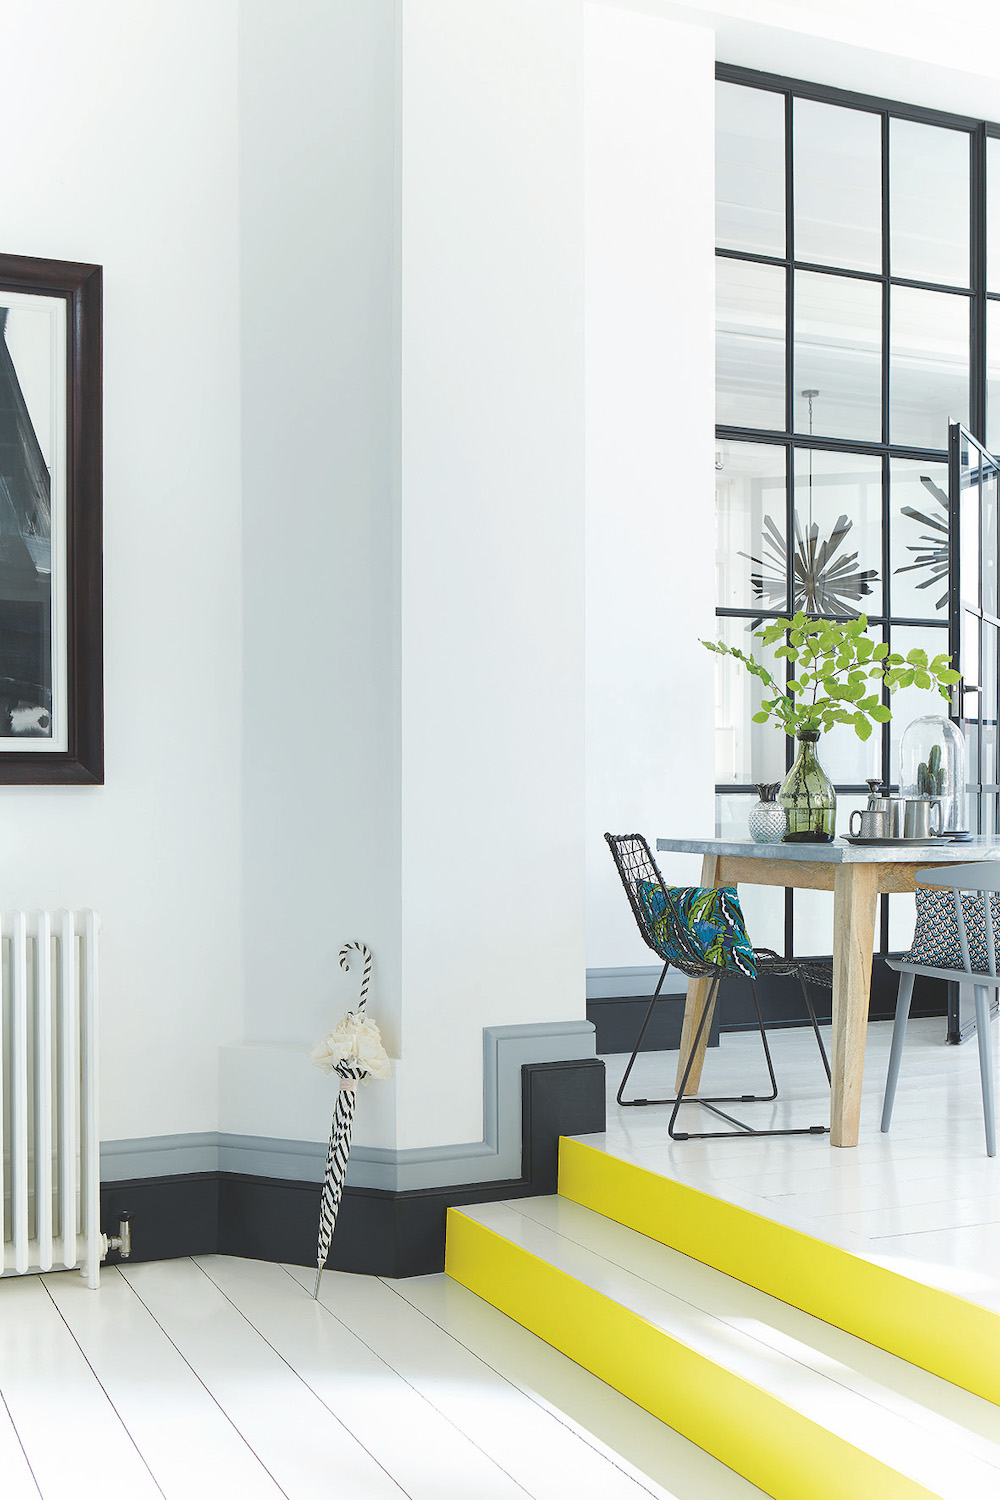
With your trim lines marked out and the area next to it protected by frog tape, you're ready to paint in your trim or contrast color section.
'Slowly paint a few feet of your trim at a time, then repeat, overlapping the previous section to ensure blending,' says Jason Burns at Frog Tape.
'Check how long your tape can stay up for and remove the tape while the paint is still slightly wet for the best results.
'Pull the tape off slowly at a 45-degree angle. Don’t forget to control the end of the free tape so it doesn’t drag along the freshly painted trim. If you hear ripping noises, it means you’re going too fast.'
Jacky Parker is a freelance lifestyle journalist and writer, producing a wide range of features for magazines and digital platforms. She has written for Livingetc and its sister titles, Homes & Gardens and Country Homes & Interiors for more than 15 years, both as a freelance contributor and as Acting Digital Editor and Acting Style Content Editor, regularly reporting on the latest interiors, gardens and wellness inspiration, speaking to experts in their respective fields, and discovering the best tips.
Jacky has also written for other publications, including Sunday Times Style, The Telegraph, Architectural Digest, House Beautiful, ELLE Decoration, Red, Grand Designs and more.