8 iCloud Tricks That I Think Everyone Should Know — They Make iPhone, Mac and iPad Storage so Much Better
Make Apple’s cloud storage work harder for you, with these helpful iCloud tricks


With the slightly stingy amount of storage Apple offers with its entry-level iPhones, iPads and Mac computers, getting the most out of iCloud is essential for juggling files.
Everyone gets 5GB of free cloud storage with their Apple account (again, somewhat stingy compared to Google, which offers 15GB, but there we are) which can certainly come in handy for offloading files from your device.
But are you getting the most out of iCloud? Here are 8 handy mac, iPad and iPhone tricks that every Apple user needs to know.
1. Access iCloud from any computer, anywhere in the world
Let’s start with the basics. Although iCloud is integrated into the heart of Apple devices, it’s easy to access your files from any device with a web browser – including Windows PCs, should you need.
Just open your browser of choice, and head to www.icloud.com. Log in with your Apple ID and you’ll have access to everything you’ve backed up – though note you’ll still likely need to prove it’s you by a 2FA prompt to a trusted device.
If you’re regularly using a Windows computer, it’s worth downloading the dedicated desktop app for Microsoft’s operating system. That means that iCloud will appear as a regular drive in Windows Explorer.
2. Sync your Apple devices via iCloud
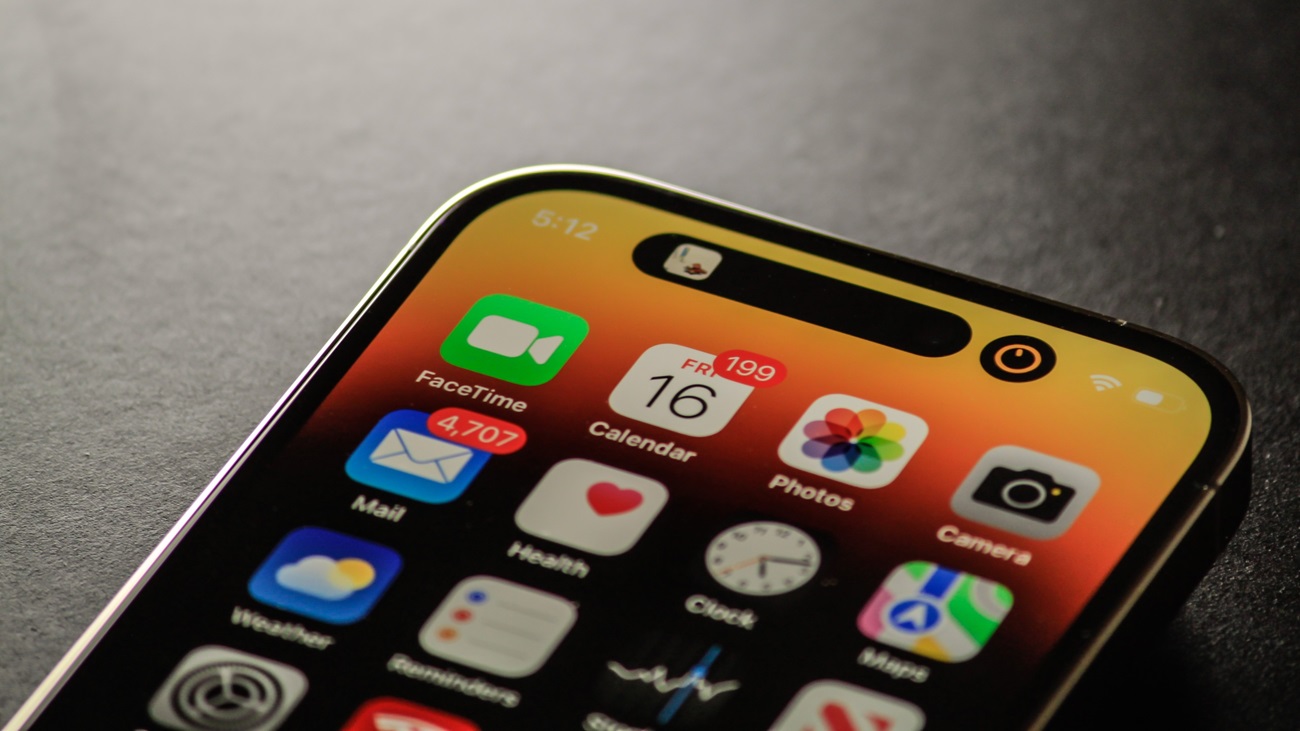
If you’re deeply into the Apple ecosystem, with an iPhone, iPad and Mac, iCloud becomes an invaluable way of syncing your apps between devices, essentially meaning you’re always working with your latest data whichever Apple computer you’re using. Your mail, contacts, calendar and apps will magically stay in sync.
On your iPhone or iPad, open the Settings app, then tap your name, followed by iCloud. Simply swipe the buttons to the right of the apps you want synced across devices.
On Mac, go to the Apple menu, then click System Settings, followed by Apple ID. In the iCloud section, click “Show More Apps” and then click the checkbox to the right of the apps you want kept synced.
3. Easy syncing of passwords
If Apple Keychain is your password manager of choice, then you’ll be delighted to know that your passwords can safely be stored in iCloud, ready for easy use on the Apple device of your choice.
To enable this, hit the Settings app and your name again on iPhone/iPad. Then tap iCloud, followed by Passwords & Keychain. Swipe the button to switch it on (green is enabled).
On Mac, again, it’s found under System Preferences, followed by Apple ID and the iCloud section.
4. Automatically offload big files from your iPhone
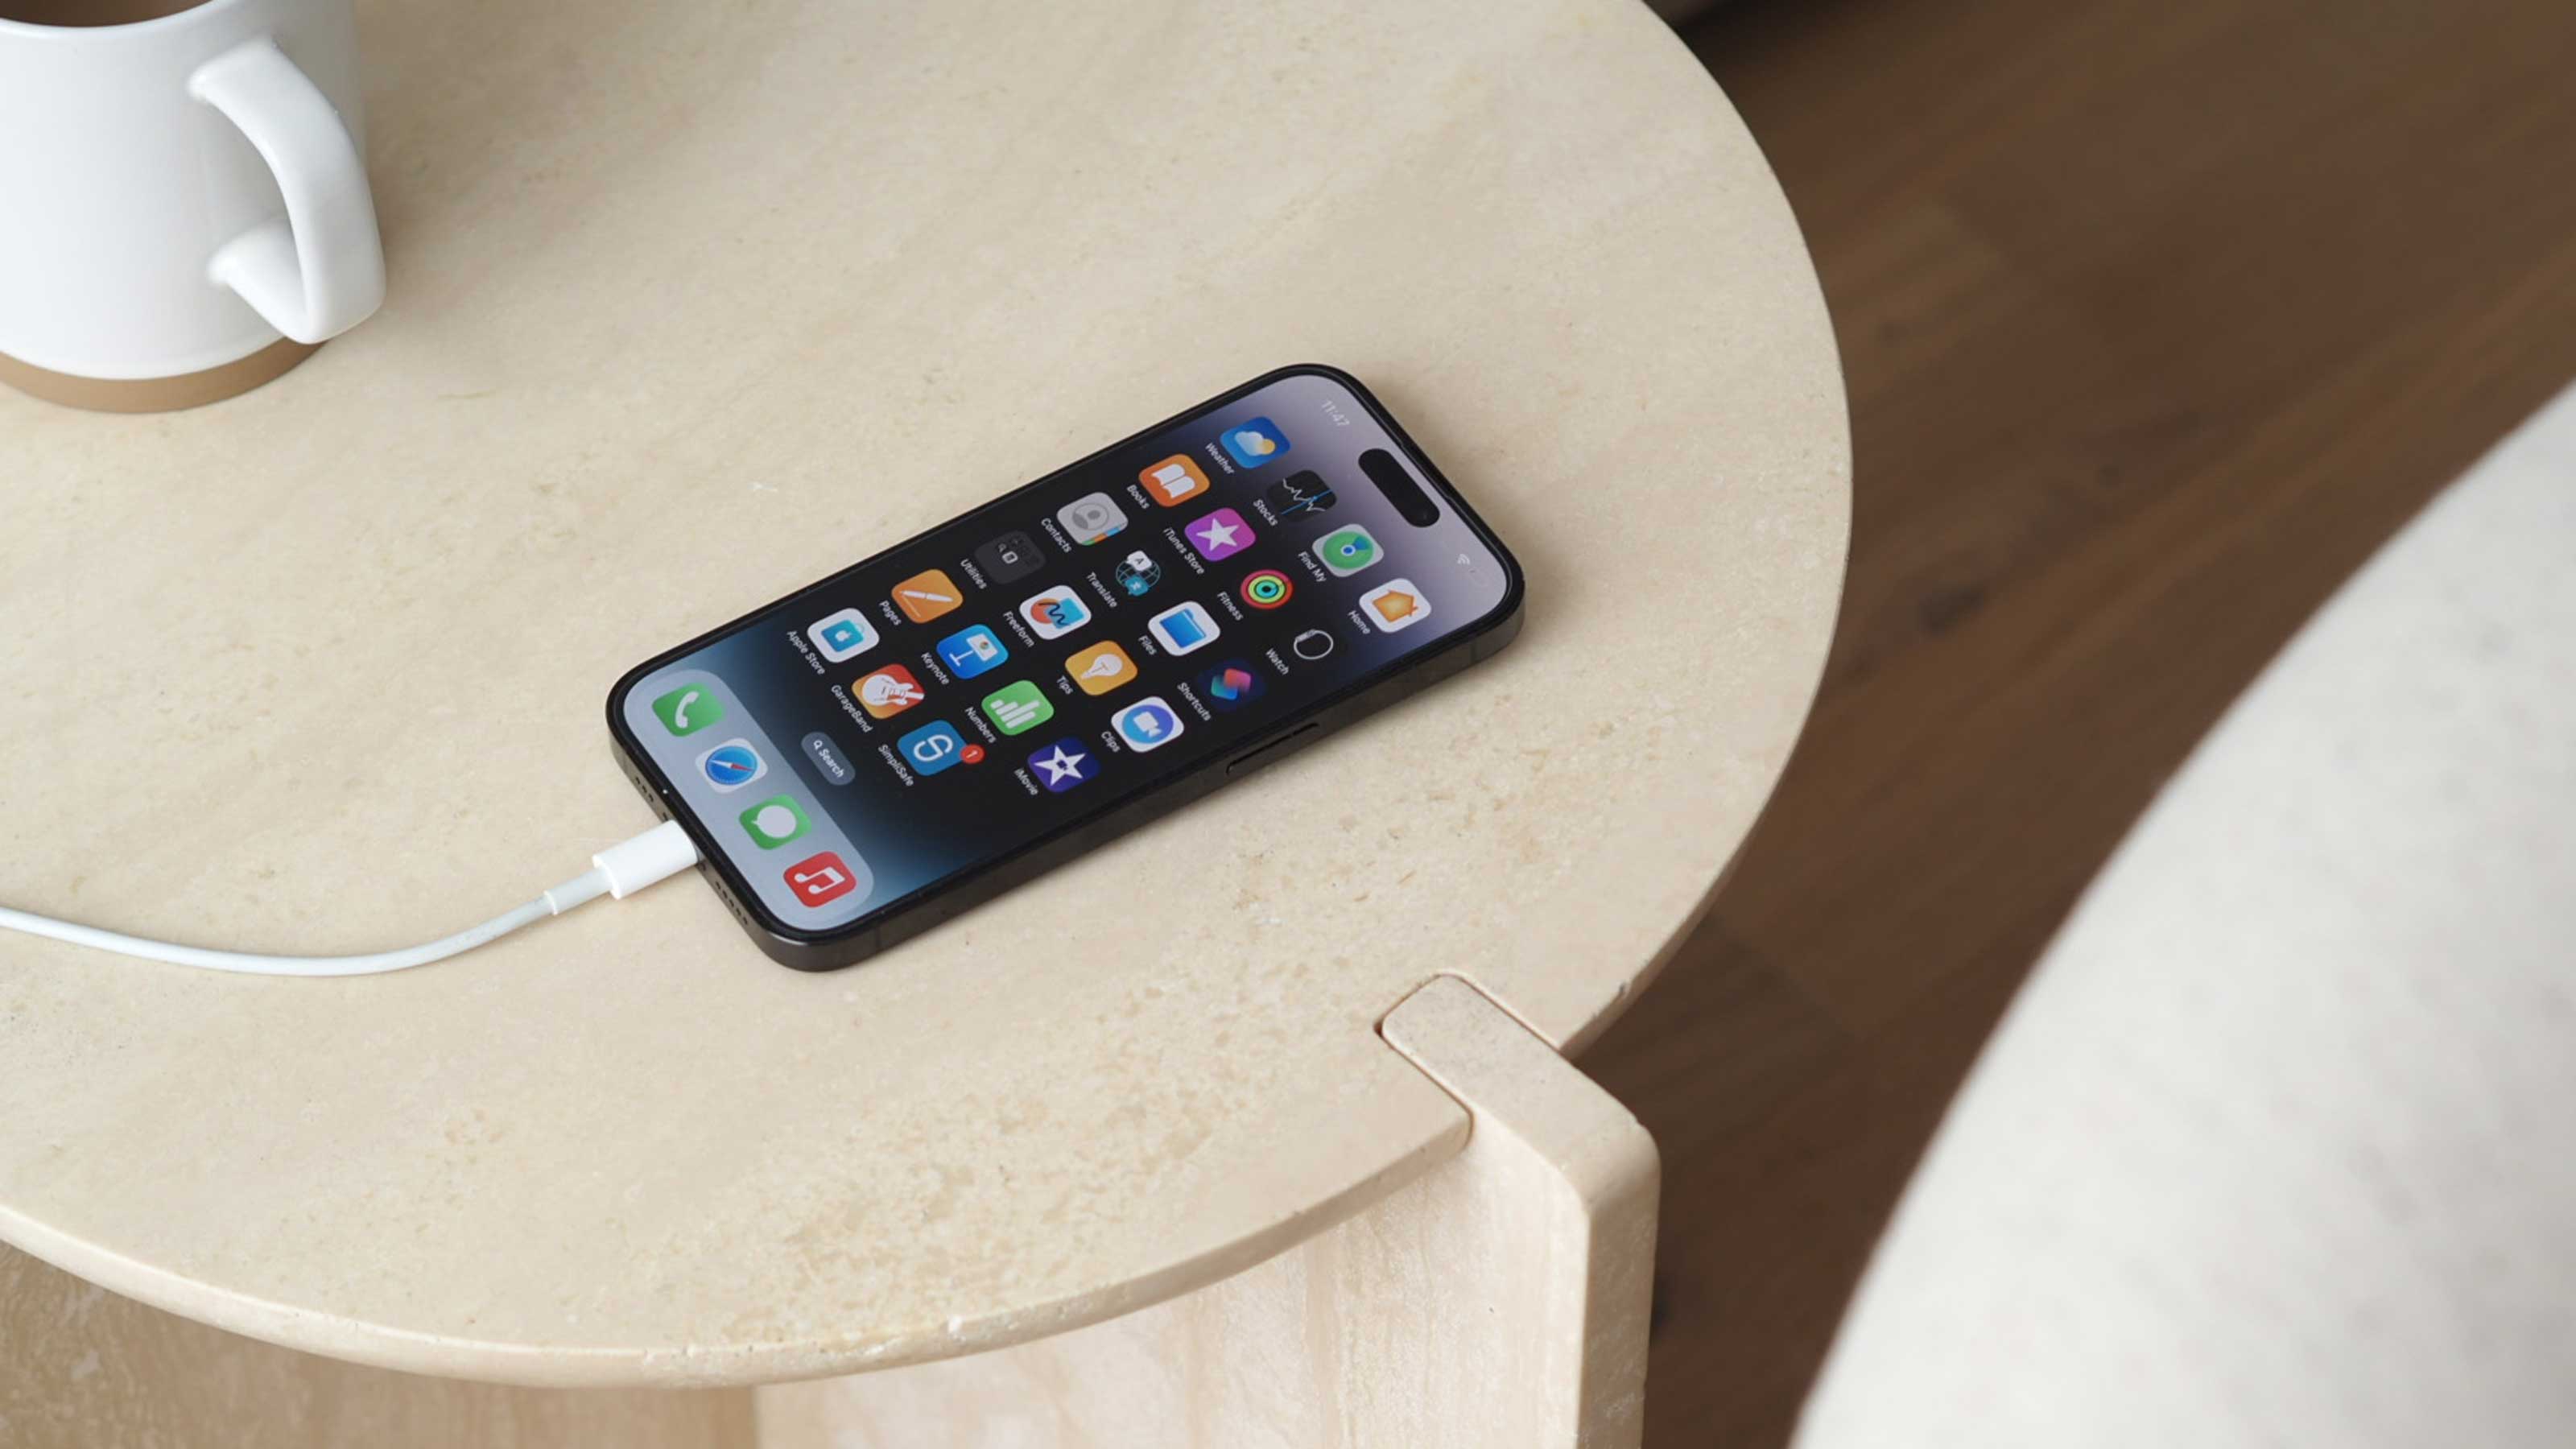
With every new iPhone coming with better and better cameras, taking up more and more of the limited internal storage, offloading your bigger snaps and videos to iCloud is essential for keeping storage free.
Fortunately, the iPhone will handle this for you, if you let it. There’s an option in the Settings app that will upload the full-size files to iCloud while keeping a smaller version locally, so you still have access.
To enable it, open Settings, followed by your name and iCloud again. Here, tap Photos and then tick “Optimize iPhone Storage”.
5. Access those key Mac files easily

For many people, the Mac desktop is where all the key files and folders live. Brilliantly, Apple makes it easy for this to be automatically uploaded to iCloud, so these vital files can easily be accessed from anywhere in the world.
To make sure it’s enabled, click the Apple menu button, followed by System Settings and then Apple ID. In the iCloud section, click iCloud Drive and make sure Desktop & Documents Folders is ticked.
6. Choose the apps you want to back up
Depending on how many photographs and videos you take, you may find yourself bumping up against your iCloud storage cap pretty quickly. But before you opt to pay Apple more, it’s worth making sure the automatic iPhone and iPad backups it’s doing on your behalf are worthwhile.
Some apps – think Facebook, Instagram and TikTok – don’t really need to be backed up at all, and you can save a surprising amount of space by skipping them. To give all your apps an audit, open the Settings > [your name] > iCloud > Manage Account Storage > Backups.
Select the device you want to look at, and then tap “Show All Apps” for a complete list. Simply uncheck the apps you don’t want or need to be backed up.
7. Get more from your subs with Apple One
You may be just fine with the meagre 5GB of iCloud storage that Apple provides, but if not, you’re looking at paid options which start at 99c per month for 50GB (and going all the way up to $59.99 for 12TB).
But if you’re all into the Apple ecosystem, it’s probably worth signing up to Apple One instead. This bundles a bunch of services including at least 50GB of iCloud, Apple TV, Apple Arcade and Apple Music into one subscription starting at $19.95 per month. This gets more generous if your whole household are Apple fans, however, with family plans starting at $25.95 for up to six users.
8. Share your paid iCloud storage with family members
Even if you don’t go down the Apple One route, your gigabytes (or terabytes) of iCloud storage can be shared with up to five other family members. Crucially, that doesn’t mean that all files are visible to all, and your private files remain private.
“When you share an iCloud+ subscription, everyone in the family group uses their own account,” Apple explains. “That way, your photos, documents and other information stay private, even though you're sharing access to the service.”
To enable this, the first step is to set up Family Sharing. You can do this on iPhone, iPad or Mac by going to Settings and then hitting your name. From there, you’ll see an option called “Family Sharing” which will guide you from the process.
Once that’s done, you need to opt in to iCloud sharing. On iOS/iPadOS 16 or later, go to Settings > Family > Subscriptions > iCloud+ and follow the steps. For iOS/iPadOS 15 or earlier, go to Settings > [your name] > Family Sharing > iCloud+.
On Mac, hit the Apple menu, then System Settings, followed by Apple ID. Then click “Manage” next to “Account Storage” followed by “Open Family Sharing” to set it up.
The Livingetc newsletters are your inside source for what’s shaping interiors now - and what’s next. Discover trend forecasts, smart style ideas, and curated shopping inspiration that brings design to life. Subscribe today and stay ahead of the curve.

Freelance contributor Alan has been writing about tech for over a decade, covering phones, drones and everything in between. Previously Deputy Editor of tech site Alphr, his words are found all over the web and in the occasional magazine too. He often writes for T3 and Tom's Guide. When not weighing up the pros and cons of the latest smartwatch, you'll probably find him tackling his ever-growing games backlog. Or, more likely, playing Spelunky for the millionth time.