How to make a Christmas centerpiece in just five easy steps
Discover how to make a Christmas centerpiece in just a few simple steps, with expert tips and tricks from our favorite florists
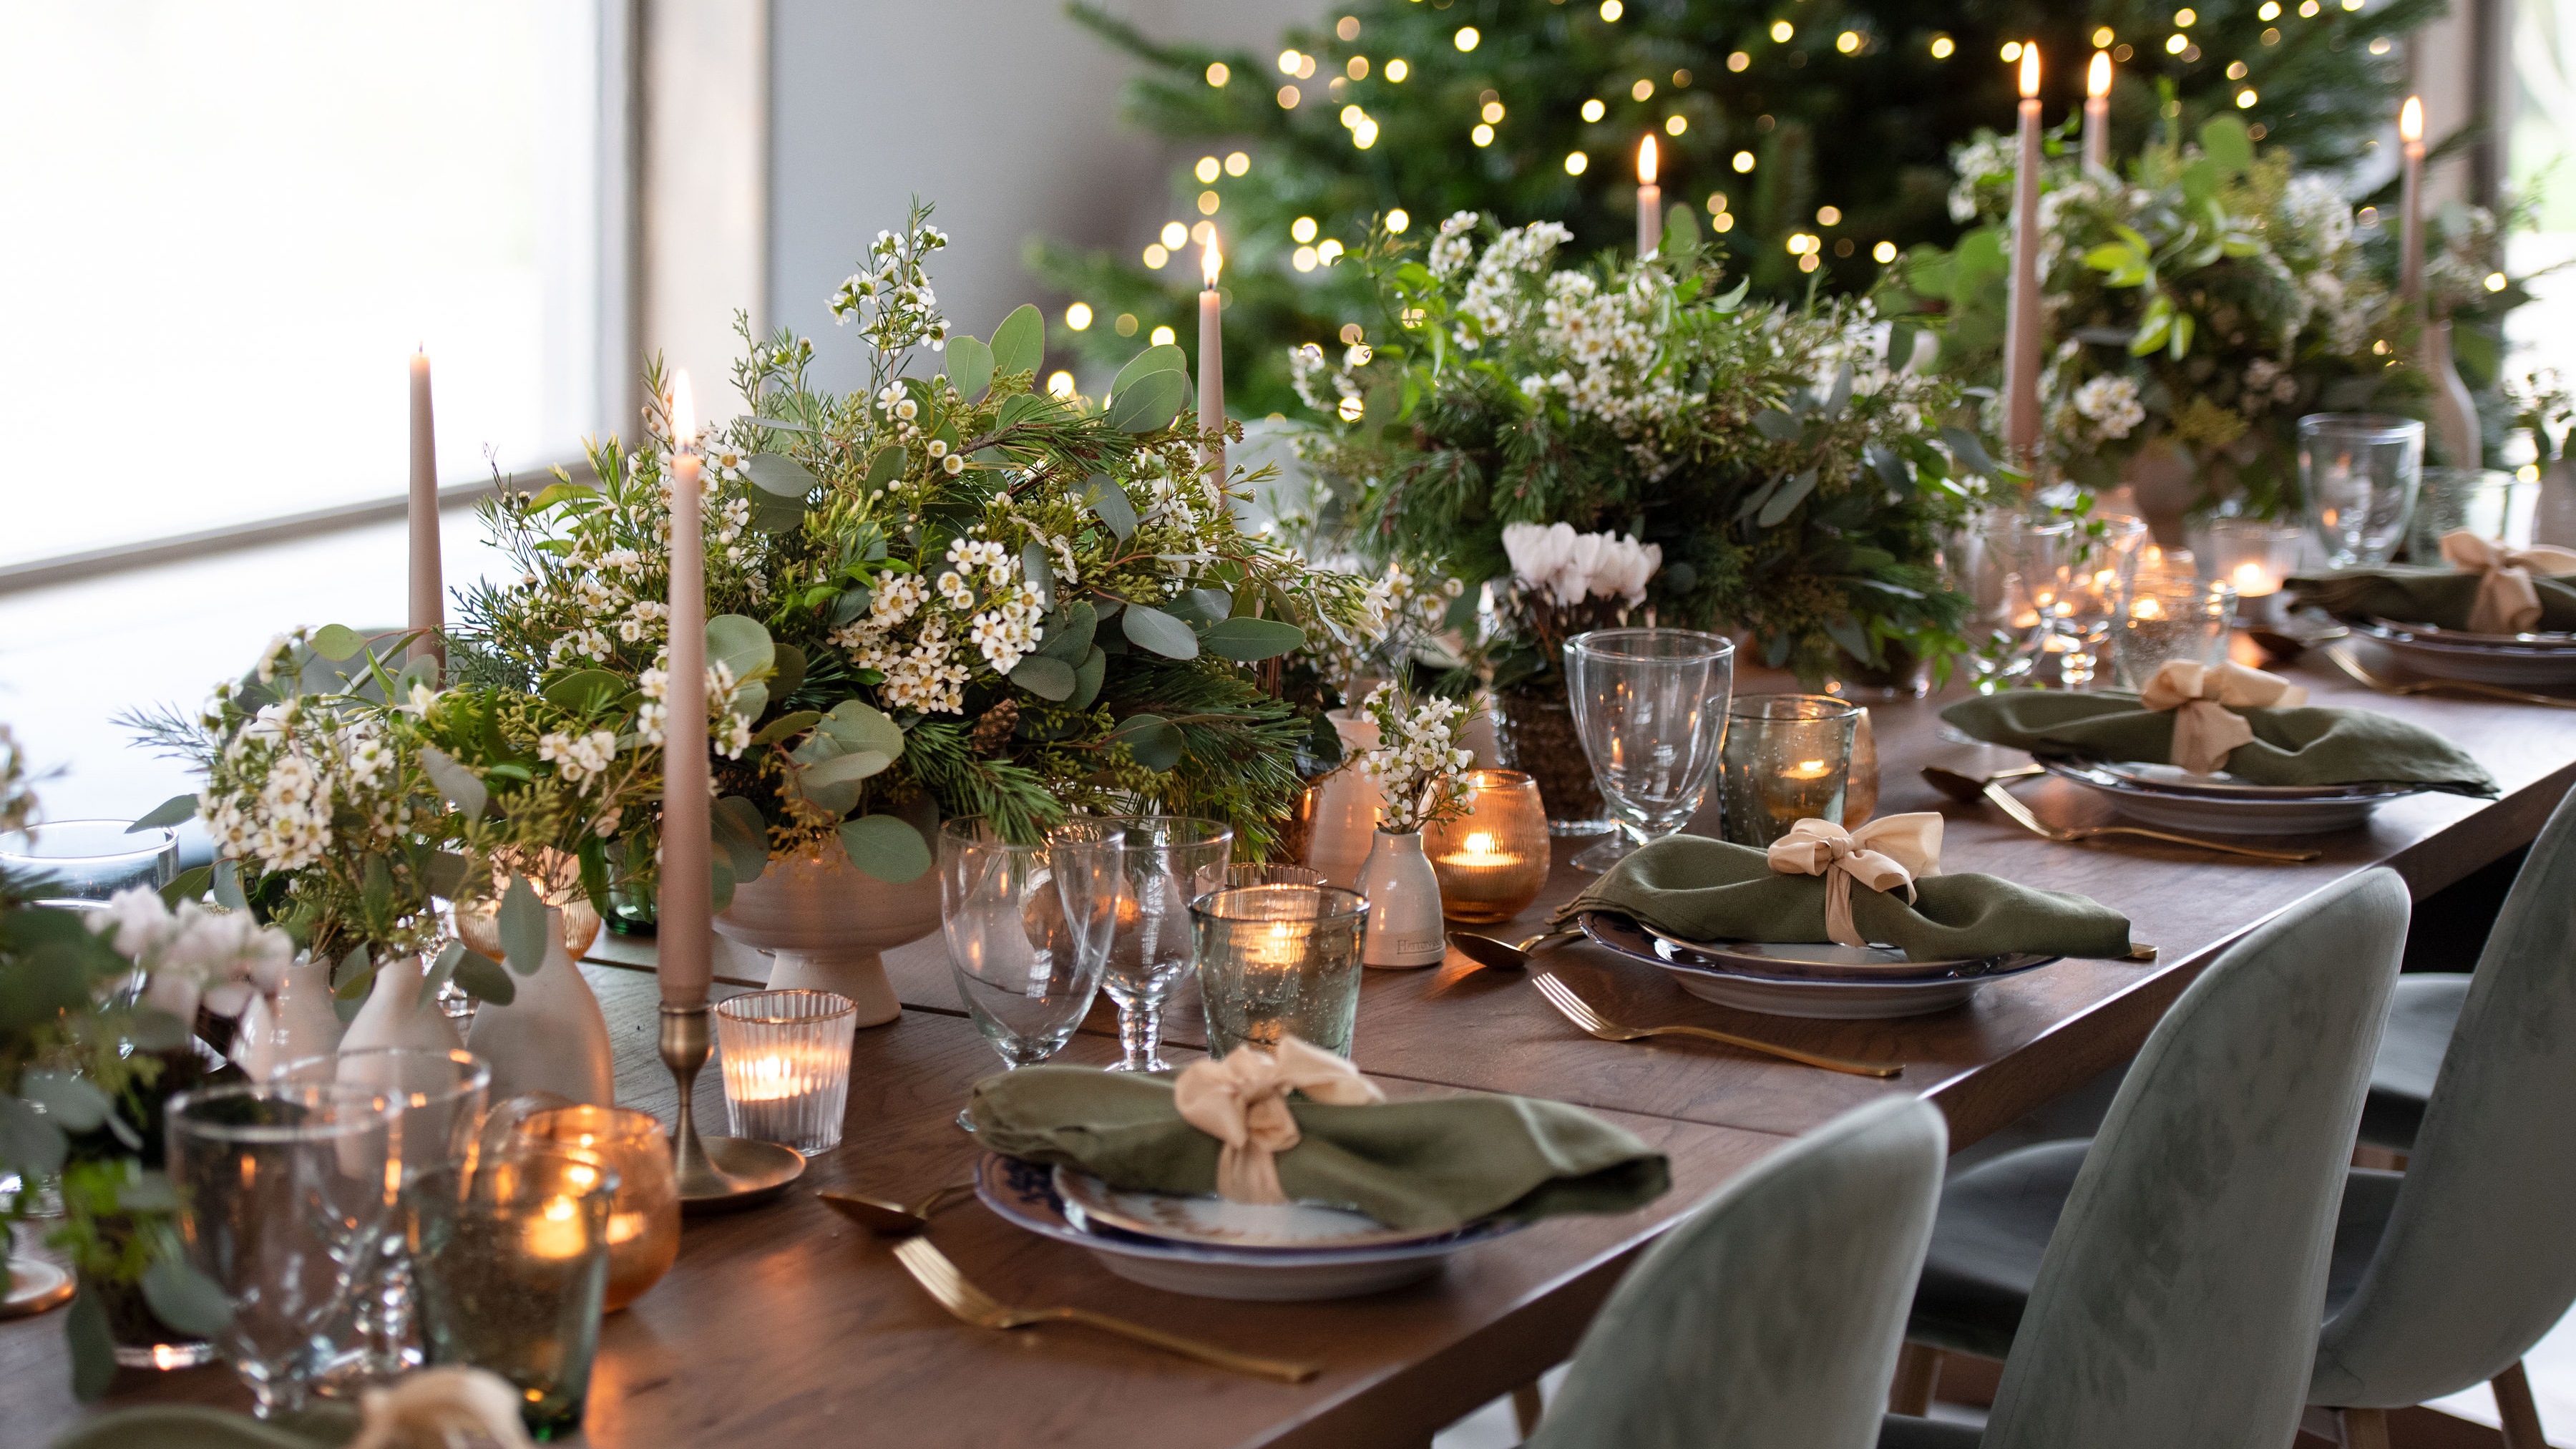

Want to learn how to make a Christmas centerpiece that will wow your guests over the holidays? It's actually such a simple DIY, and a lovely way to spend a festive evening with a steaming mug of mulled wine and Love Actually on in the background. Plus, you can pull together something really impressive using just the foliage you can find in your back garden, so it's easy and affordable! And you can really get creative too and make something that reflects your style and suits the vibe you are going for your Christmas table decor, whether that be chic and minimal, or country-style rustic.
'When thinking of how to create that special table centerpiece for Christmas, it’s great to make an impact, but also not something that will take over the table (that’s what the food is for!). An elegant ring of foliage, festive inclusions and florals encasing a warming clear glass lantern is perfect; it doesn’t take up a huge amount of space but it is also different enough from perhaps what you would normally put here to make it feel special enough!' explains Sue Barnes creative director of Lavender Green.
There are endless approaches to take when creating a centerpiece and it all depends on the size and shape you are after, whether it's a classic wreath to sit in the middle or a table length design that runs down the spin. Whatever look you want to create we have all the expert tips and advice you'll need...
How to make a Christmas centerpiece
You will need
- Foliage – what you choose will depend on the overall look you are after, but evergreens like box, pine, fir and yew are great for getting that full look
- A base – again this will be down to what shape and size you want, a wicker wreath, a compote bowl or shallow vase, or florists foam are all good options
- Secateurs
- Gardening gloves
- Candles (for an optional glow)
1. Pick your choice of foliage
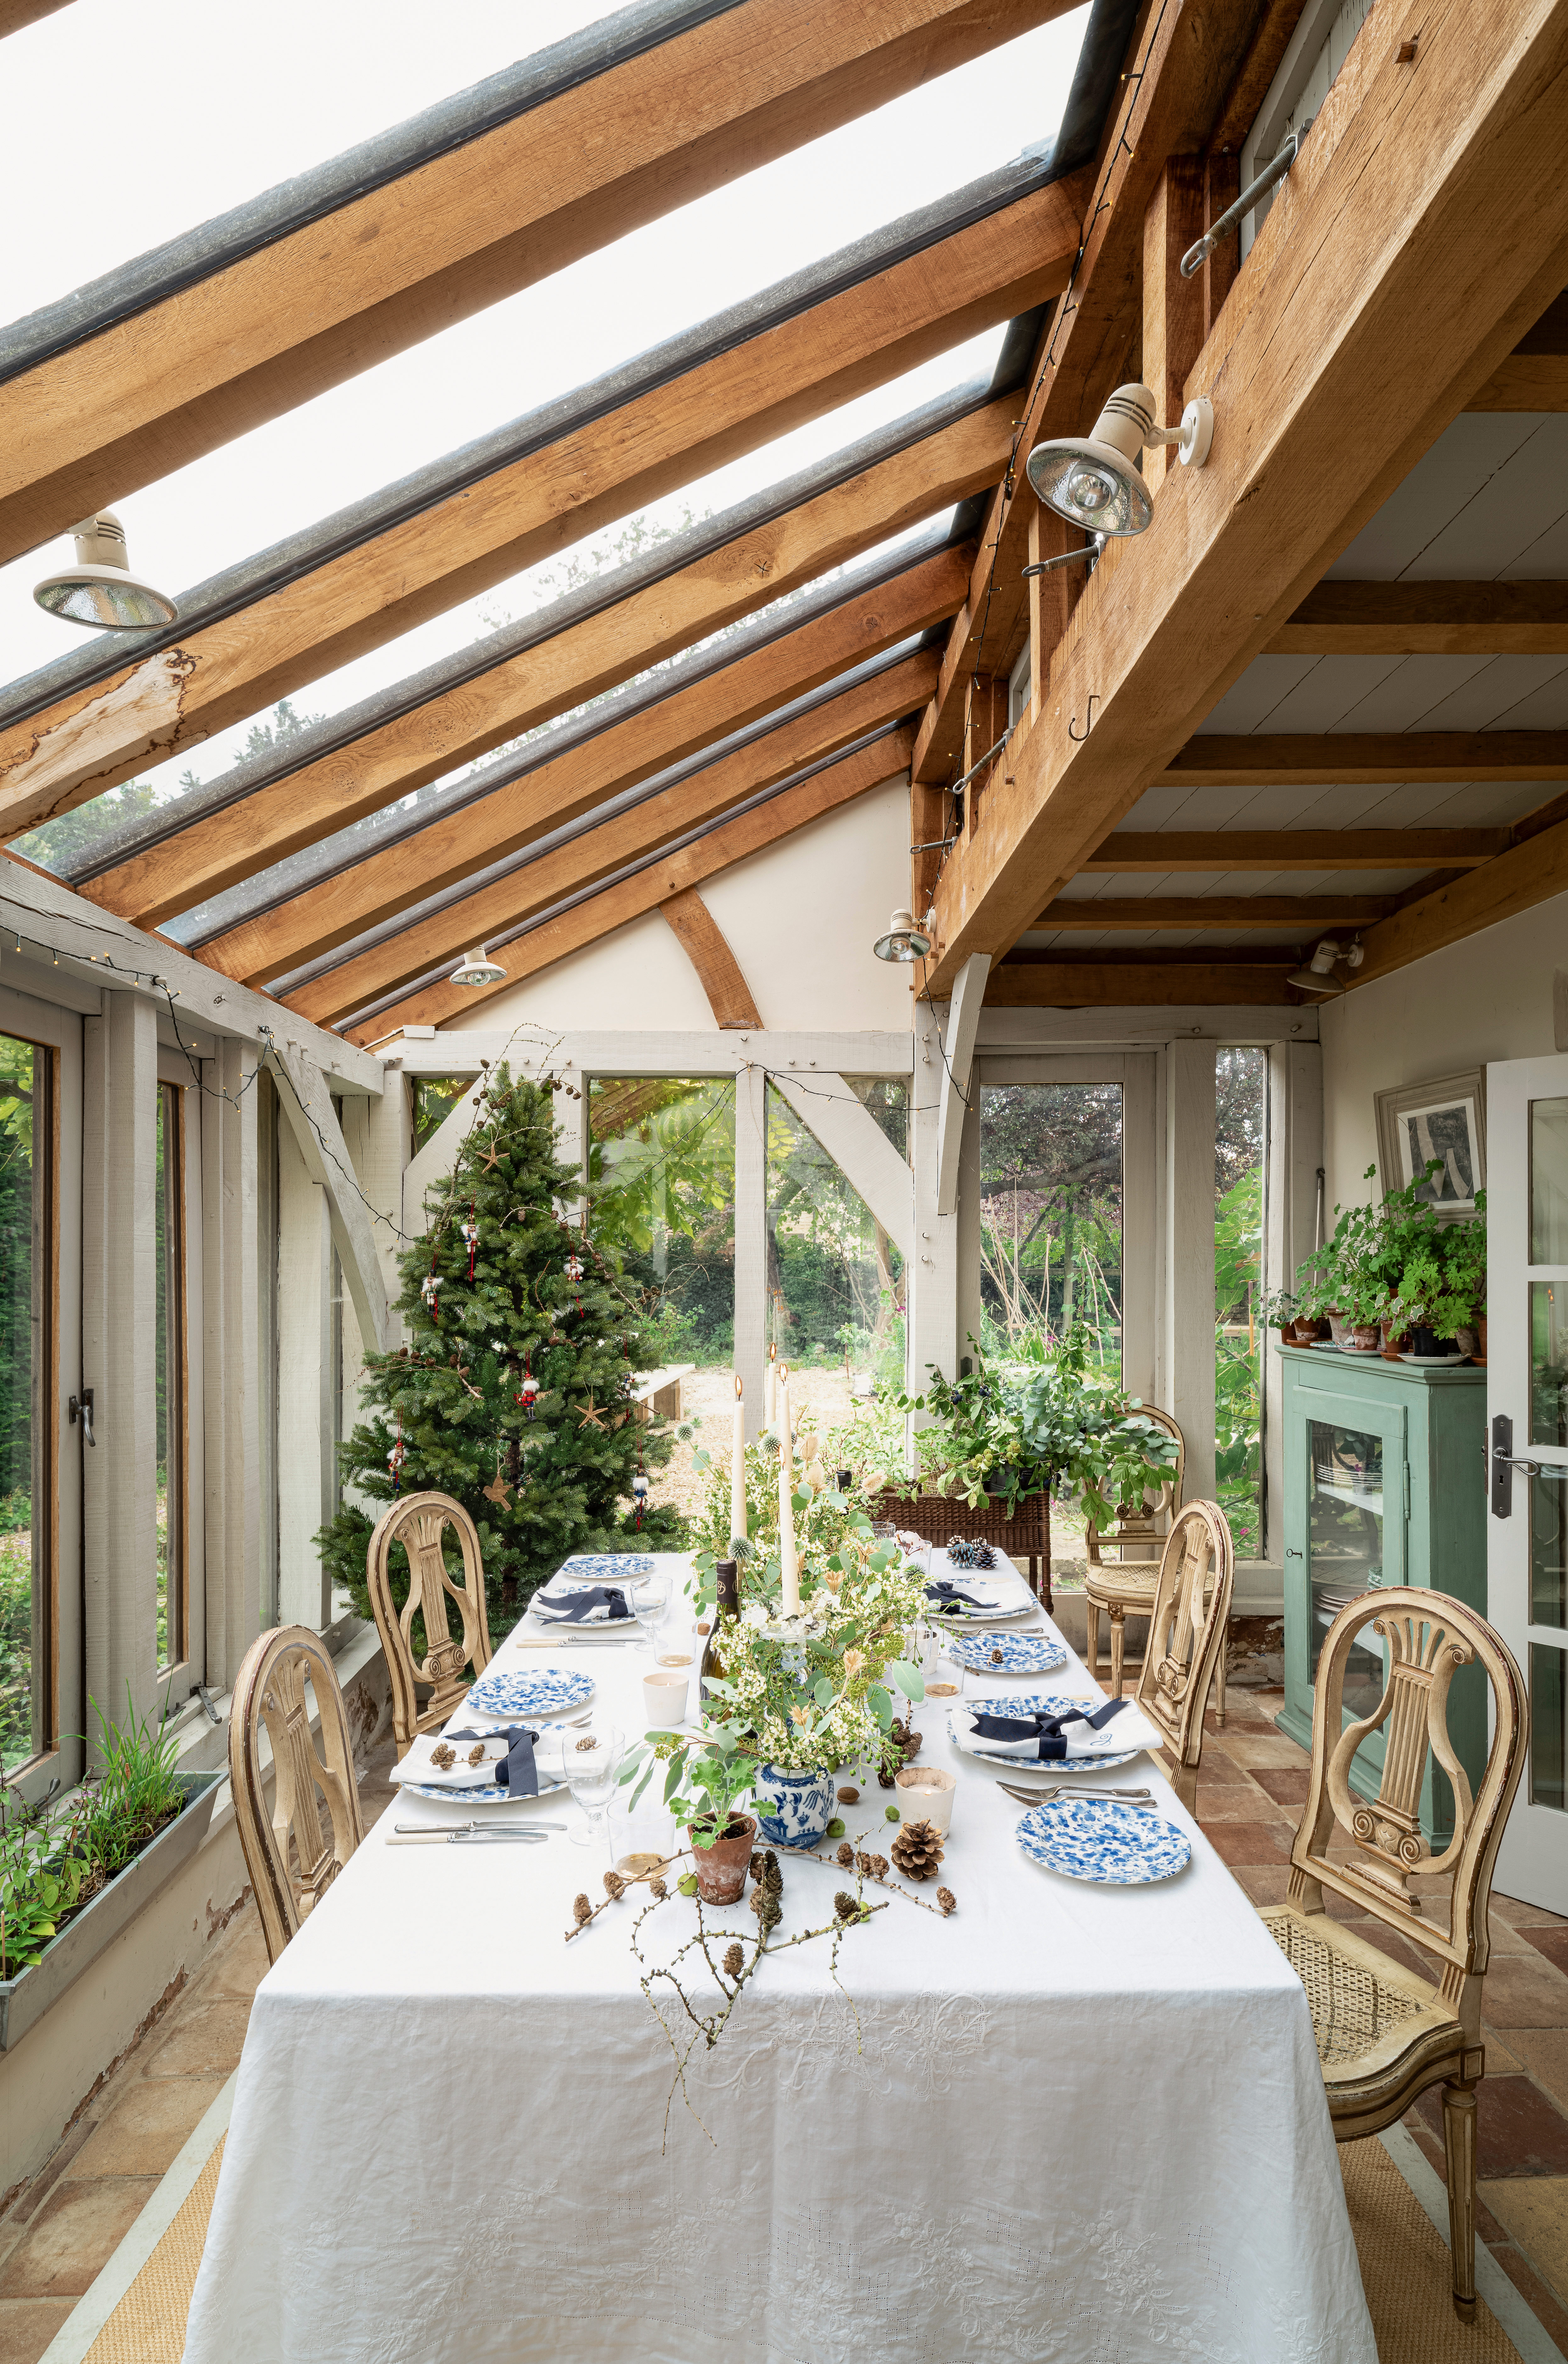
The first step, and of course the most important when making a Christmas centerpiece is to collect your foliage. If you're lucky, you might be able to find everything you need in your own back garden, depending on the look you are after. Evergreens like fir, pine, yew, and box plus holly and ivy should all be fairly easy to find, but if you want to add in some foreign foliage head to your local florist.
'I’m a huge fan of using a mass of different evergreen foliage at this time of year. It lasts really well in designs, and if you mix up the varieties, you can achieve something incredible, without the need for a mass of flowers. I love designs with a sole focus on seasonal greenery.' says florist Philippa Craddock.
Whatever choices you make, before you start layout all your foliage, and make sure it's all looking fresh, clean, and healthy. If you have done your own foraging you might want to give your greenery a quick wash and then leave to dry out on a tea towel.
2. Prepare your base
The base you choose to use will slightly vary depending on the design you want to create. If you like a classic wreath centerpiece, Sue Barnes of Lavender Green recommends 'Start off by either buying a wicker frame, or one already with a blue pine base if you want a bit of a head start!'
If you are after something less structured, just a lovely floral arrangement or two dotted down the spin of your table, then instead Phillipa Craddock suggests to 'Use a small compote bowl, which is a raised bowl on a tapered foot - you can source these from most homeware stores. Ideally, look for one that measures between 20cm and 25cm diameter. The raised foot takes the design off the table, and helps to add an elegance and lightness. This is key, as often foliage rich designs can look a little heavy and dense.' recommends Phillipa.
'Add a support inside the bowl to hold your stems, Kenzans are great, as is a simple fold of chickenwire, the latter is best to tape into place - you can source pot tape from floristry sundry suppliers.'
You could also just use florists foam if you are after a long Christmas flower arrangement that runs all the way down your table. Whatever shape you are after, the next steps all apply, just tweak them to suit the style you are after.
3. Start arranging your greenery
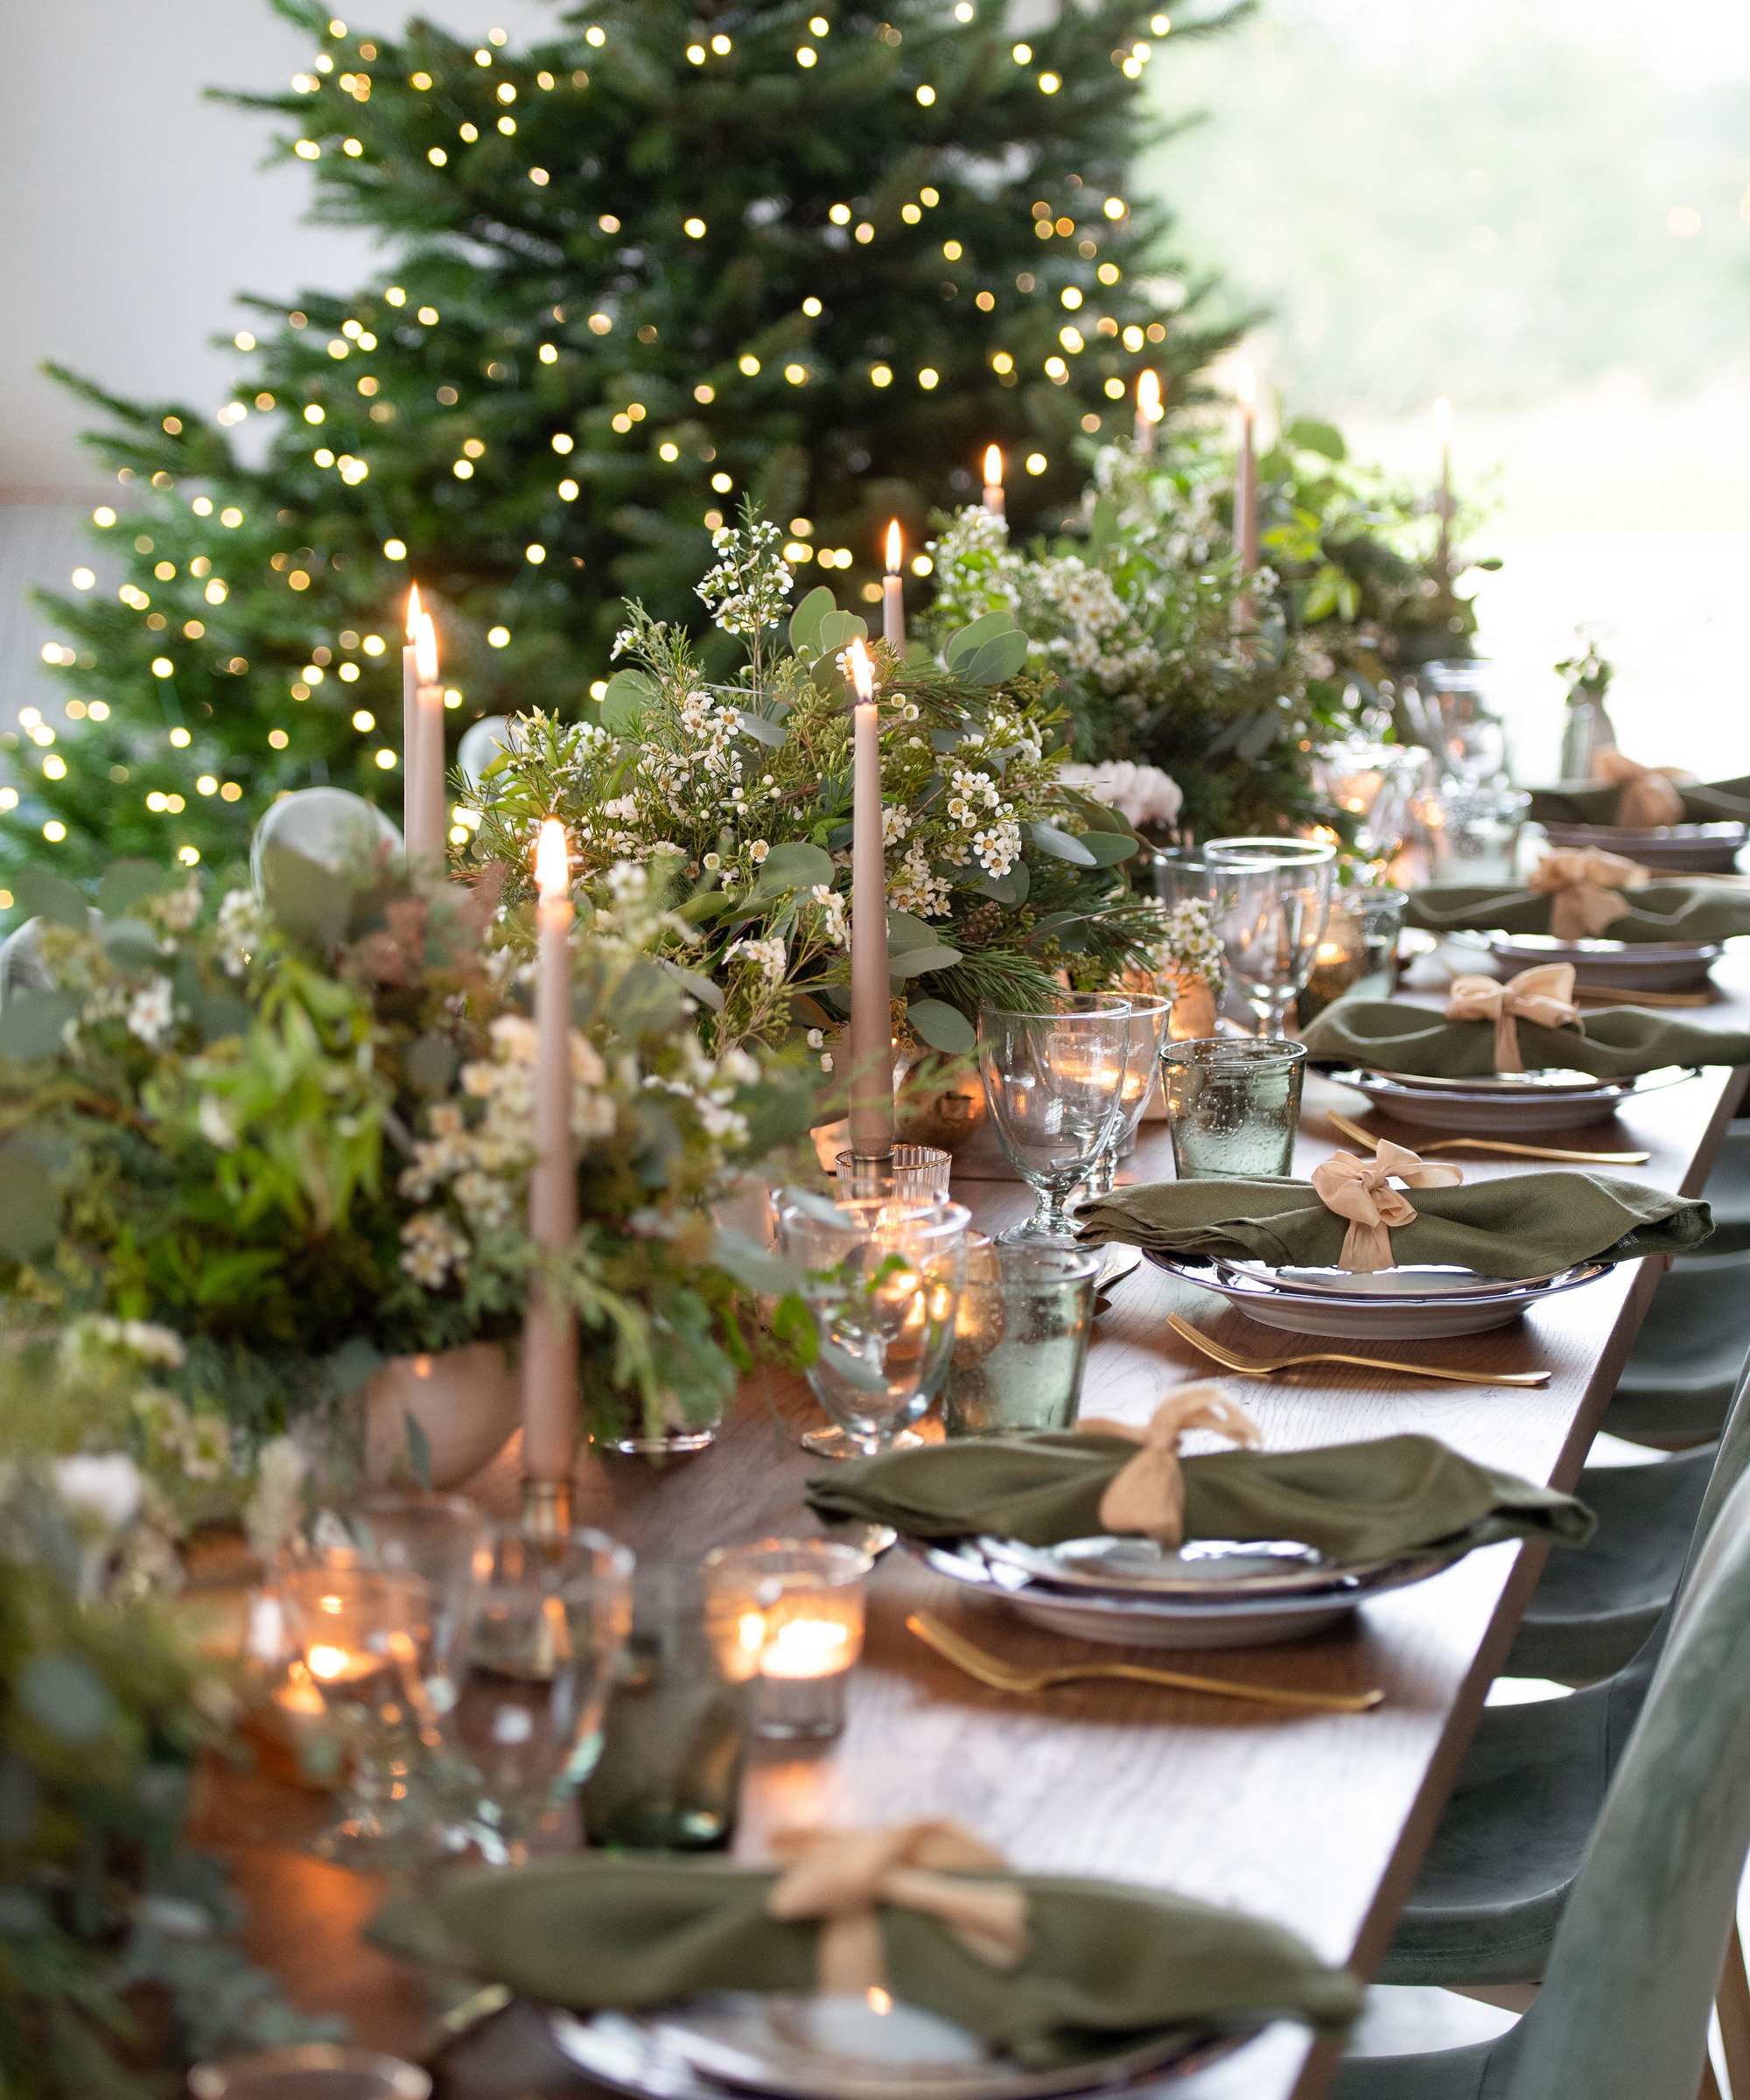
Once you have decided on your base, it's time to get adding the foliage. Put on your gardening gloves for this part. Before you start adding anything to your base, cut down your foliage to the sizes and shapes you want – remember you can take off more but you can't add on so don't be too liberal with the amount you cut off. When trimming your greenery, be sure to cut it off at an angle so you are left with a nice point that can easily be inserted into your base.
'Begin adding your first few stems, focussing on the initial shape. I love rough asymmetrical shapes. You can achieve this by placing one stem outward and a little higher and a second placed opposite and lower.' says Phillipa. 'Add filler stems, paying attention to the overall shape; make sure you frequently turn your design around, so you don’t leave any gaps.'
'Build your foliage in layers (remember to remove the leaves at the base so you can easily wire into the frame) twigs/branches and then onto the festive inclusions. Cluster this in odd numbers to suit the shape of the ring and place together to look more luxurious. You don’t need this to be symmetrical, completely up to your own personal taste.' suggests Sue.
If you are using florists foam as your base it's really simple as you just need to insert your stems. For a wreath you'll have to get wire involved to secure your pieces, just loop it around the bottom of the stem, hold the wire-like a pencil, and insert it into your wreath.
Be sure to 'keep your designs relatively low, aim for a maximum height of 30cm, so as not to create a block, which might restrict your guests from easily being able to see each other and get in the way of conversation. The best design will always draw people in, creating an incredible atmosphere and aid conversation.' says Phillipa.
4. Add in extra special elements
Once you are happy with how your greenery is looking, you can add in a few more floral elements to add a flash of color amongst all the evergreen.
'You can always add a floral aspect if desired (if you are having your centerpiece for longer, maybe wait until Christmas Eve to add the flowers here so you don’t need to refresh) as this will elevate and add a freshness to the centerpiece.' says Sue.
'You don’t need a lot of flowers, nor do they need to be big and voluminous, beautiful Ranunculus, Hellebores, and Wax Flower are all perfect seasonal options and just work effortlessly with the rest of the ingredients in your centerpiece!'
5. Finish off with flickering candles
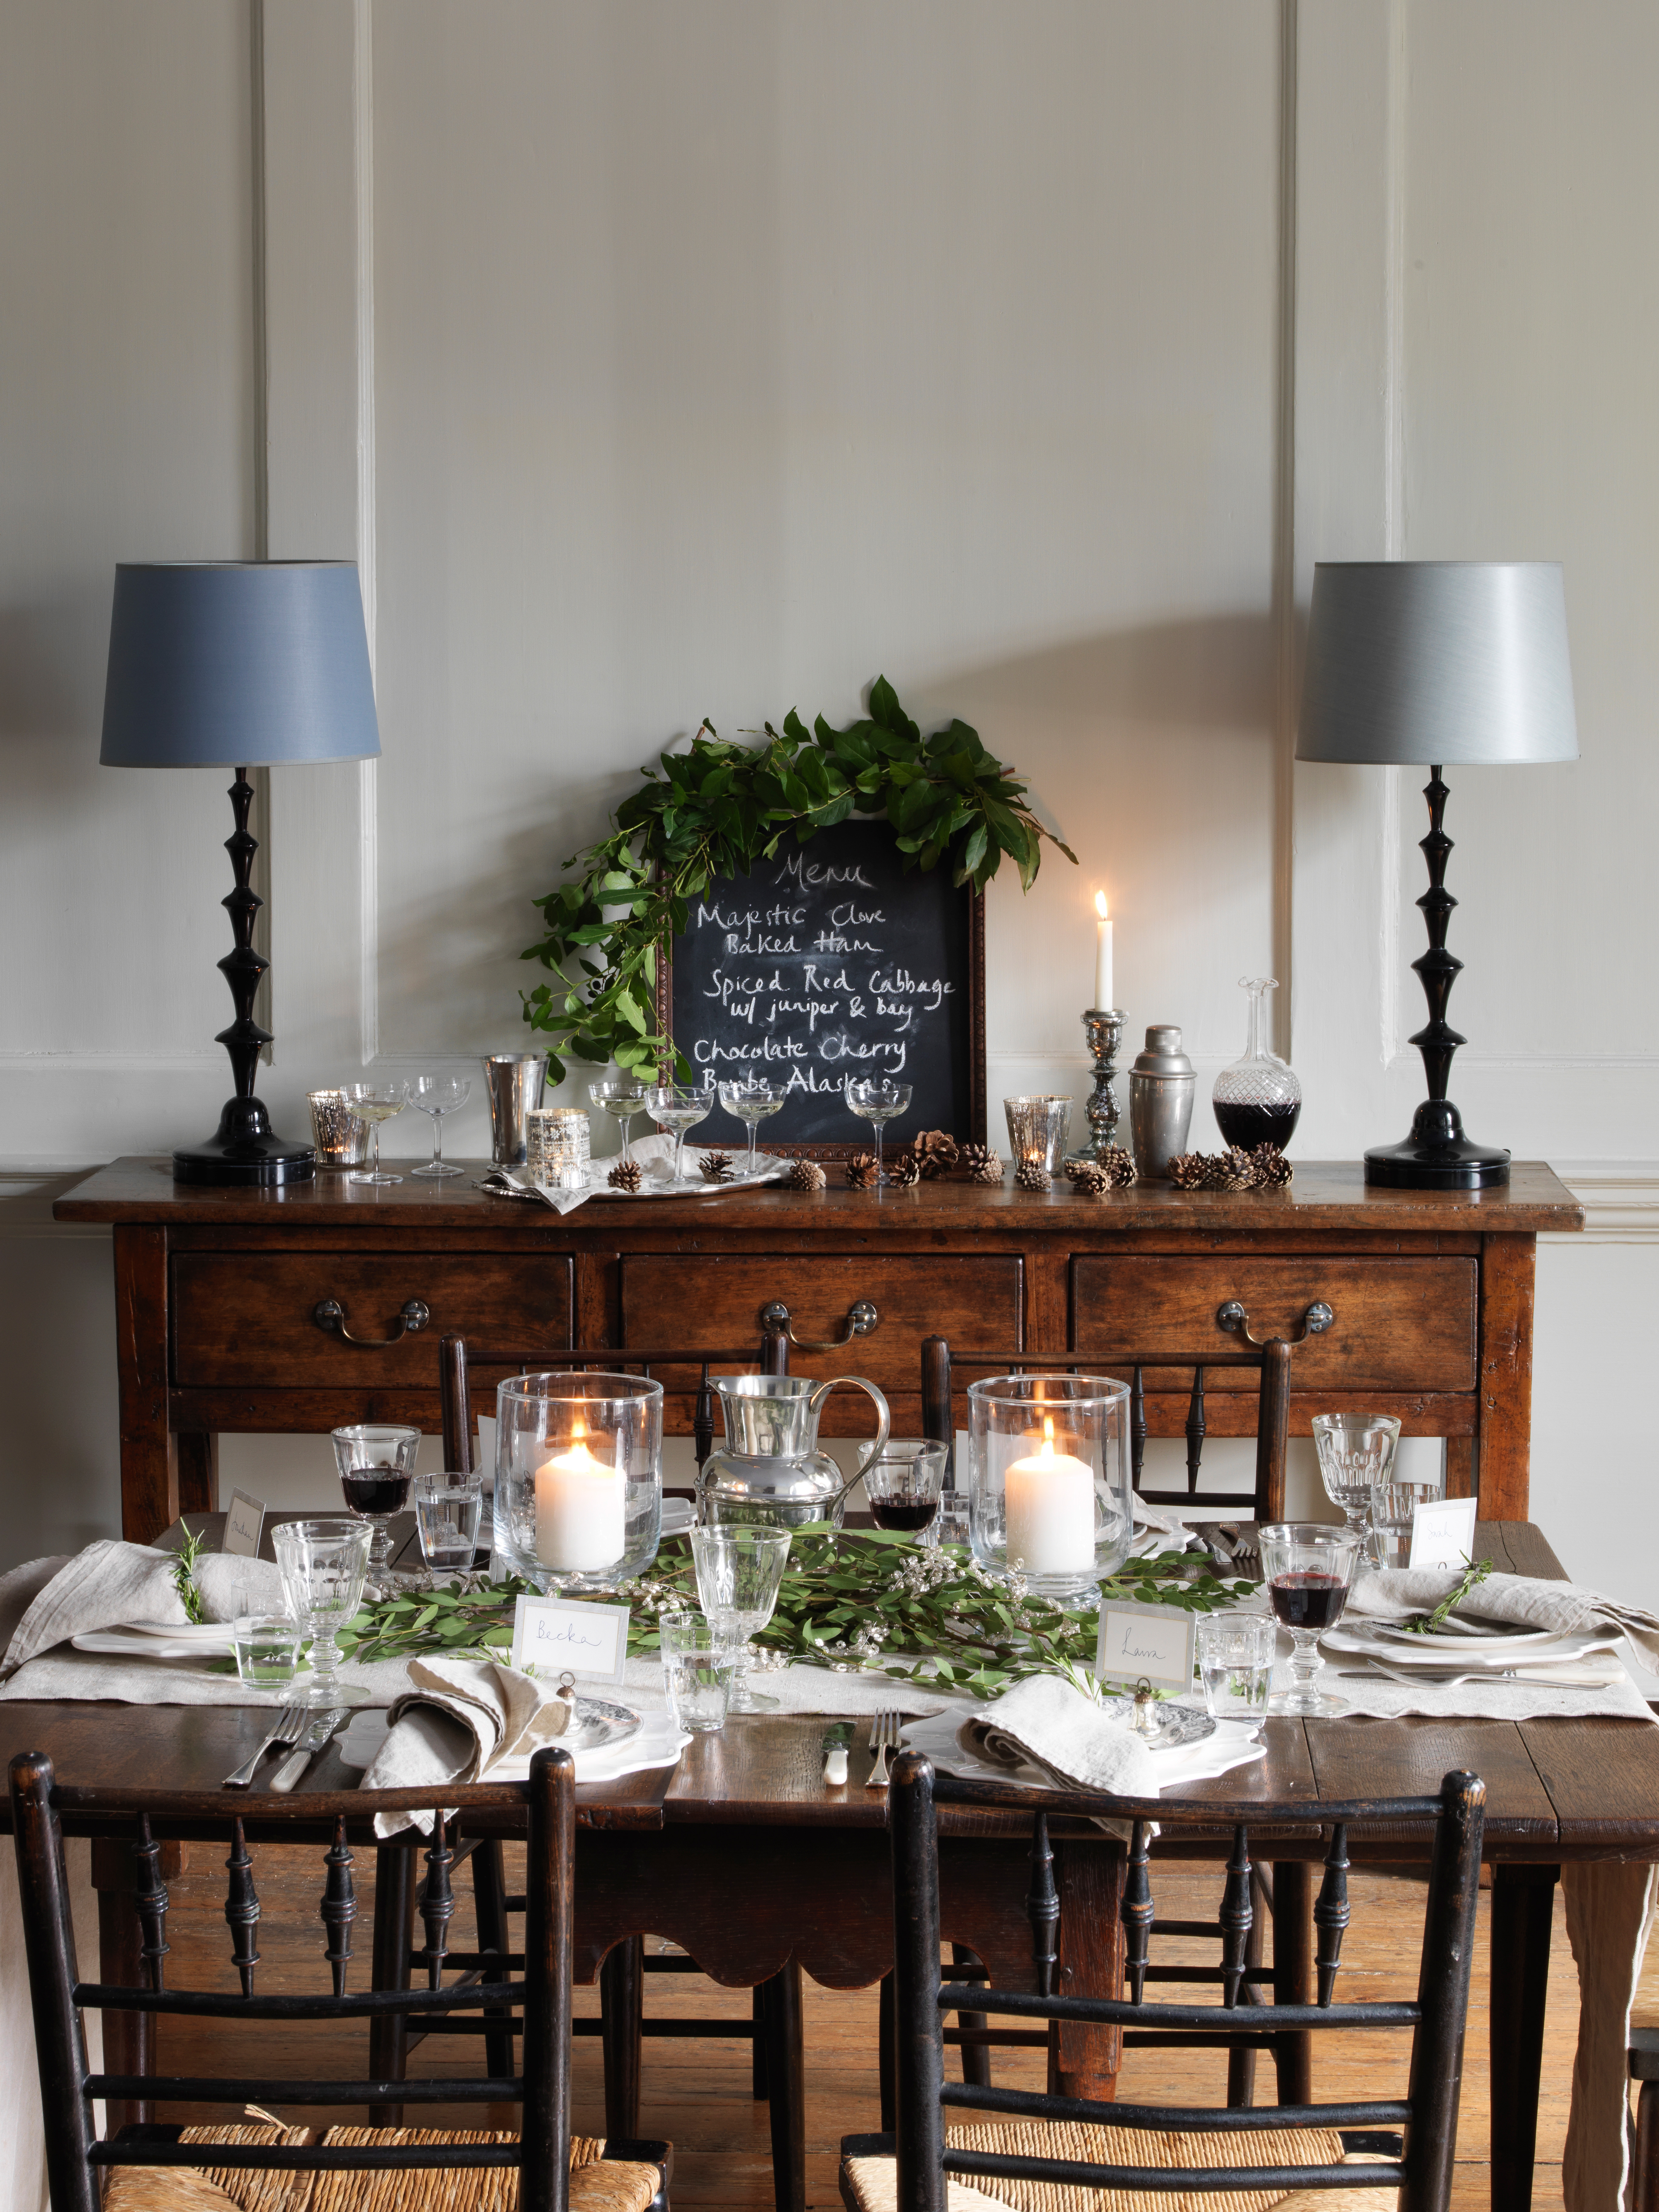
And then it's just about adding the final flourishes that make a Christmas table centerpiece really sing. The obvious choice is candles, and plenty of them!
As Phillipa suggests 'add a mass of candlelight (just keep the naked flames away from the greenery) at varying heights. A mixture of tall tapered dining candles in candlesticks and lower tea lights. The combination of textured greenery and candlelight creates a beautifully elegant design.' Philippa is passionate about supporting everyone through creativity with flowers, whether you are a florist or an enthusiastic home arranger, so make sure you check out her website for more incredible seasonal creativity.
How can you keep a centerpiece looking fresh?
The best way to keep a centerpiece looking fresh is to first ensure all your foliage is really healthy before you start building your design, and then ensure all of the stems have access to clean freshwater or a well-soaked florists foam. Keep your centerpiece hydrated every few days give it a light spray of water. And any flowers you want to add that you know are likely to wilt quickly, add them as late as possible, just a few hours before you are hosting would be best.
How can you make a simple centerpiece?
Centerpieces can be as simple as you want to make them. For a really easy centrepiece, fill a compote bowl (essentially a vase with a stem) with soaked floral foam, and then start with some evergreen pieces like fir and box to disguise the foam. Add in some tendrils of ivy, to flow over the sides of the vase. Then incorporate sprigs holly for extra texture and contrast with their nice waxy leaves, and berries for a pop of color. You could create something like this in minutes, just be creative and play around with your arrangement until it looks full and festive.
Be The First To Know
The Livingetc newsletters are your inside source for what’s shaping interiors now - and what’s next. Discover trend forecasts, smart style ideas, and curated shopping inspiration that brings design to life. Subscribe today and stay ahead of the curve.

Formerly the Digital Editor of Livingetc, Hebe is currently the Head of Interiors at sister site Homes & Gardens; she has a background in lifestyle and interior journalism and a passion for renovating small spaces. You'll usually find her attempting DIY, whether it's spray painting her whole kitchen, don't try that at home, or ever-changing the wallpaper in her entryway. She loves being able to help others make decisions when decorating their own homes. A couple of years ago she moved from renting to owning her first teeny tiny Edwardian flat in London with her whippet Willow (who yes she chose to match her interiors...) and is already on the lookout for her next project.
-
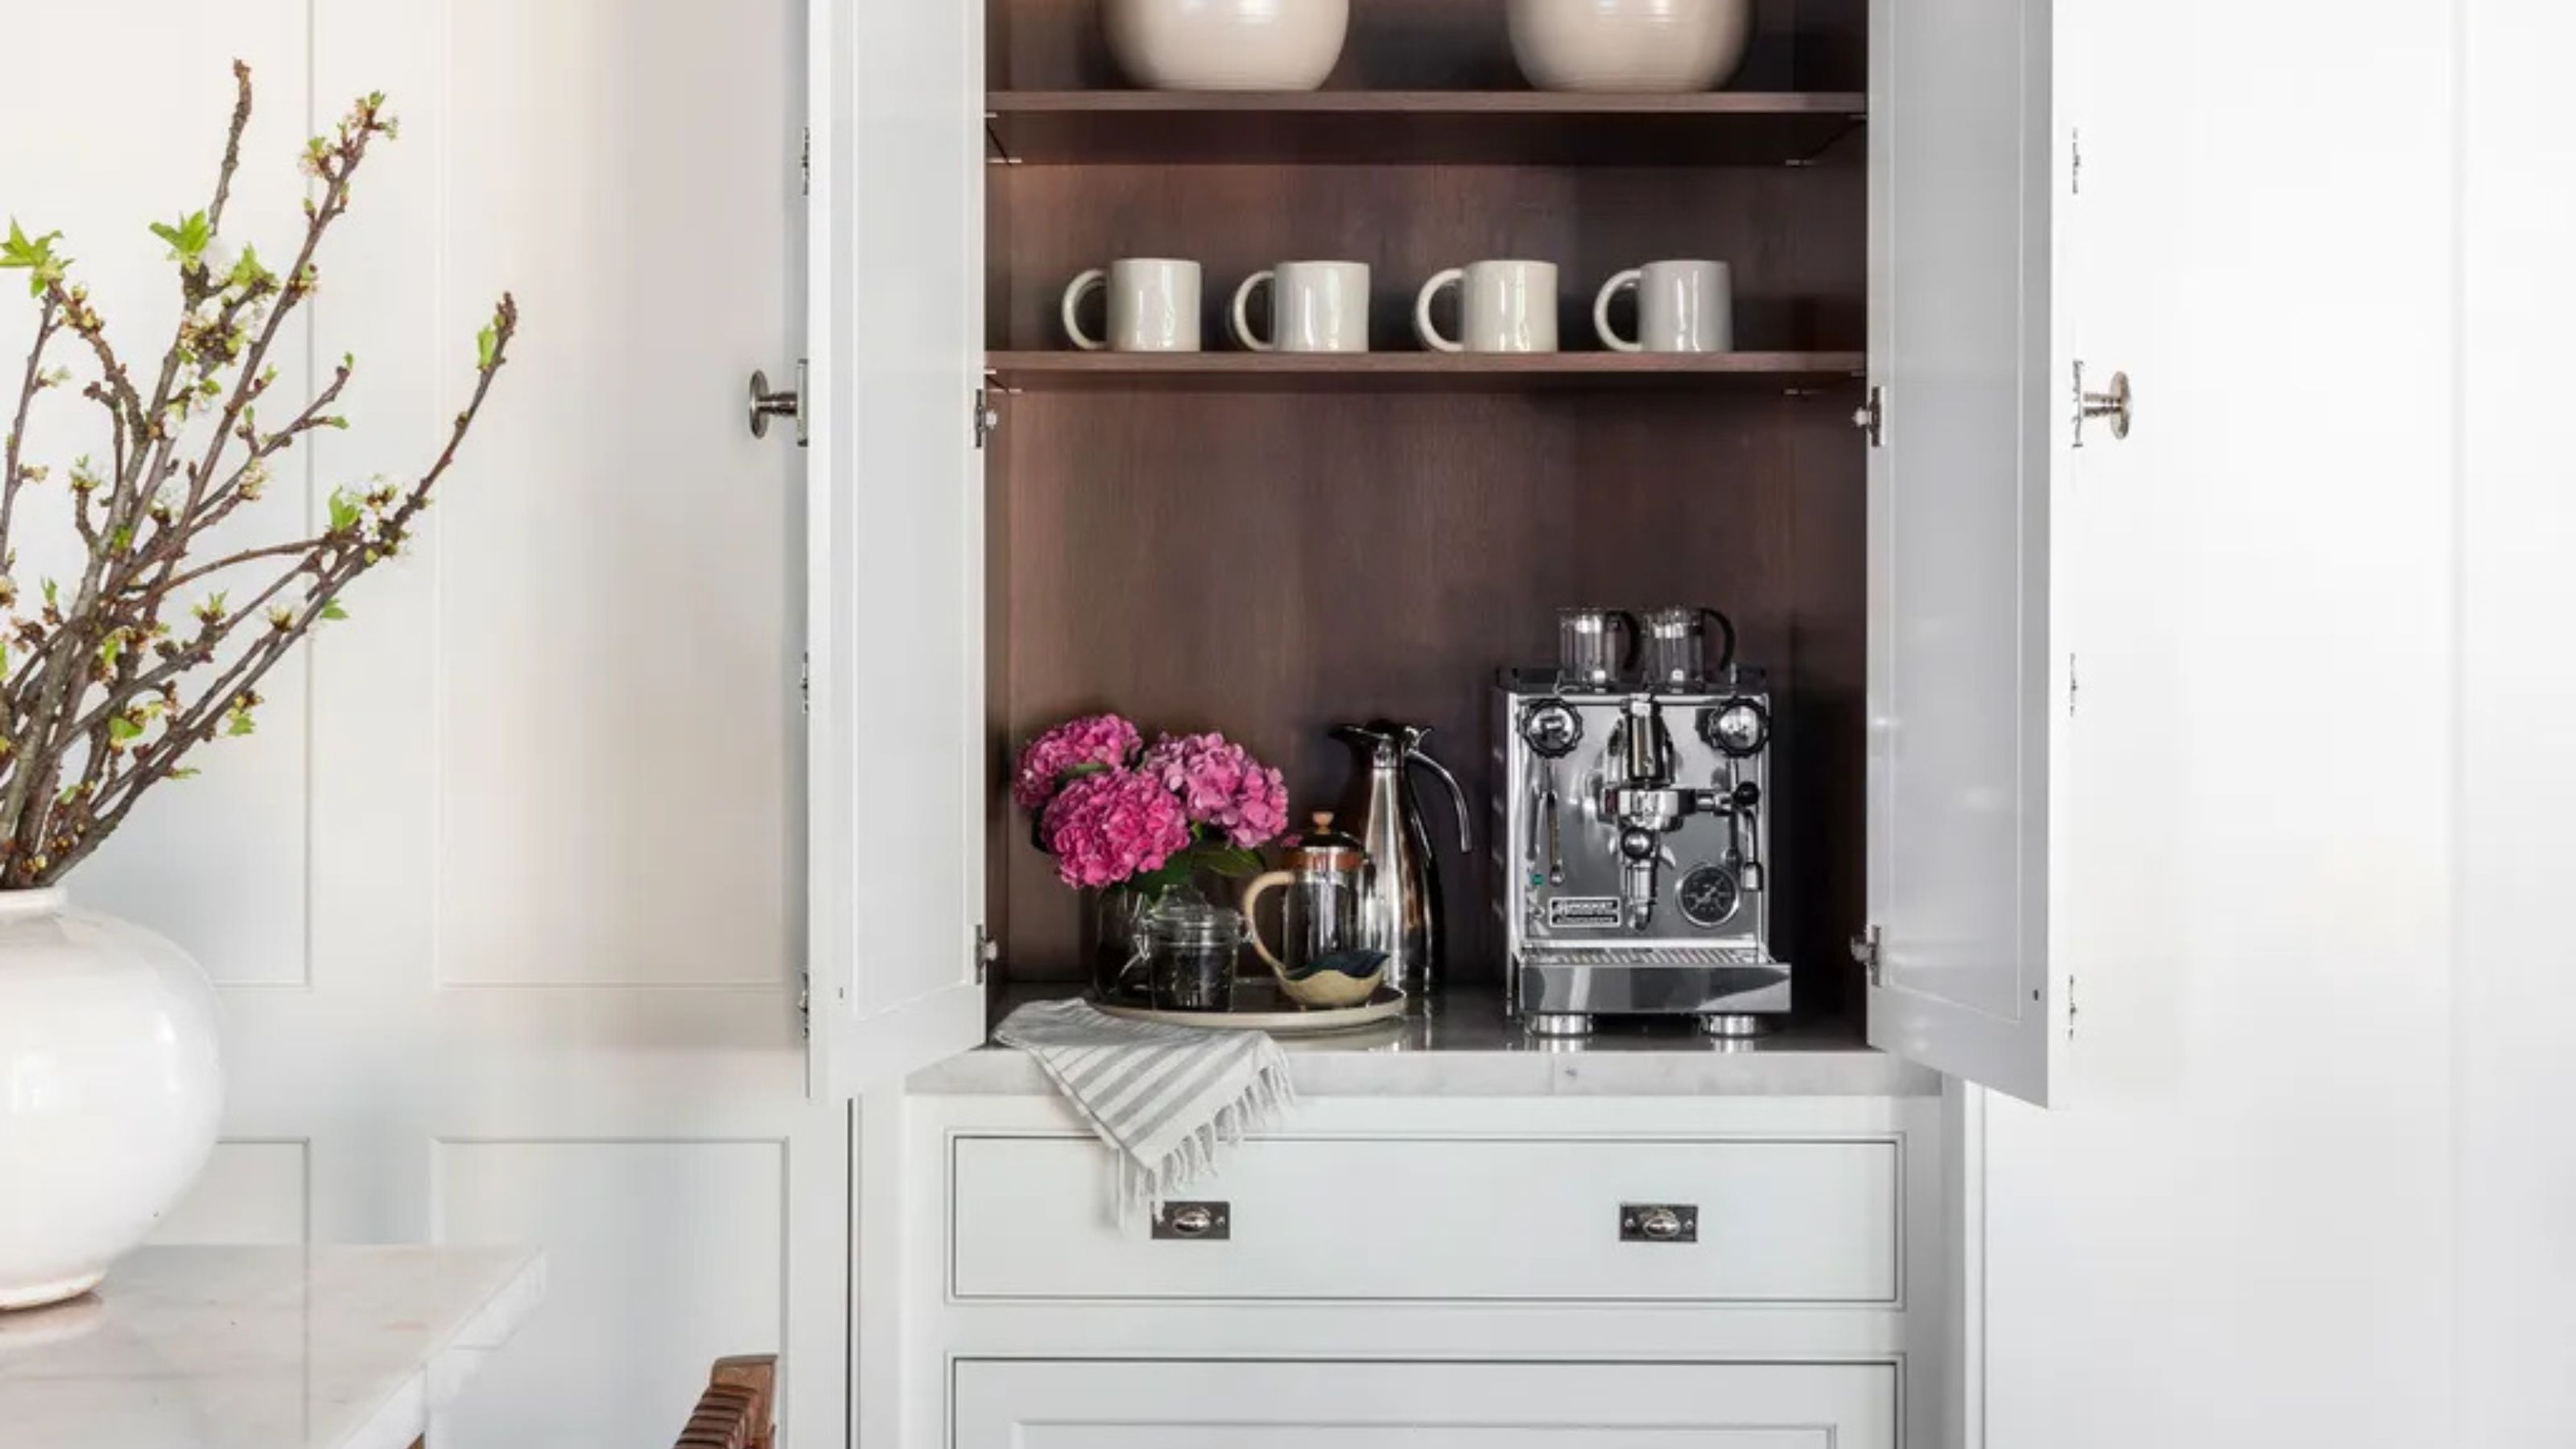 Turns Out the Coolest New Café is Actually In Your Kitchen — Here's How to Steal the Style of TikTok's Latest Trend
Goodbye, over-priced lattes. Hello, home-brewed coffee with friends. TikTok's 'Home Cafe' trend brings stylish cafe culture into the comfort of your own home
By Devin Toolen Published
-
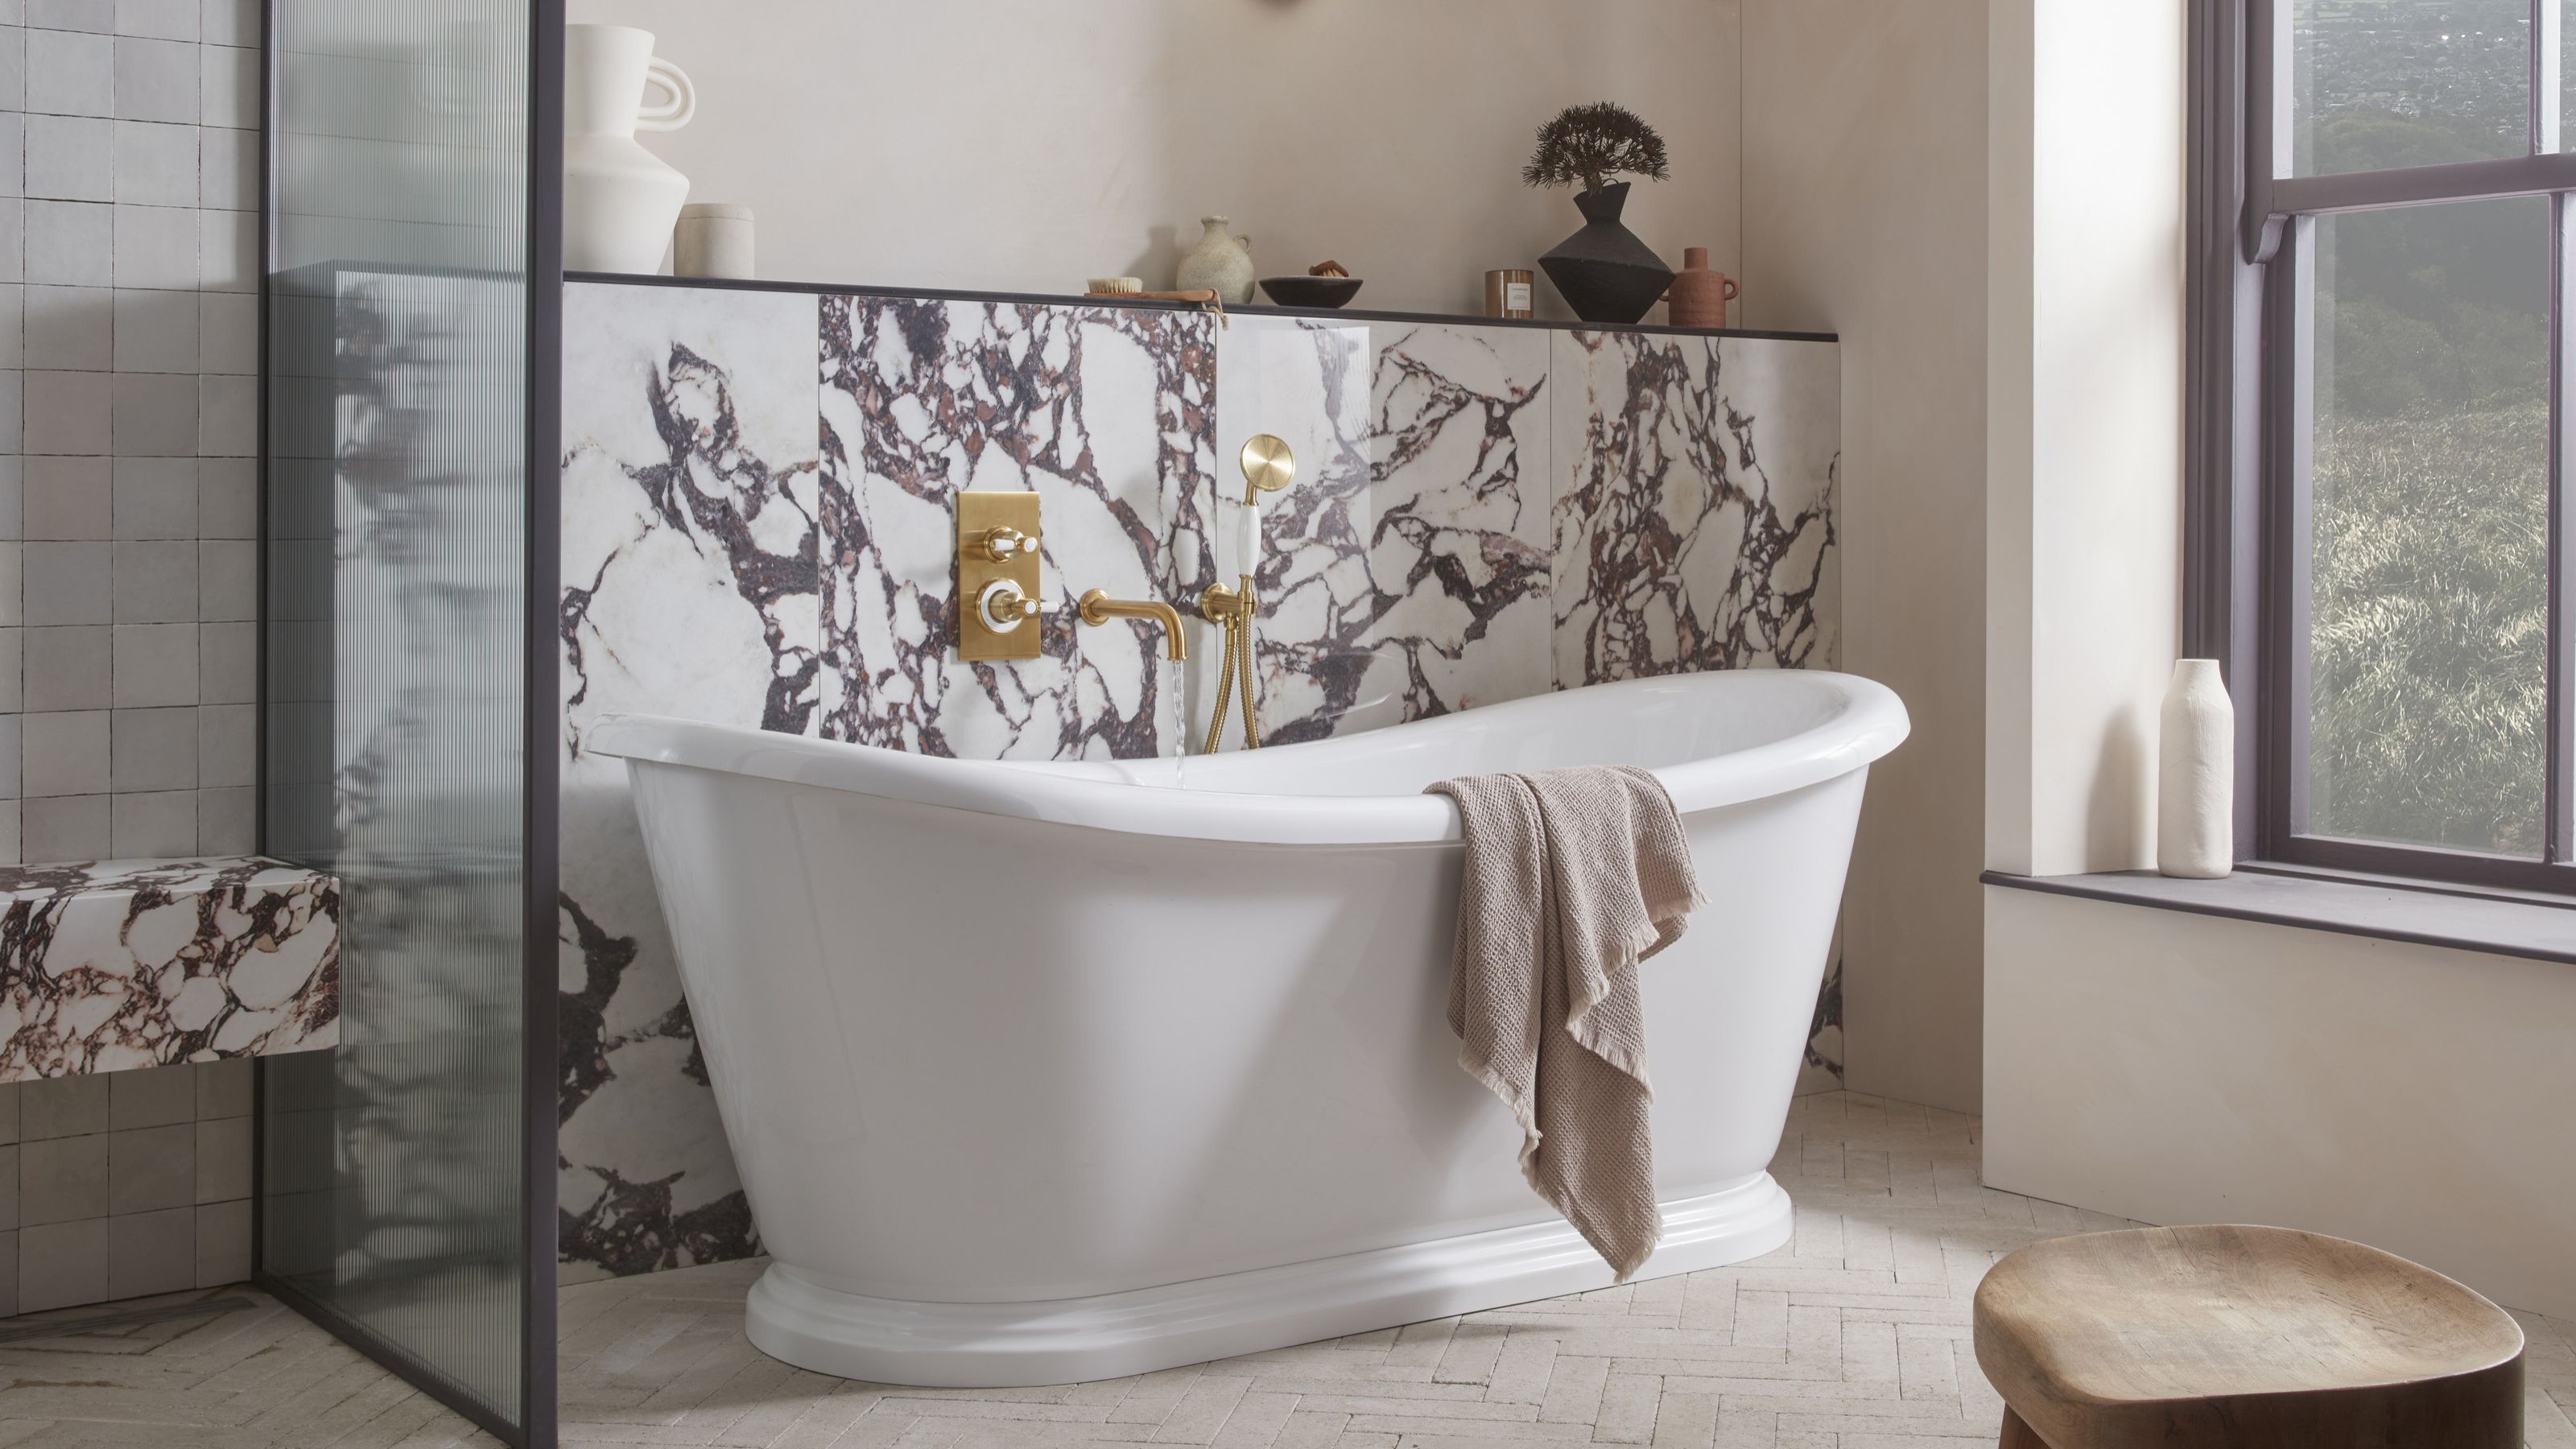 5 Bathroom Layouts That Look Dated in 2025 — Plus the Alternatives Designers Use Instead for a More Contemporary Space
For a bathroom that feels in line with the times, avoid these layouts and be more intentional with the placement and positioning of your features and fixtures
By Lilith Hudson Published