No dig expert tips: Livingetc's gardening columnist Poppy Okotcha on how to plant a modern vegetable and flower garden
The revolutionary no dig gardening method is made easy by these expert tips for getting it just right
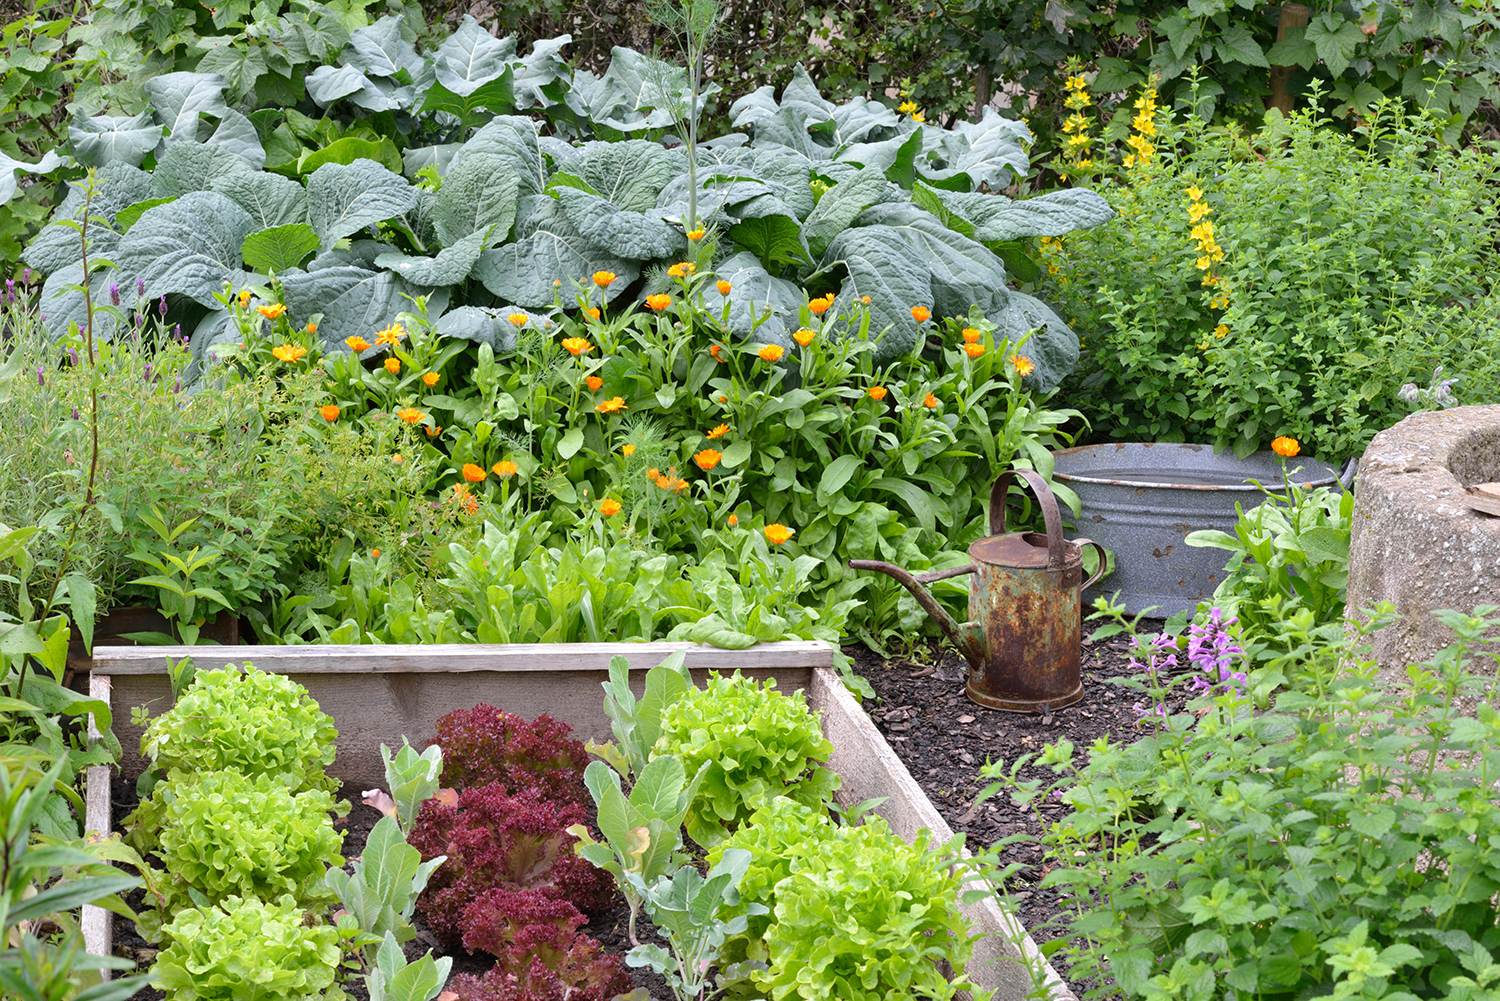
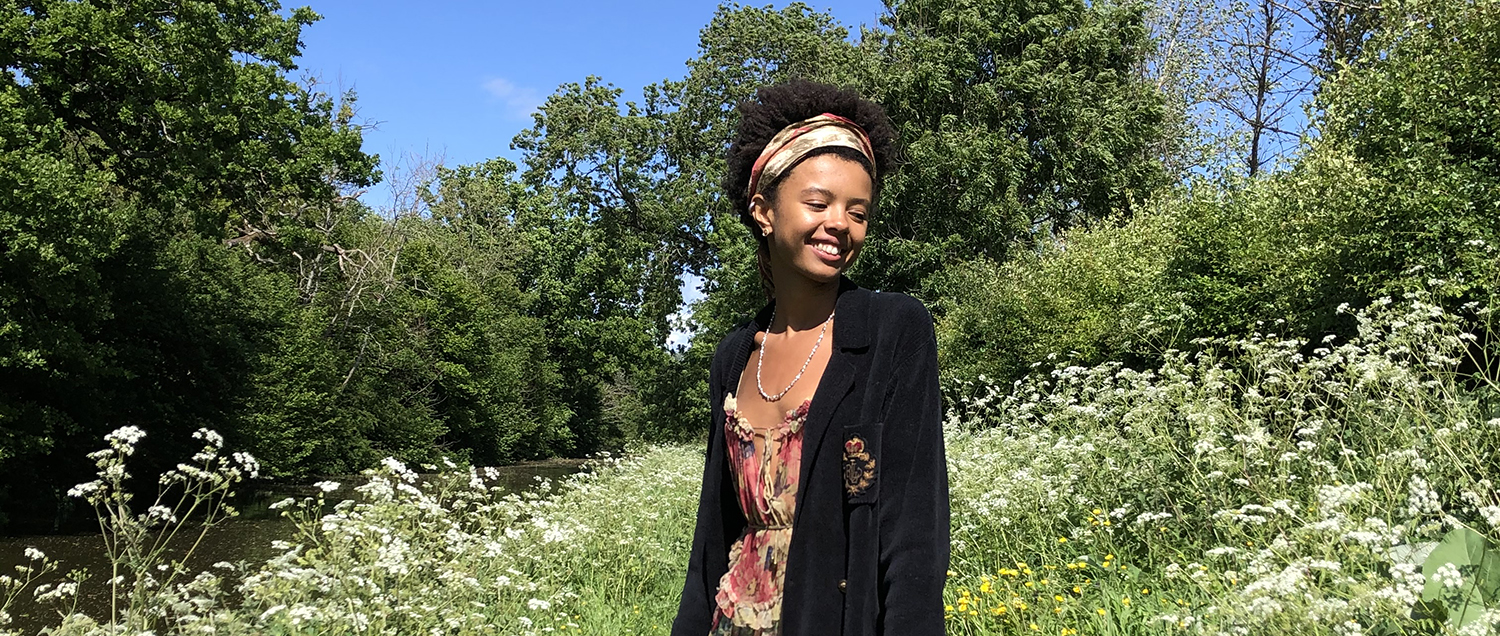
There are many reasons to use the no dig gardening method of planting a vegtable garden - it's better for the environment, it's easier to do and it yields great results.
Livingetc's gardening columnist Poppy Okotcha is a big believer in this way of managing a modern vegetable garden or blooming flower bed, and here are expert tips for getting it right.
Grow a cover crop before beginning your no-dig bed
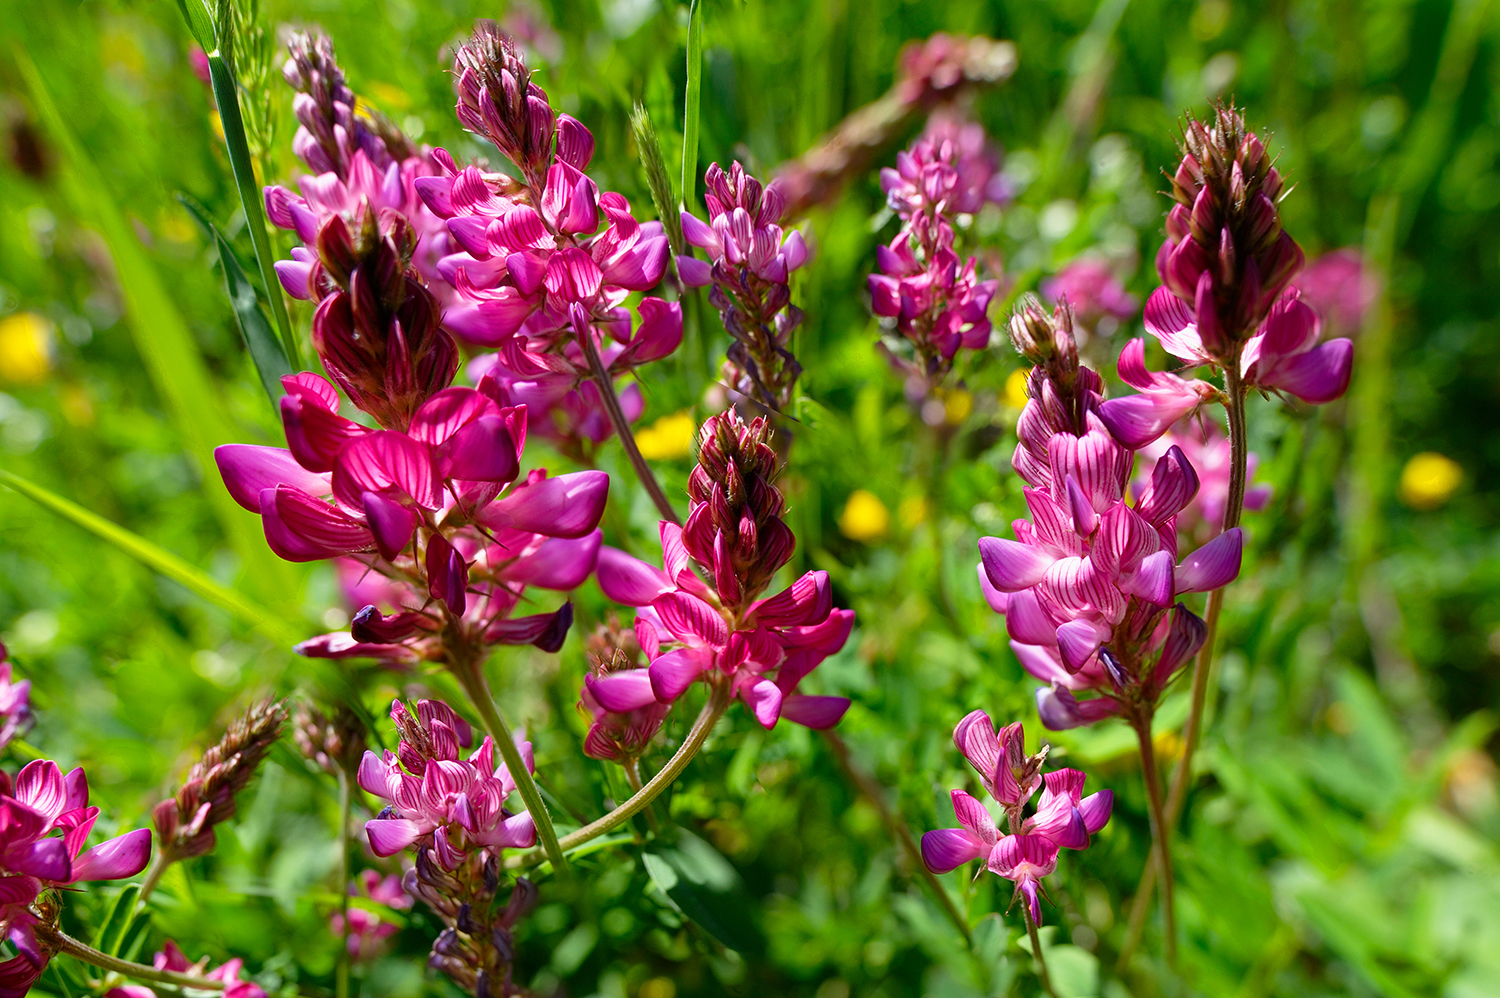
Pink vetch flowers
If you are regenerating fairly degraded soil (or if you have the time and patience!) after thoroughly weeding a bed of perennial weeds, start by sowing a green manure. Green manures are grown to protect and condition the soil while suppressing weeds. Before the plant sets seed, chop it at the base (leaving the roots to rot into the Earth), pop the foliage on the compost, to rot down and create magic to spread on your plot at a later date or leave it in situ to rot down below the card and compost layers. Either option will feed soil life and contribute that all important organic matter.
You can select the crop dependent on your site’s needs, if you're working with depleted soil you may want to try Vetch (Vicia Vilosa), which fixes nitrogen in their root nodes through summer. Or if you’re dealing with compaction you may go for Fiddleneck (Phacelia tanacetifolia) whose vigorous root network helps break up the soil.
Cardboard is king
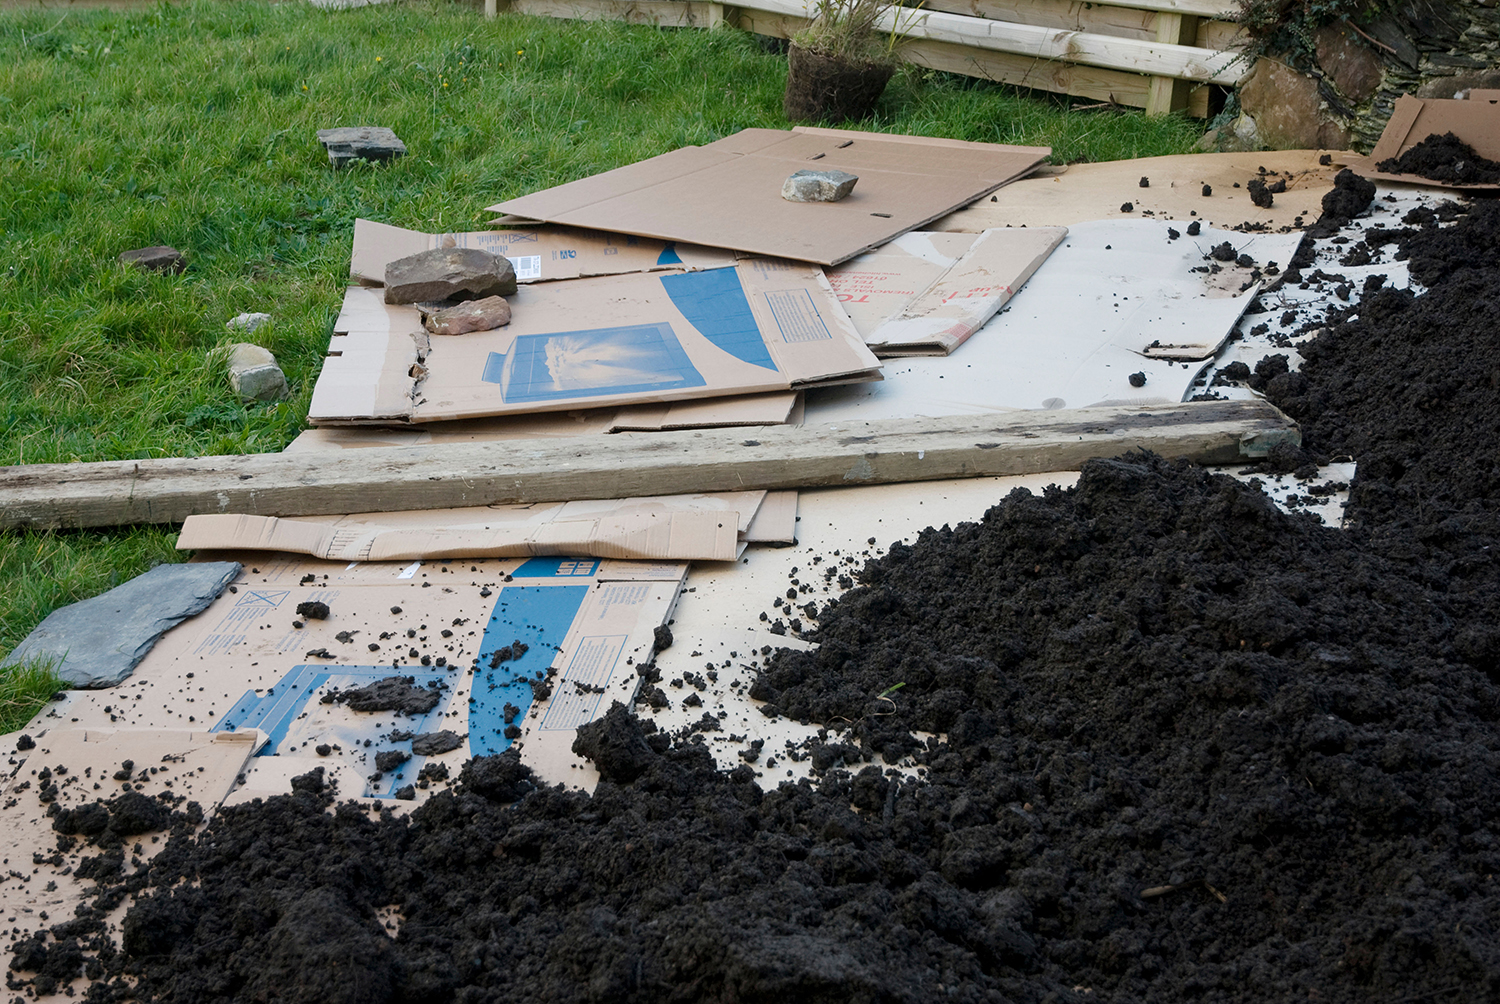
Once I’ve thoroughly weeded the whole bed, and potentially grown, chopped and dropped a green manure, I cover the lot with non laminated card. It helps to suppress the growth of weeds and will ultimately rot down and condition the soil. I find supermarkets tend to have loads of cardboard that they are more than happy to give away. Failing card you can use any biodegradable, light excluding material, I’ve heard people having great success using old wool carpet or heavy cotton curtains instead of card.
Spent mushroom compost on top
Spent mushroom compost is rotted horse manure or straw that has been used for farming mushrooms. Mushroom growing medium can only be used once and then it is discarded, making it a super cheap byproduct to use in the garden. I love using spent mushroom compost on no-dig beds because it’s a fantastic mulch for the compost layer above the card, it’s super high in organic matter, provides nutrition and can be bought very cheaply in bulk. I’ll spread it on the card to depth of 7cm-10cm.
It’s worth noting that using lots of spent mushroom compost over a long period of time can increase soil alkalinity. When growing veg in acidic soil this is quite useful. But not so great for fruiting crops or already fairly alkaline soils. Coffee grounds can be added to alkaline soils to make them more acidic, and pH tester pots can be bought easily to let you know what you're working with.
When to start
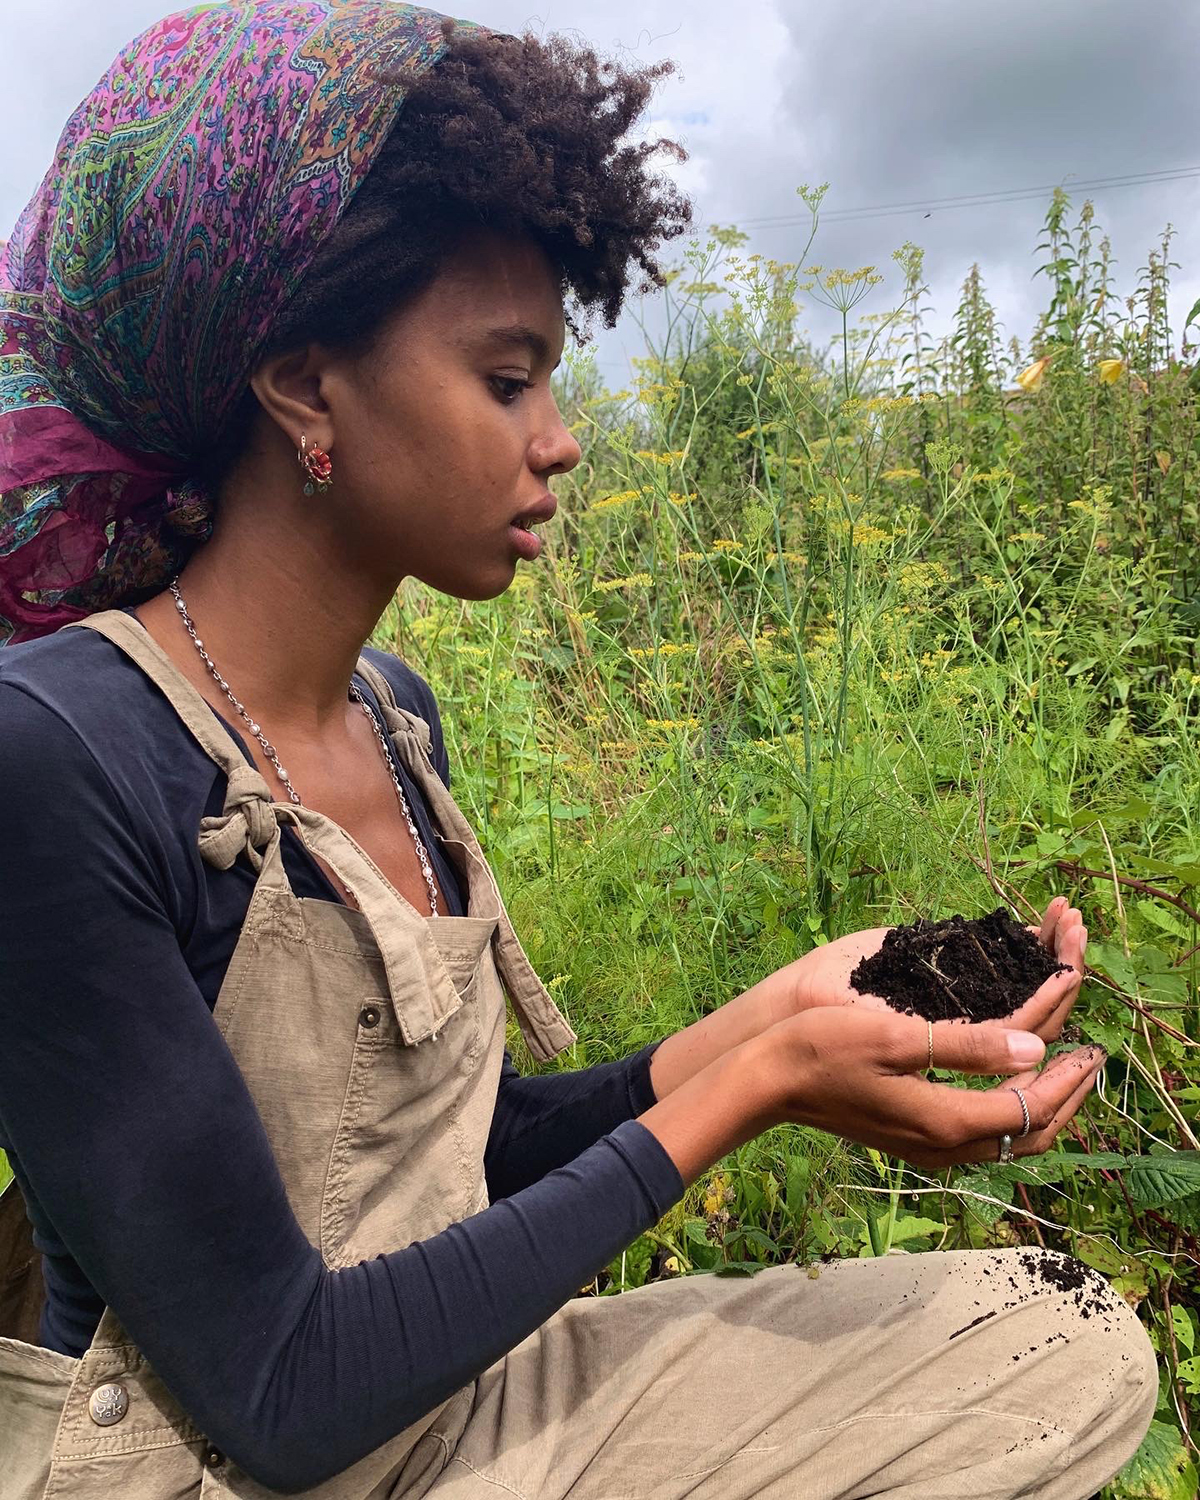
Poppy Okotcha in her garden
I’ve had the best success with no-dig beds started in late summer/early autumn and not planted up until spring the following year. This gives time for the soil life to get going with the addition of organic matter, any weeds will have died back pretty well and it gives time for the card and compost to be broken down and be drawn down into the soil below.
But I have also had success starting a no dig bed in spring and planting into it right away. It's what I’ll be doing this year.
Size matters
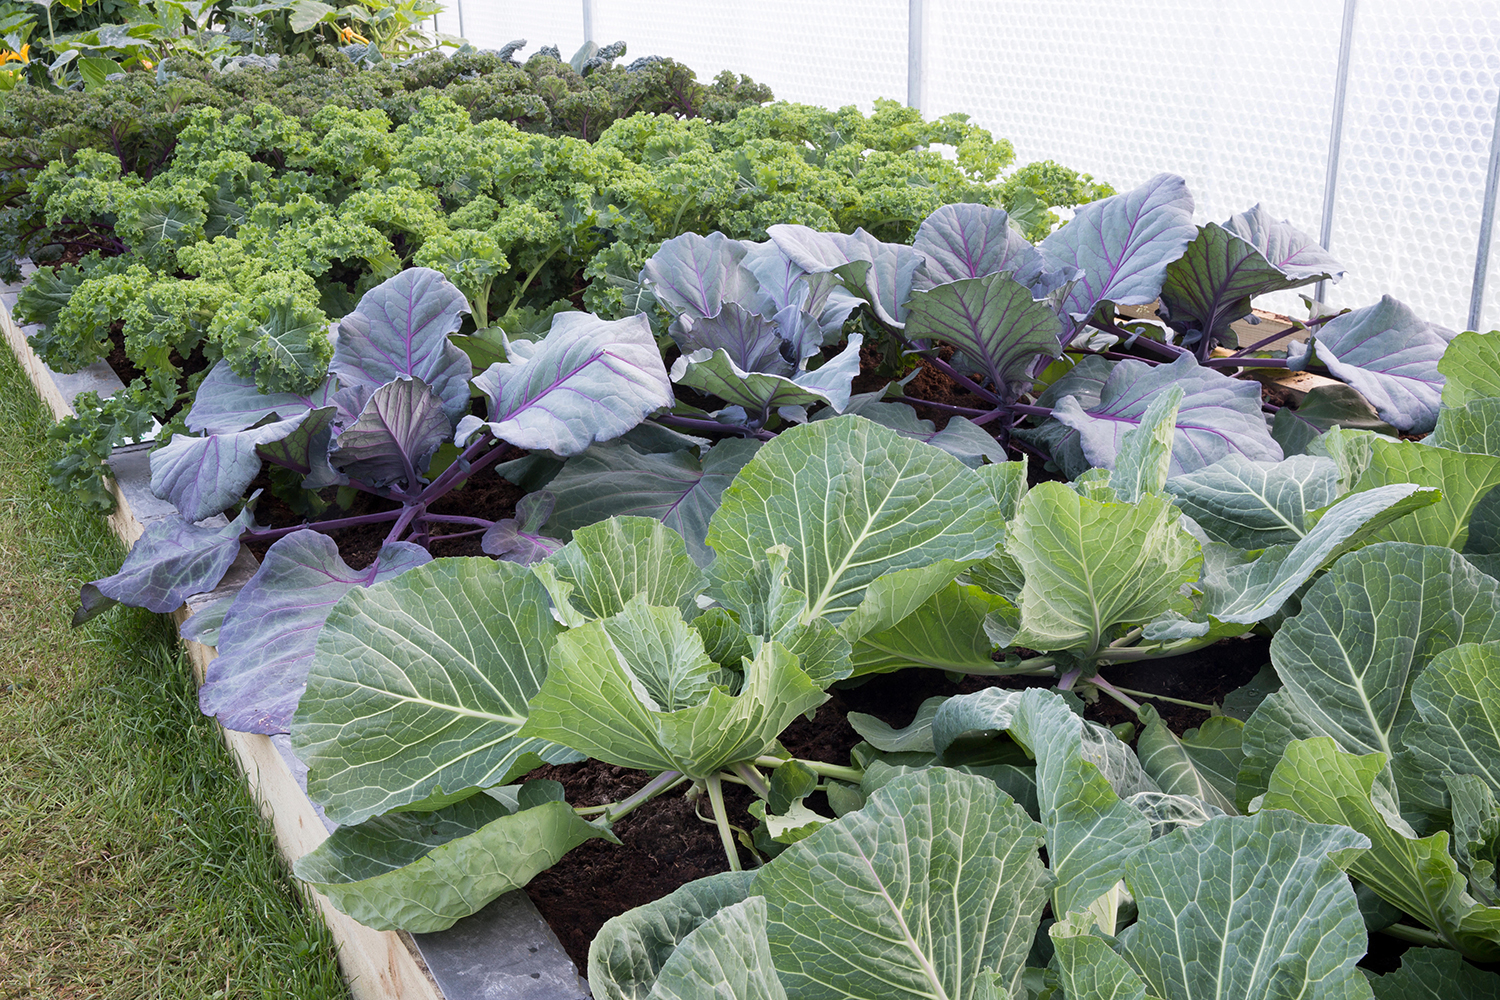
To make sure I can reach all parts of the bed from the edge without having to scrabble around in it, disturbing the soilI, I keep my no-dig beds (that are accessible from both sides) roughly 1m in width.
If only one side is accessible I go for around 80cm width. I find 3m is the max practical length for a no dig bed, any longer and I’d find yourself hoping or walking over it to get to the other side. If it’s one sided the length can be limitless really.
No dig principles in planters
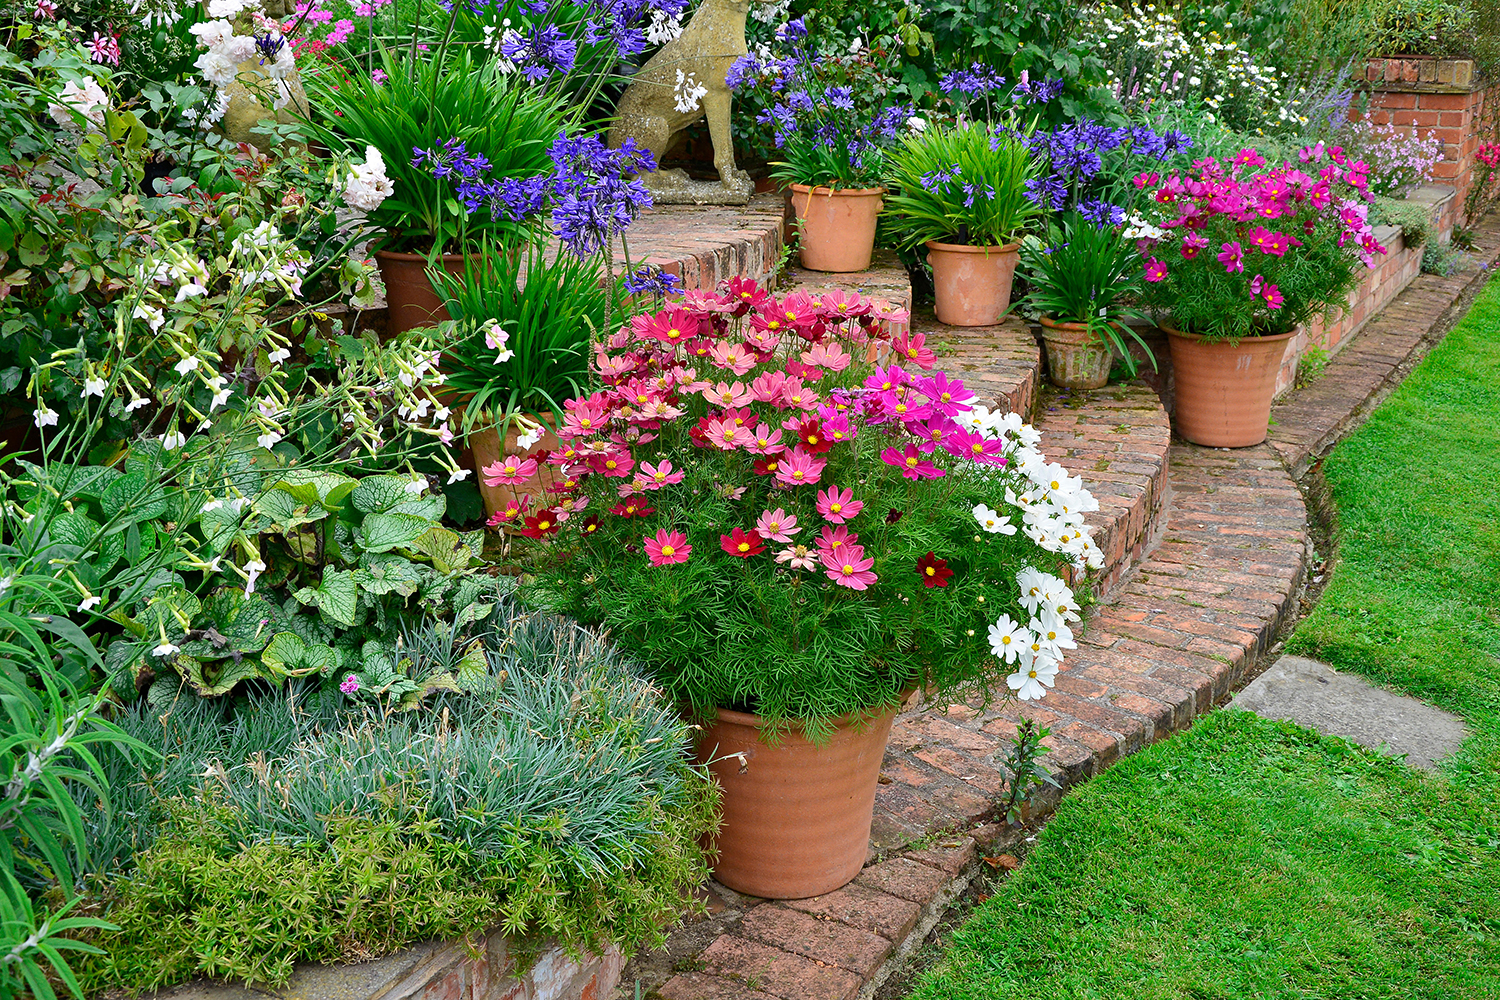
While growing a container garden for many years I brought some of the practices of no-dig into my planters. Each year I’d add a layer of organic matter, when annual plants died back I’d chop them at the base and leave the roots in the pot to rot down, I protected exposed soil with mulches of card, compost or chopped and dropped leaves.
Although planters will not benefit from the same soil life as a plot, I did find lots and lots of worms began calling my plant pots home! And all this mulching reduced watering significantly (because evaporation from the soil surface was limited).
Be The First To Know
The Livingetc newsletters are your inside source for what’s shaping interiors now - and what’s next. Discover trend forecasts, smart style ideas, and curated shopping inspiration that brings design to life. Subscribe today and stay ahead of the curve.

Poppy Okotcha is Livingetc's gardening columnist, and a trained horticulturalist living in Devon. She has appeared on Gardener's World and is also a presenter on Channel 4's The Great Garden Revolution. She specialises in regenerative growing, and studied with the RHS at Regent's Park in London. She once lived on a houseboat, growing herbs and vegetables in flowers in containers, before moving to take on a bigger plot of land.
-
 Straight from Salone: Five Emerging Trends I Found That'll Shape Interiors For the Year Ahead
From reflective silver to fluidity, here's my perspective on the key themes and new moods coming through from Milan Design Week
By Sarah Spiteri Published
-
 9 Bathroom Storage Mistakes You're Probably Making That Make Using This Space Much Harder — And What to Do Instead
Discover which mistakes are to blame for your overcrowded and cluttered bathroom
By Seraphina Kyprios Published