This IKEA Hack Turns Empty Wall Space into a Genius Corner Mirror — 'It Cost Next to Nothing to Do!'
Beautify your wall on a budget with this simple, effective, and affordable hack
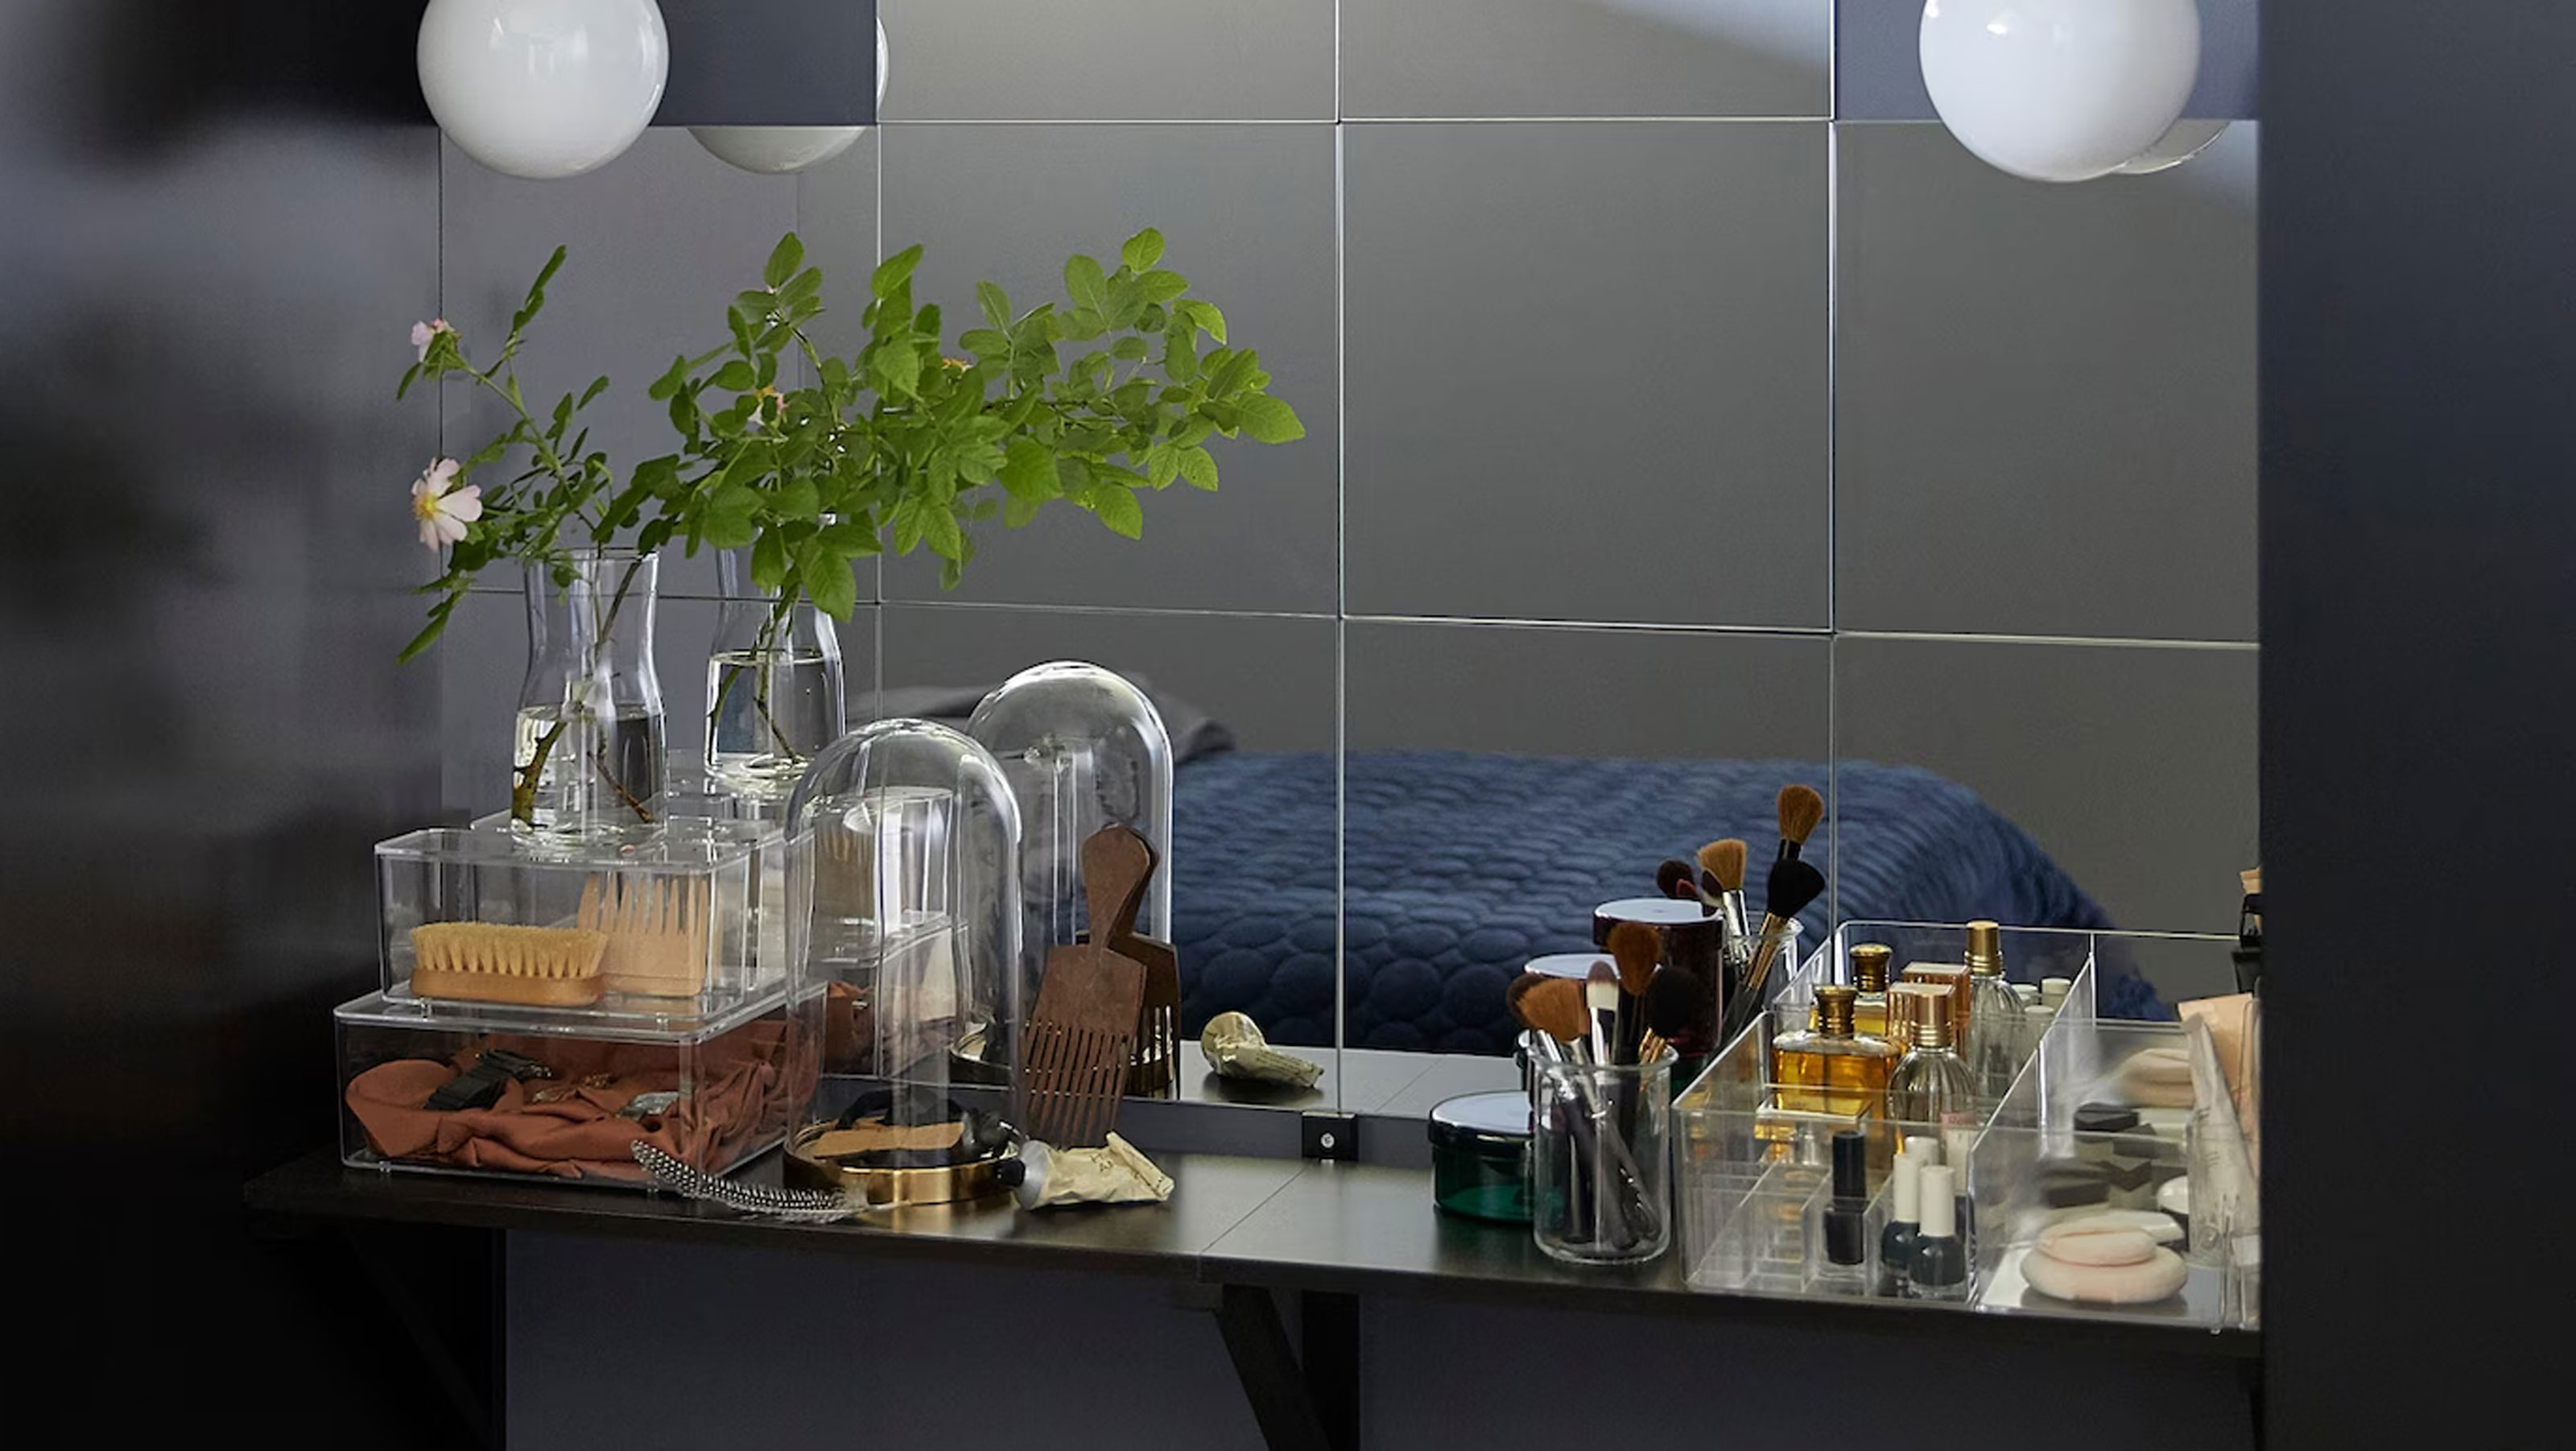

IKEA's Lönsås mirror tiles might not look like much at first glance, but they're a home transformation dream. These clever adhesive mirror tiles come in at just $4 each, making them the perfect candidate for an affordable DIY to transform a space with minimal effort, and the possibilities are literally endless.
Interior DIY guru Jess King, (@mylittleessexhouse) loves to share inventive decor ideas on her Instagram, and she recently elevated her home with this super IKEA buy. Using the Lönsås tiles, she transformed an empty wall into a cool, crafty mirror with an industrial feel, for a fraction of the price of a regular mirror. We're so impressed with the results we just had to share, and for those adverse to DIY, you'll be pleased to hear there are no power tools or flatpack furniture in sight! Here's how to apply her simple IKEA hack in your own home.
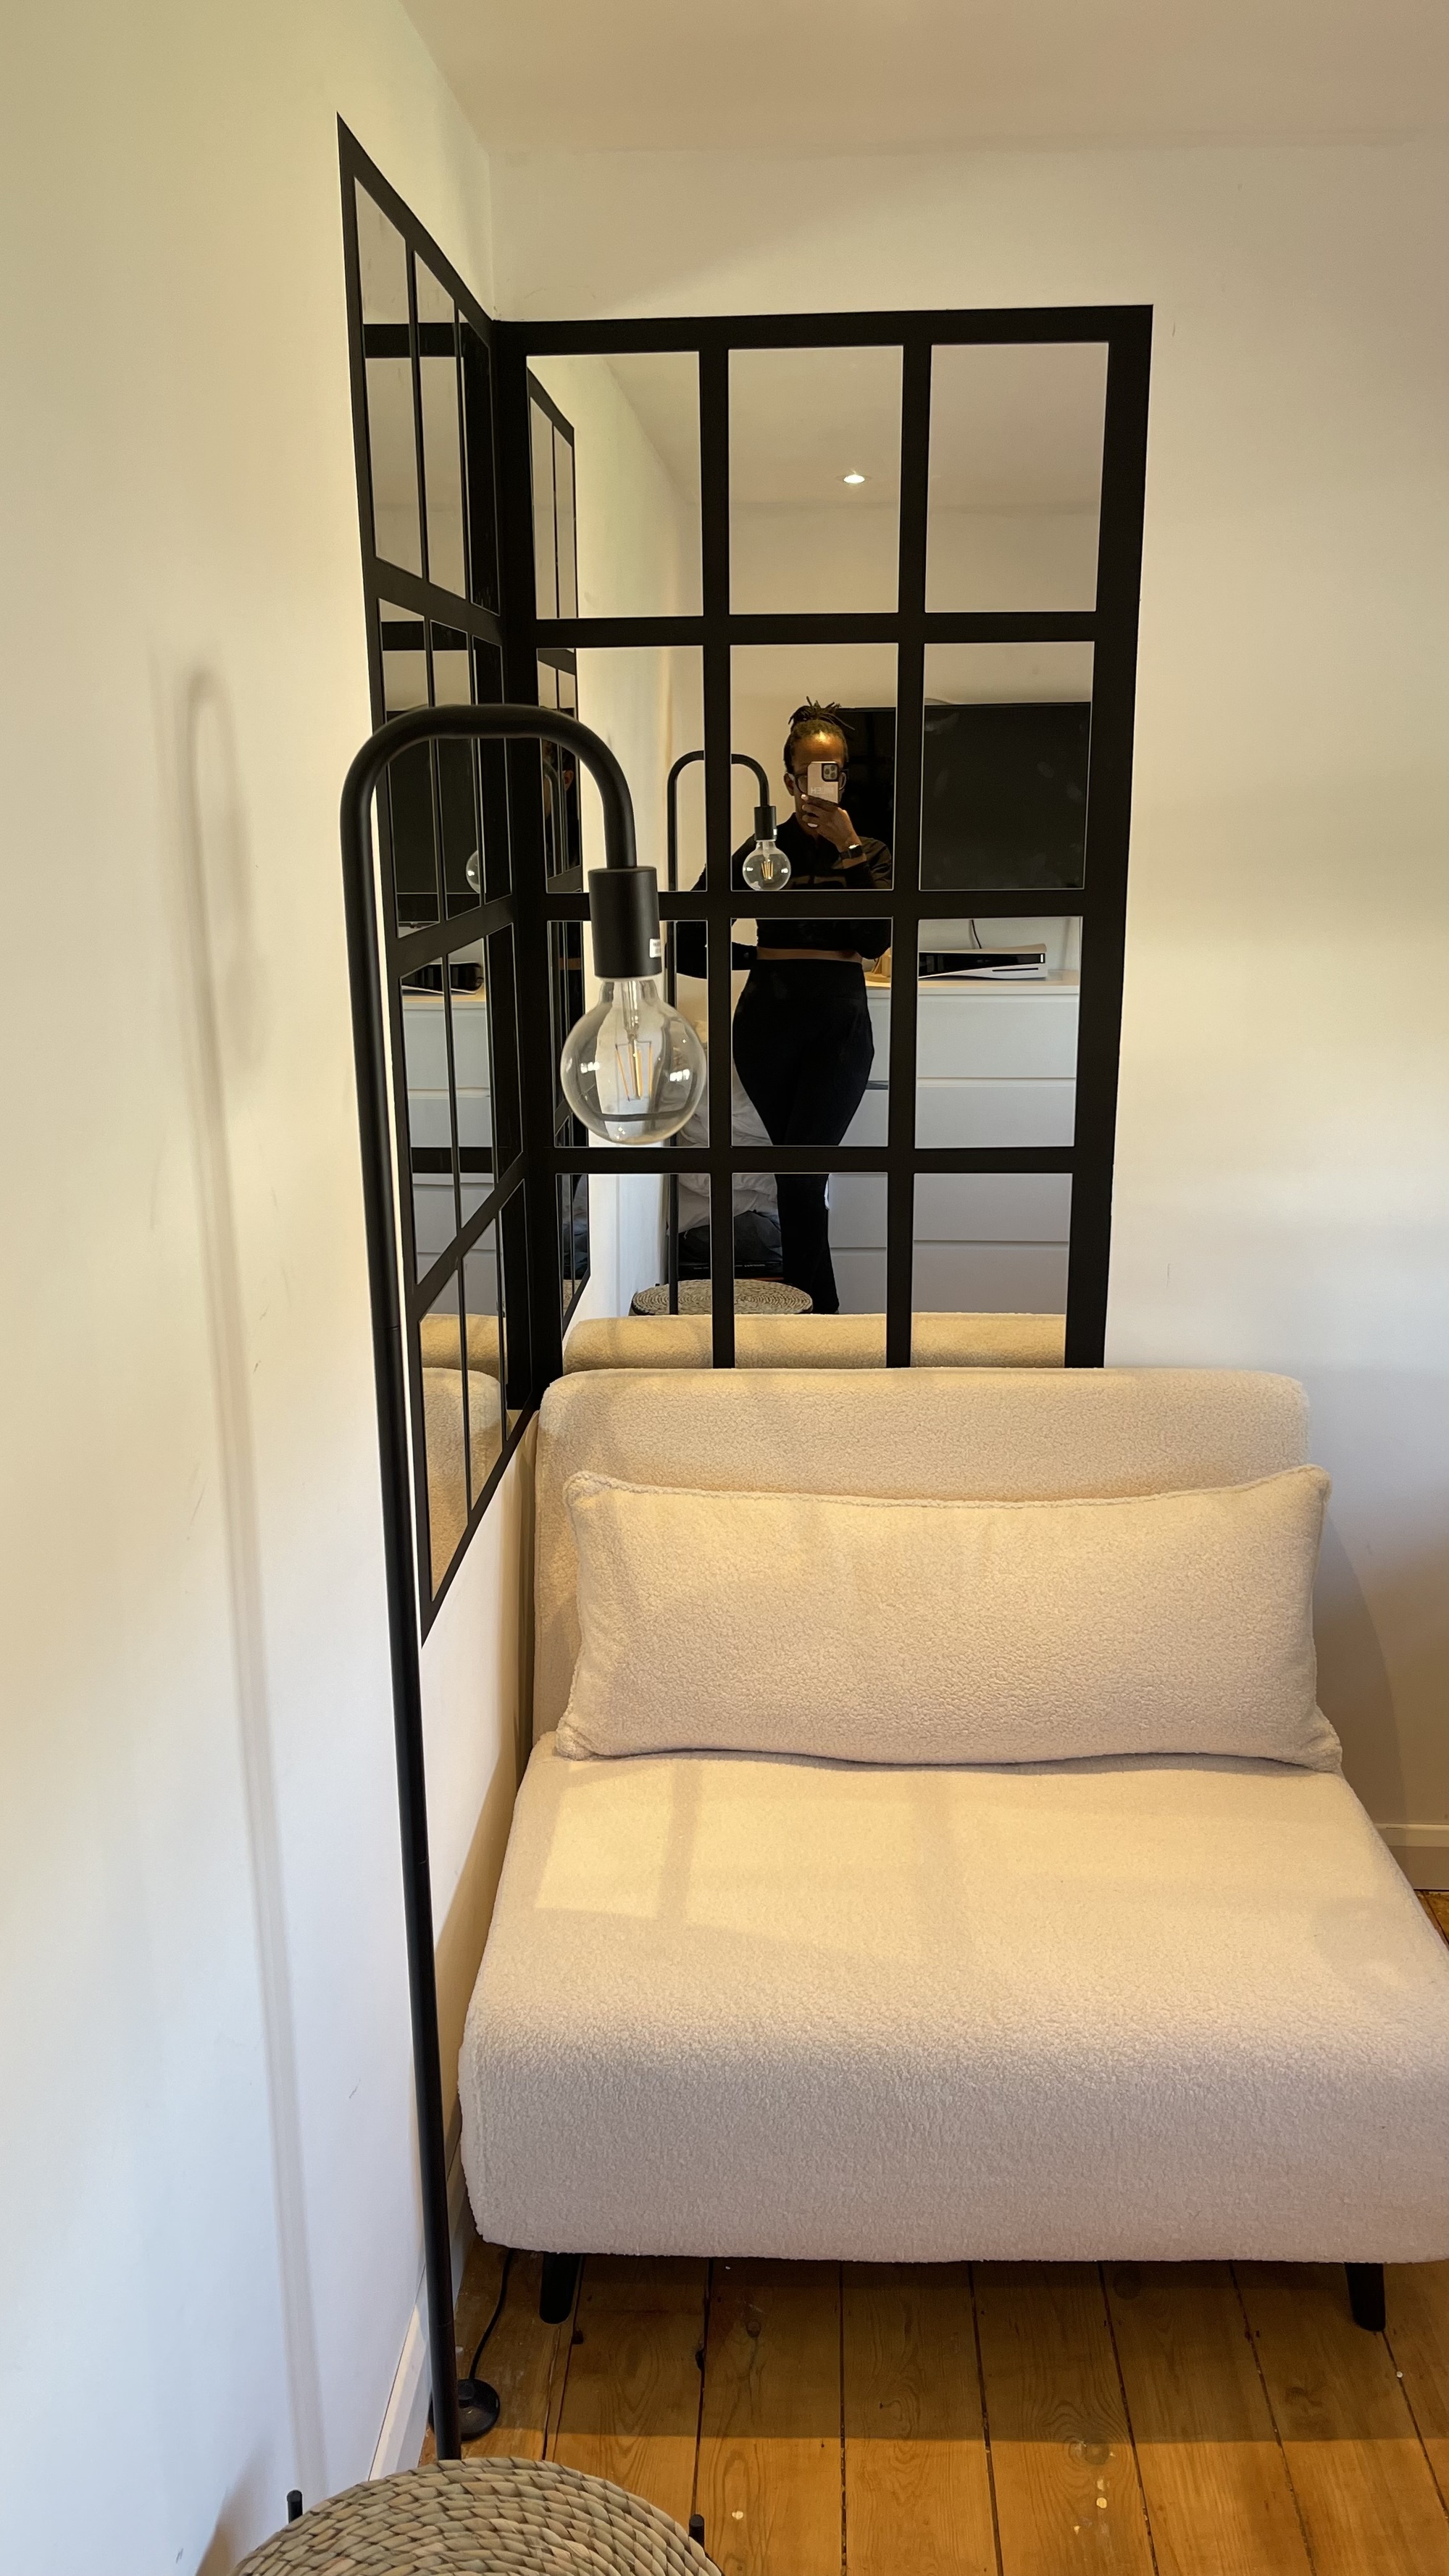
Before the project, Jess' space had all the potential to be a beautiful, relaxing space, and the large white wall offered a perfect place to decorate with mirrors. Eager to come up with her own creative and unique solution, she turned to an IKEA hack.
'I wanted to transform the space because the plain white walls felt so boring,' says Jess. 'The room would be used as an office space/ guest bedroom, and I needed a feature without having a feature wall that would be fit for purpose. I've always loved industrial mirrors, but they are so expensive and heavy for a good quality one, and I was doing this room on a budget.'
A lick of black paint, 24 mirror tiles, and several hours of precise measuring later, she has an industrial-style corner mirror that makes a serious statement in her home.
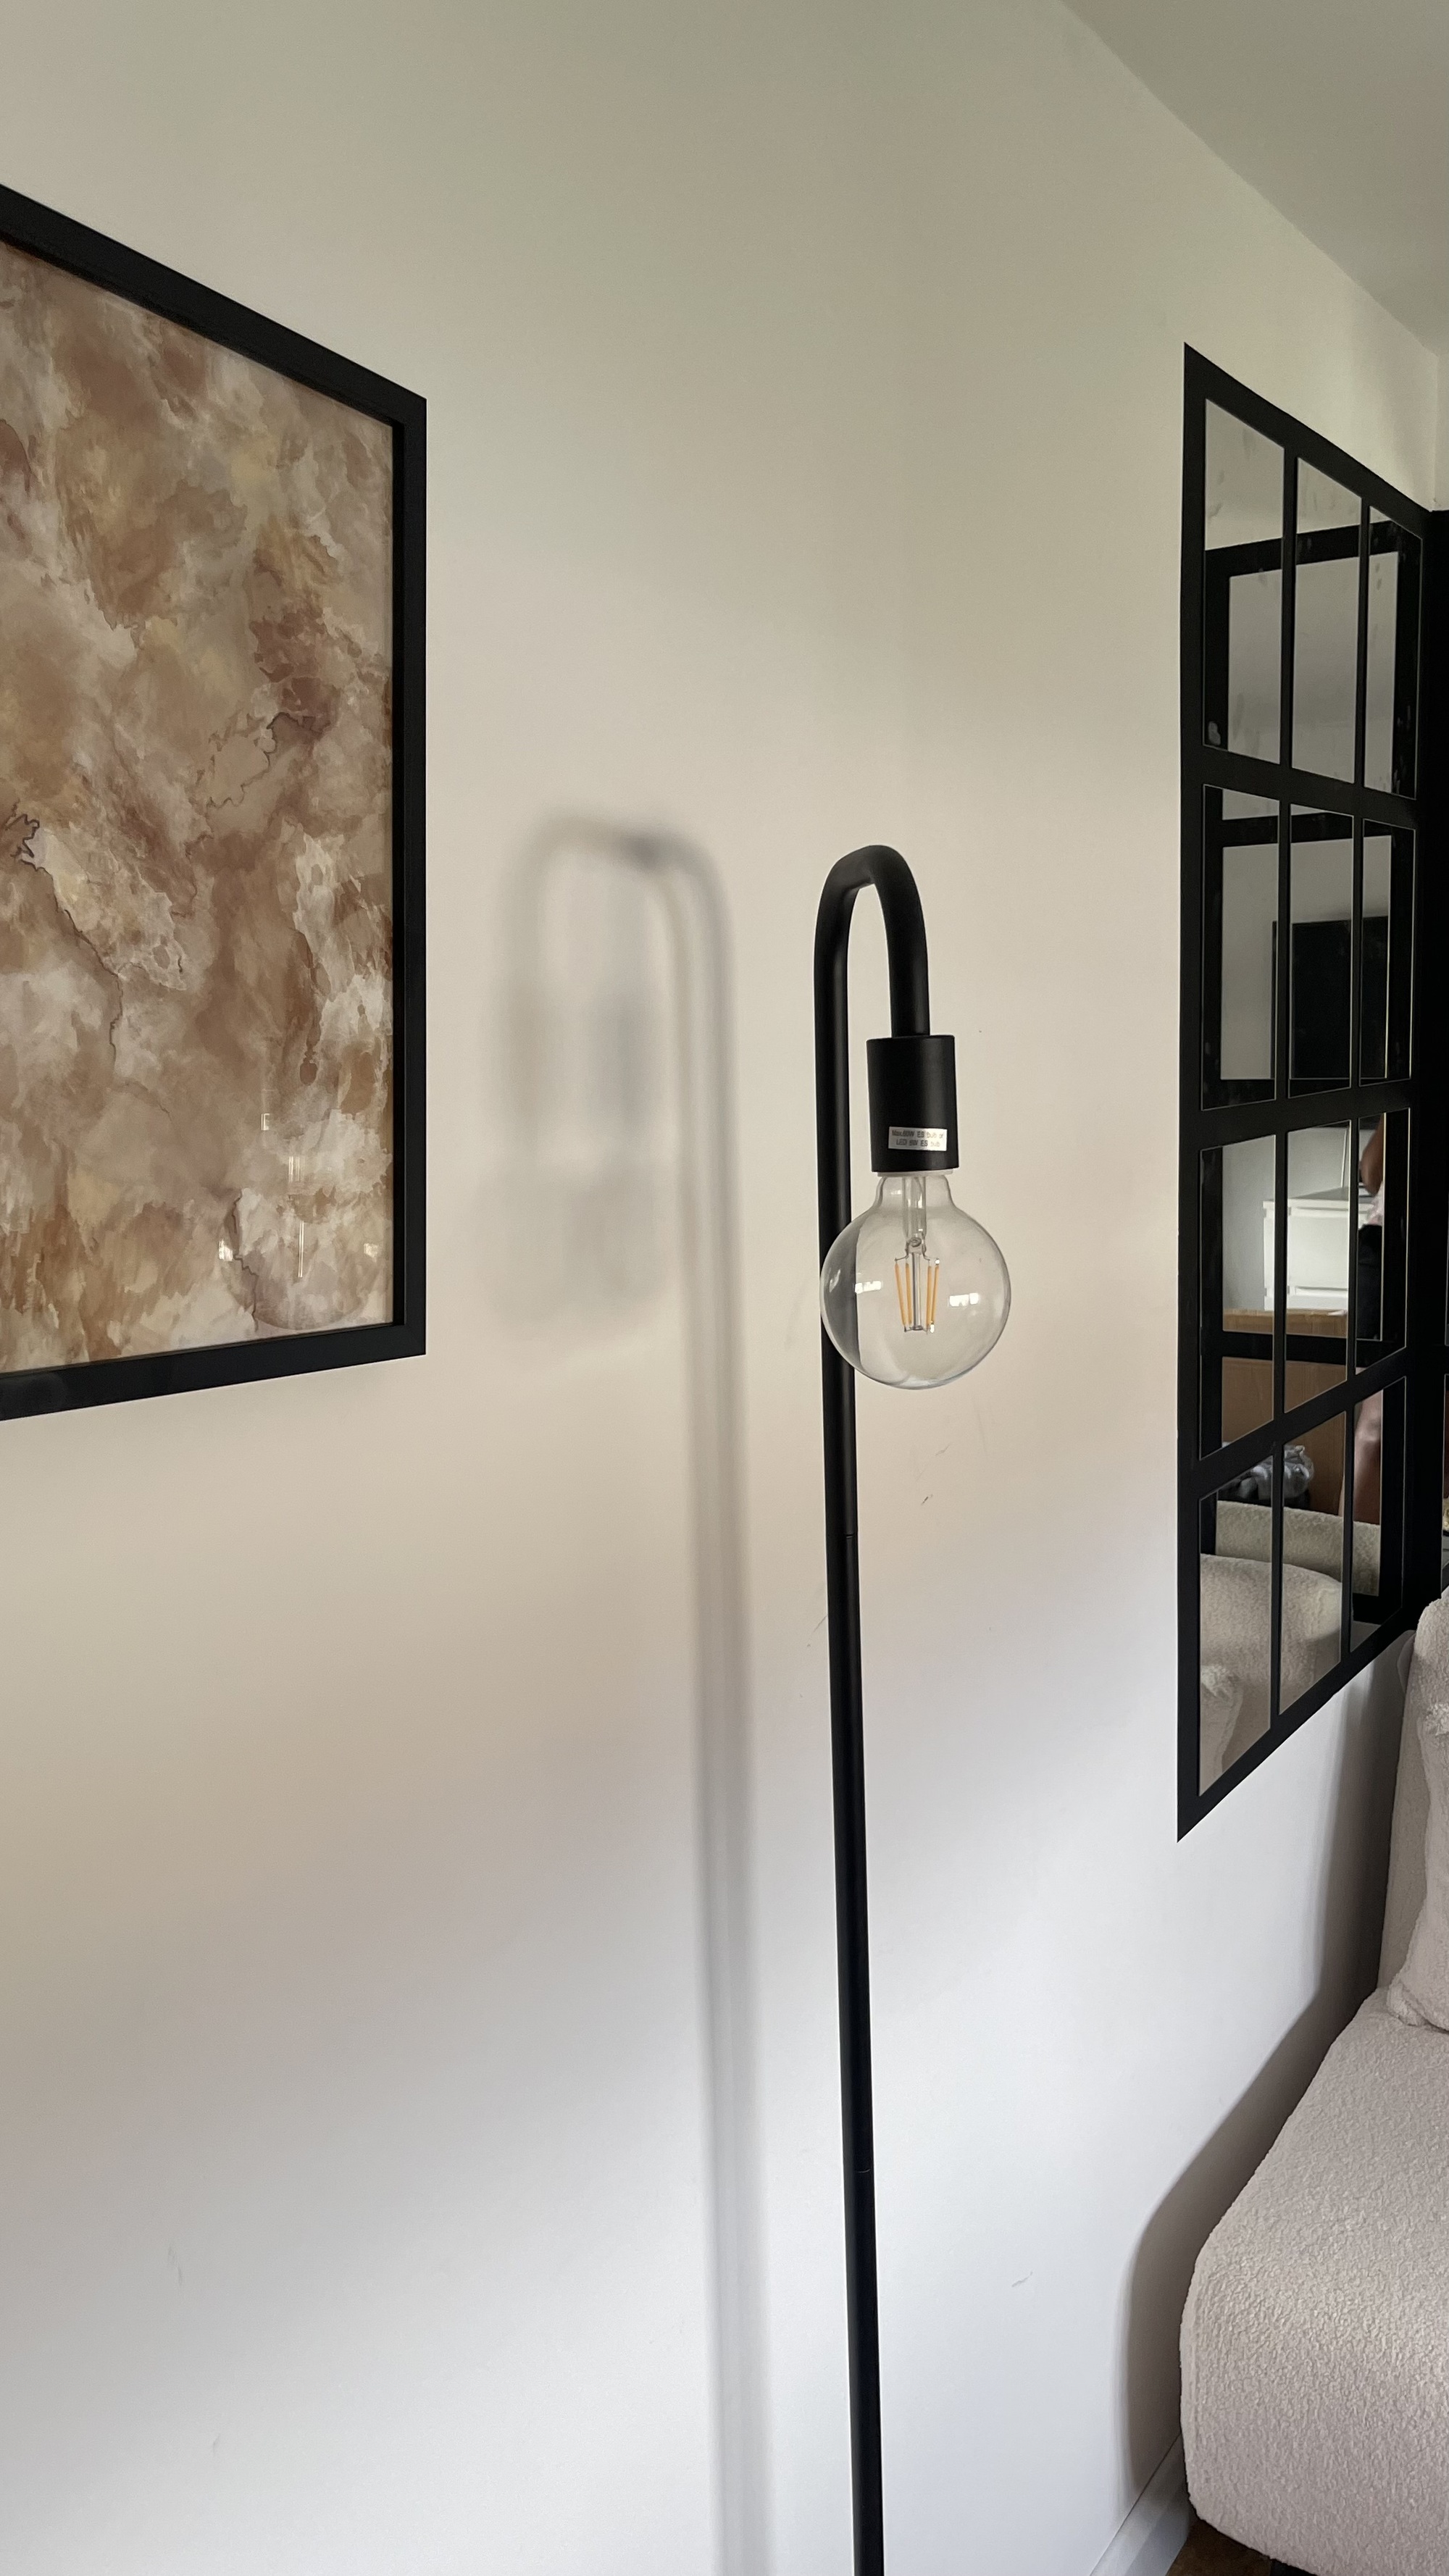
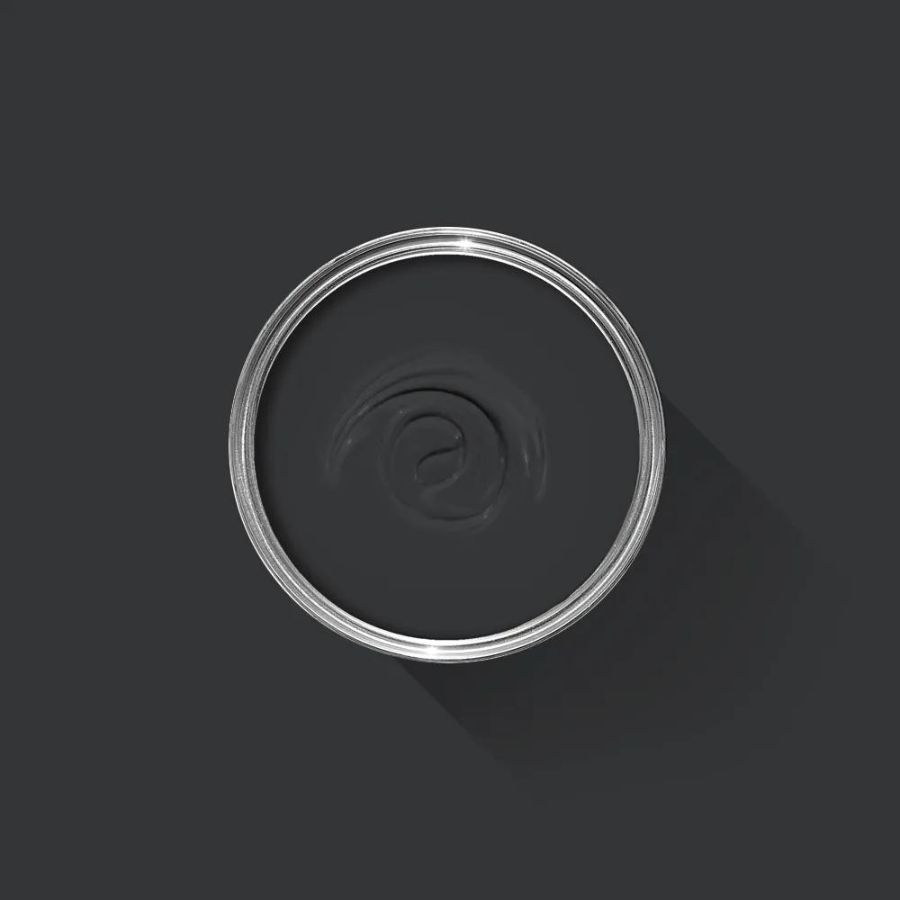
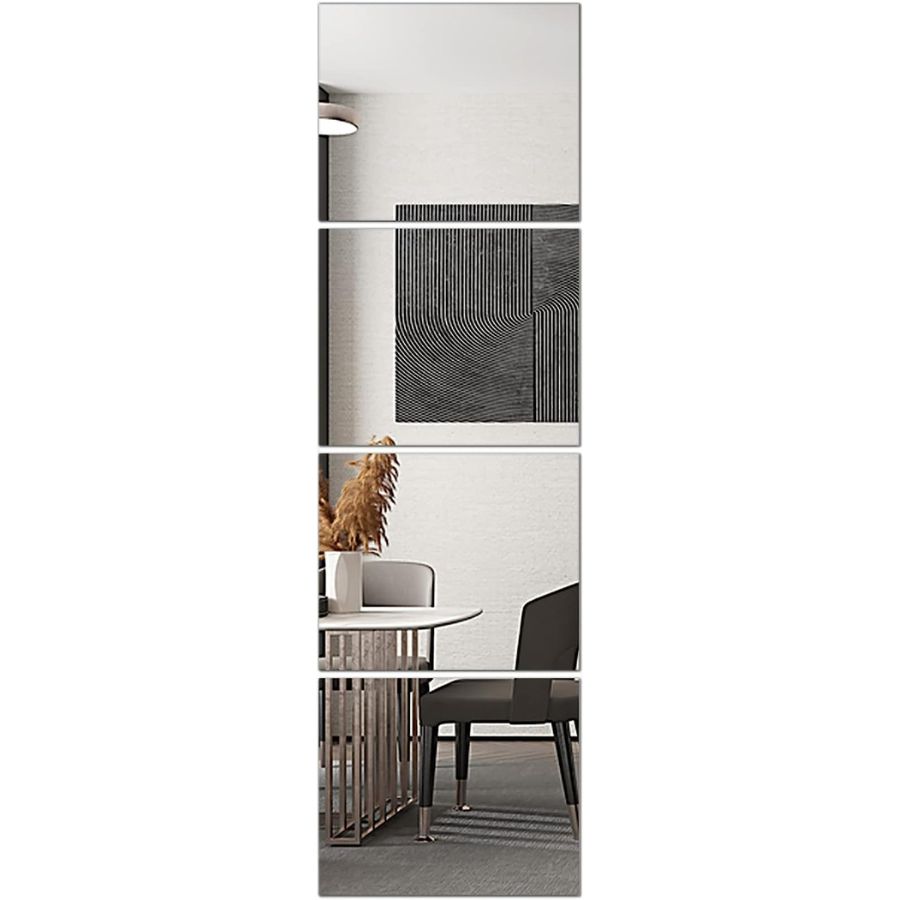
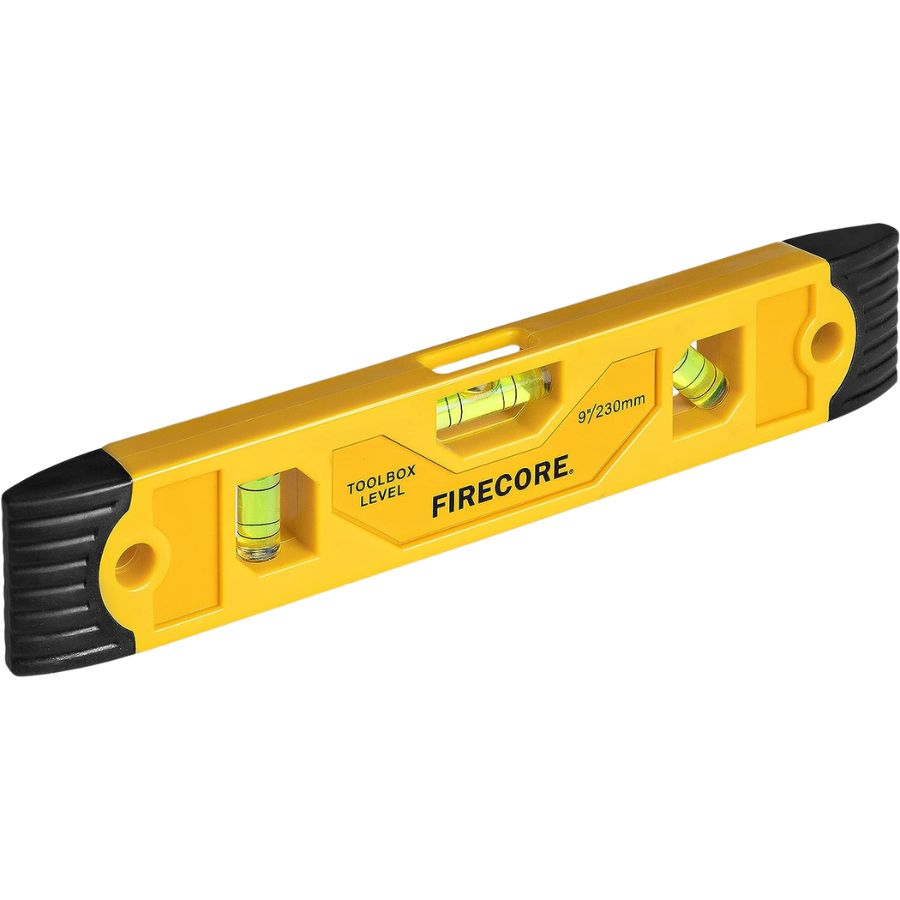
The first and most obvious two things you'll need to complete Jess' IKEA mirror hack are mirror tiles and paint. Jess recommends black paint for a chic look, and used Lick's Black 01, recommending it for its thick, opaque, and quick-drying properties. You will also need a pencil, a ruler, a small spirit level, and a roll of painter's tape.
Start by calculating the size of the gap you would like between the mirrors by holding them against the wall that you are transforming. Then, measure and calculate the space, and mark it out using tape. Next, paint the space, being sure to remove the tape whilst the paint is still wet to avoid the paint bleeding, and then wait for the paint to dry.
Be The First To Know
The Livingetc newsletters are your inside source for what’s shaping interiors now - and what’s next. Discover trend forecasts, smart style ideas, and curated shopping inspiration that brings design to life. Subscribe today and stay ahead of the curve.
Once the paint has fully dried, use a pencil to dot where the mirror edges will sit within the painted square. IKEA's Lönsås mirrors measure 8 x 10 inches and come with double-sided adhesive stickers to attach to the back of each mirror. Be sure to use a spirit level to check the mirrors are straight, and press them into the wall using the stickers for easy attachment.
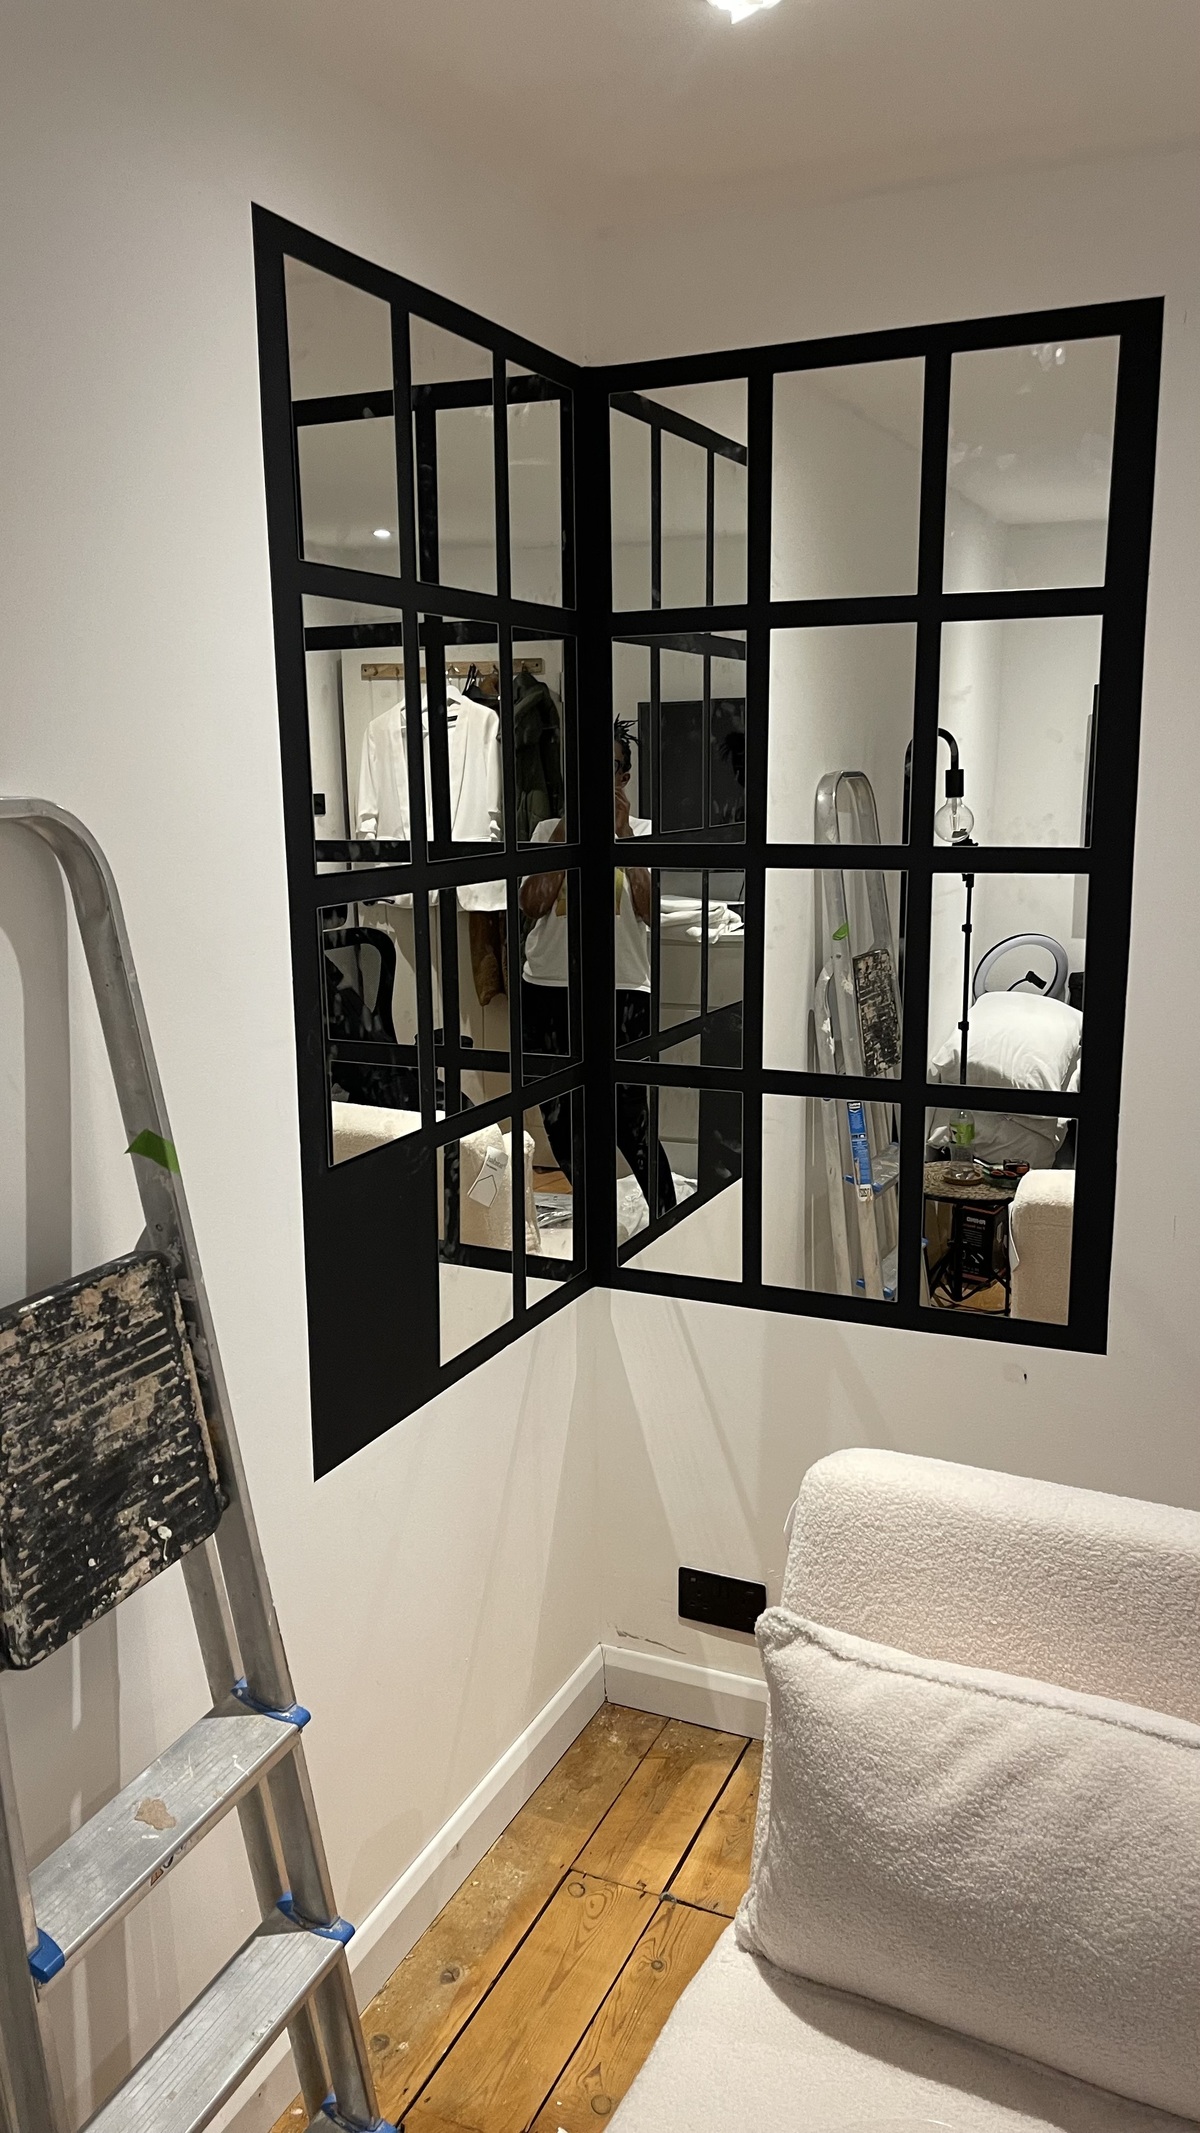
'The main challenges were measuring out the actual space,' says Jess. 'I knew I wanted it in the corner, but I had to re-measure and re-paint three times as the space looked too small in comparison to the room.'
When you're measuring out your space, think proportionally. Bigger spaces will require a bigger area, and therefore more mirrors. This will help avoid any major mirror mistakes.
And remember, once the mirror is stuck, it isn't coming off! 'I wanted to make sure I got it right,' says Jess. The key here is precision and taking your time to measure out the space.
The finished look adds a wonderful focal point to her room as well as a unique quality. 'It makes the room look very expensive, even though it costs next to nothing to do,' says Jess. Its window-like appearance creates an illusion, making the space seem larger, and the corner feature creates more depth than a normal mirror would.
'It has created a lot of light and makes the room look so much bigger,' says Jess. 'It makes the snug corner where I have the sofa bed look complete and housed. With everything else being neutral in the room, it compliments the space but also stands out.'
We absolutely love Jess' hack, and we think it makes a wonderful weekend project for you to try out in your own home!
A post shared by Jess | My Little Essex House (@mylittleessexhouse)
A photo posted by on
You will Need...

Ottilie Blackhall is a master’s Magazine Journalism student at City, University of London. After graduating from the University of Edinburgh, with a degree in English Literature and History of Art, she decided to pursue her love of writing and develop her passion for writing about literature and art. Having started a book review blog during lockdown, at City she is working on her portfolio.
-
 Turns Out the Coolest New Café is Actually In Your Kitchen — Here's How to Steal the Style of TikTok's Latest Trend
Goodbye, over-priced lattes. Hello, home-brewed coffee with friends. TikTok's 'Home Cafe' trend brings stylish cafe culture into the comfort of your own home
By Devin Toolen
-
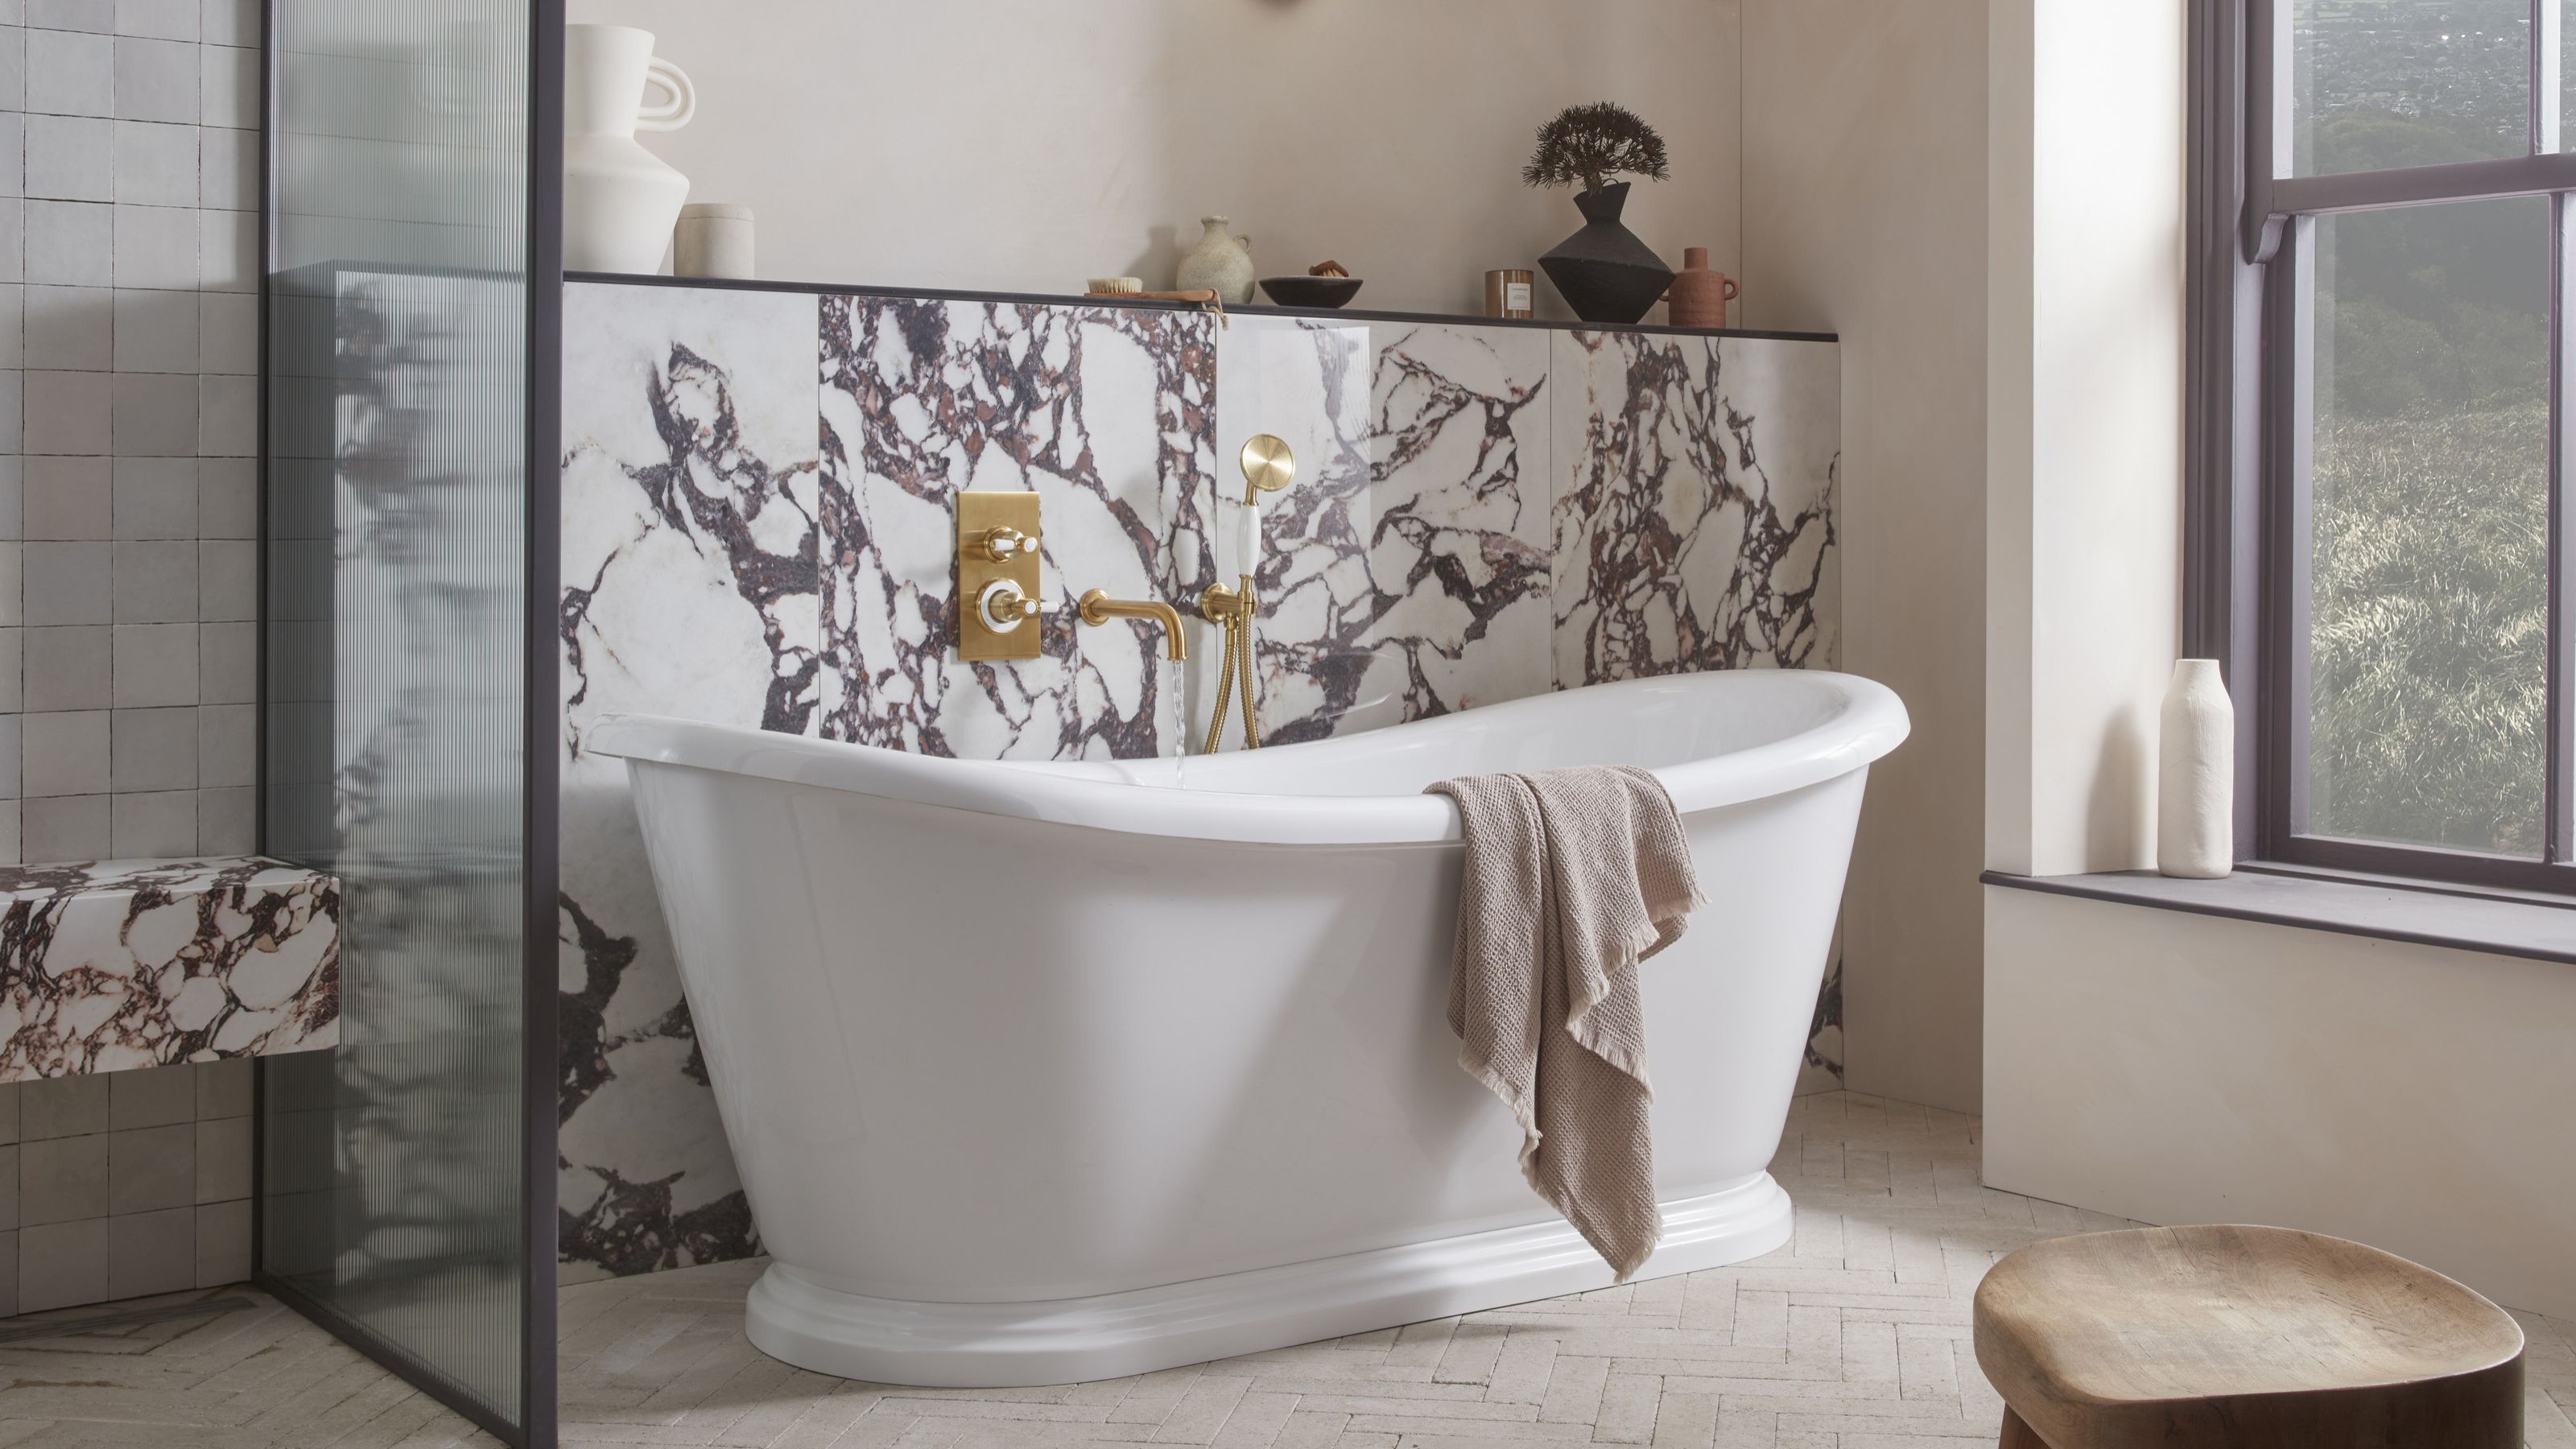 5 Bathroom Layouts That Look Dated in 2025 — Plus the Alternatives Designers Use Instead for a More Contemporary Space
For a bathroom that feels in line with the times, avoid these layouts and be more intentional with the placement and positioning of your features and fixtures
By Lilith Hudson
