These DIY banquette seating ideas prove this cozy dining set-up is easier than you might think
Banquette seating is all about making your dining space more convivial. Here's how you can do it yourself


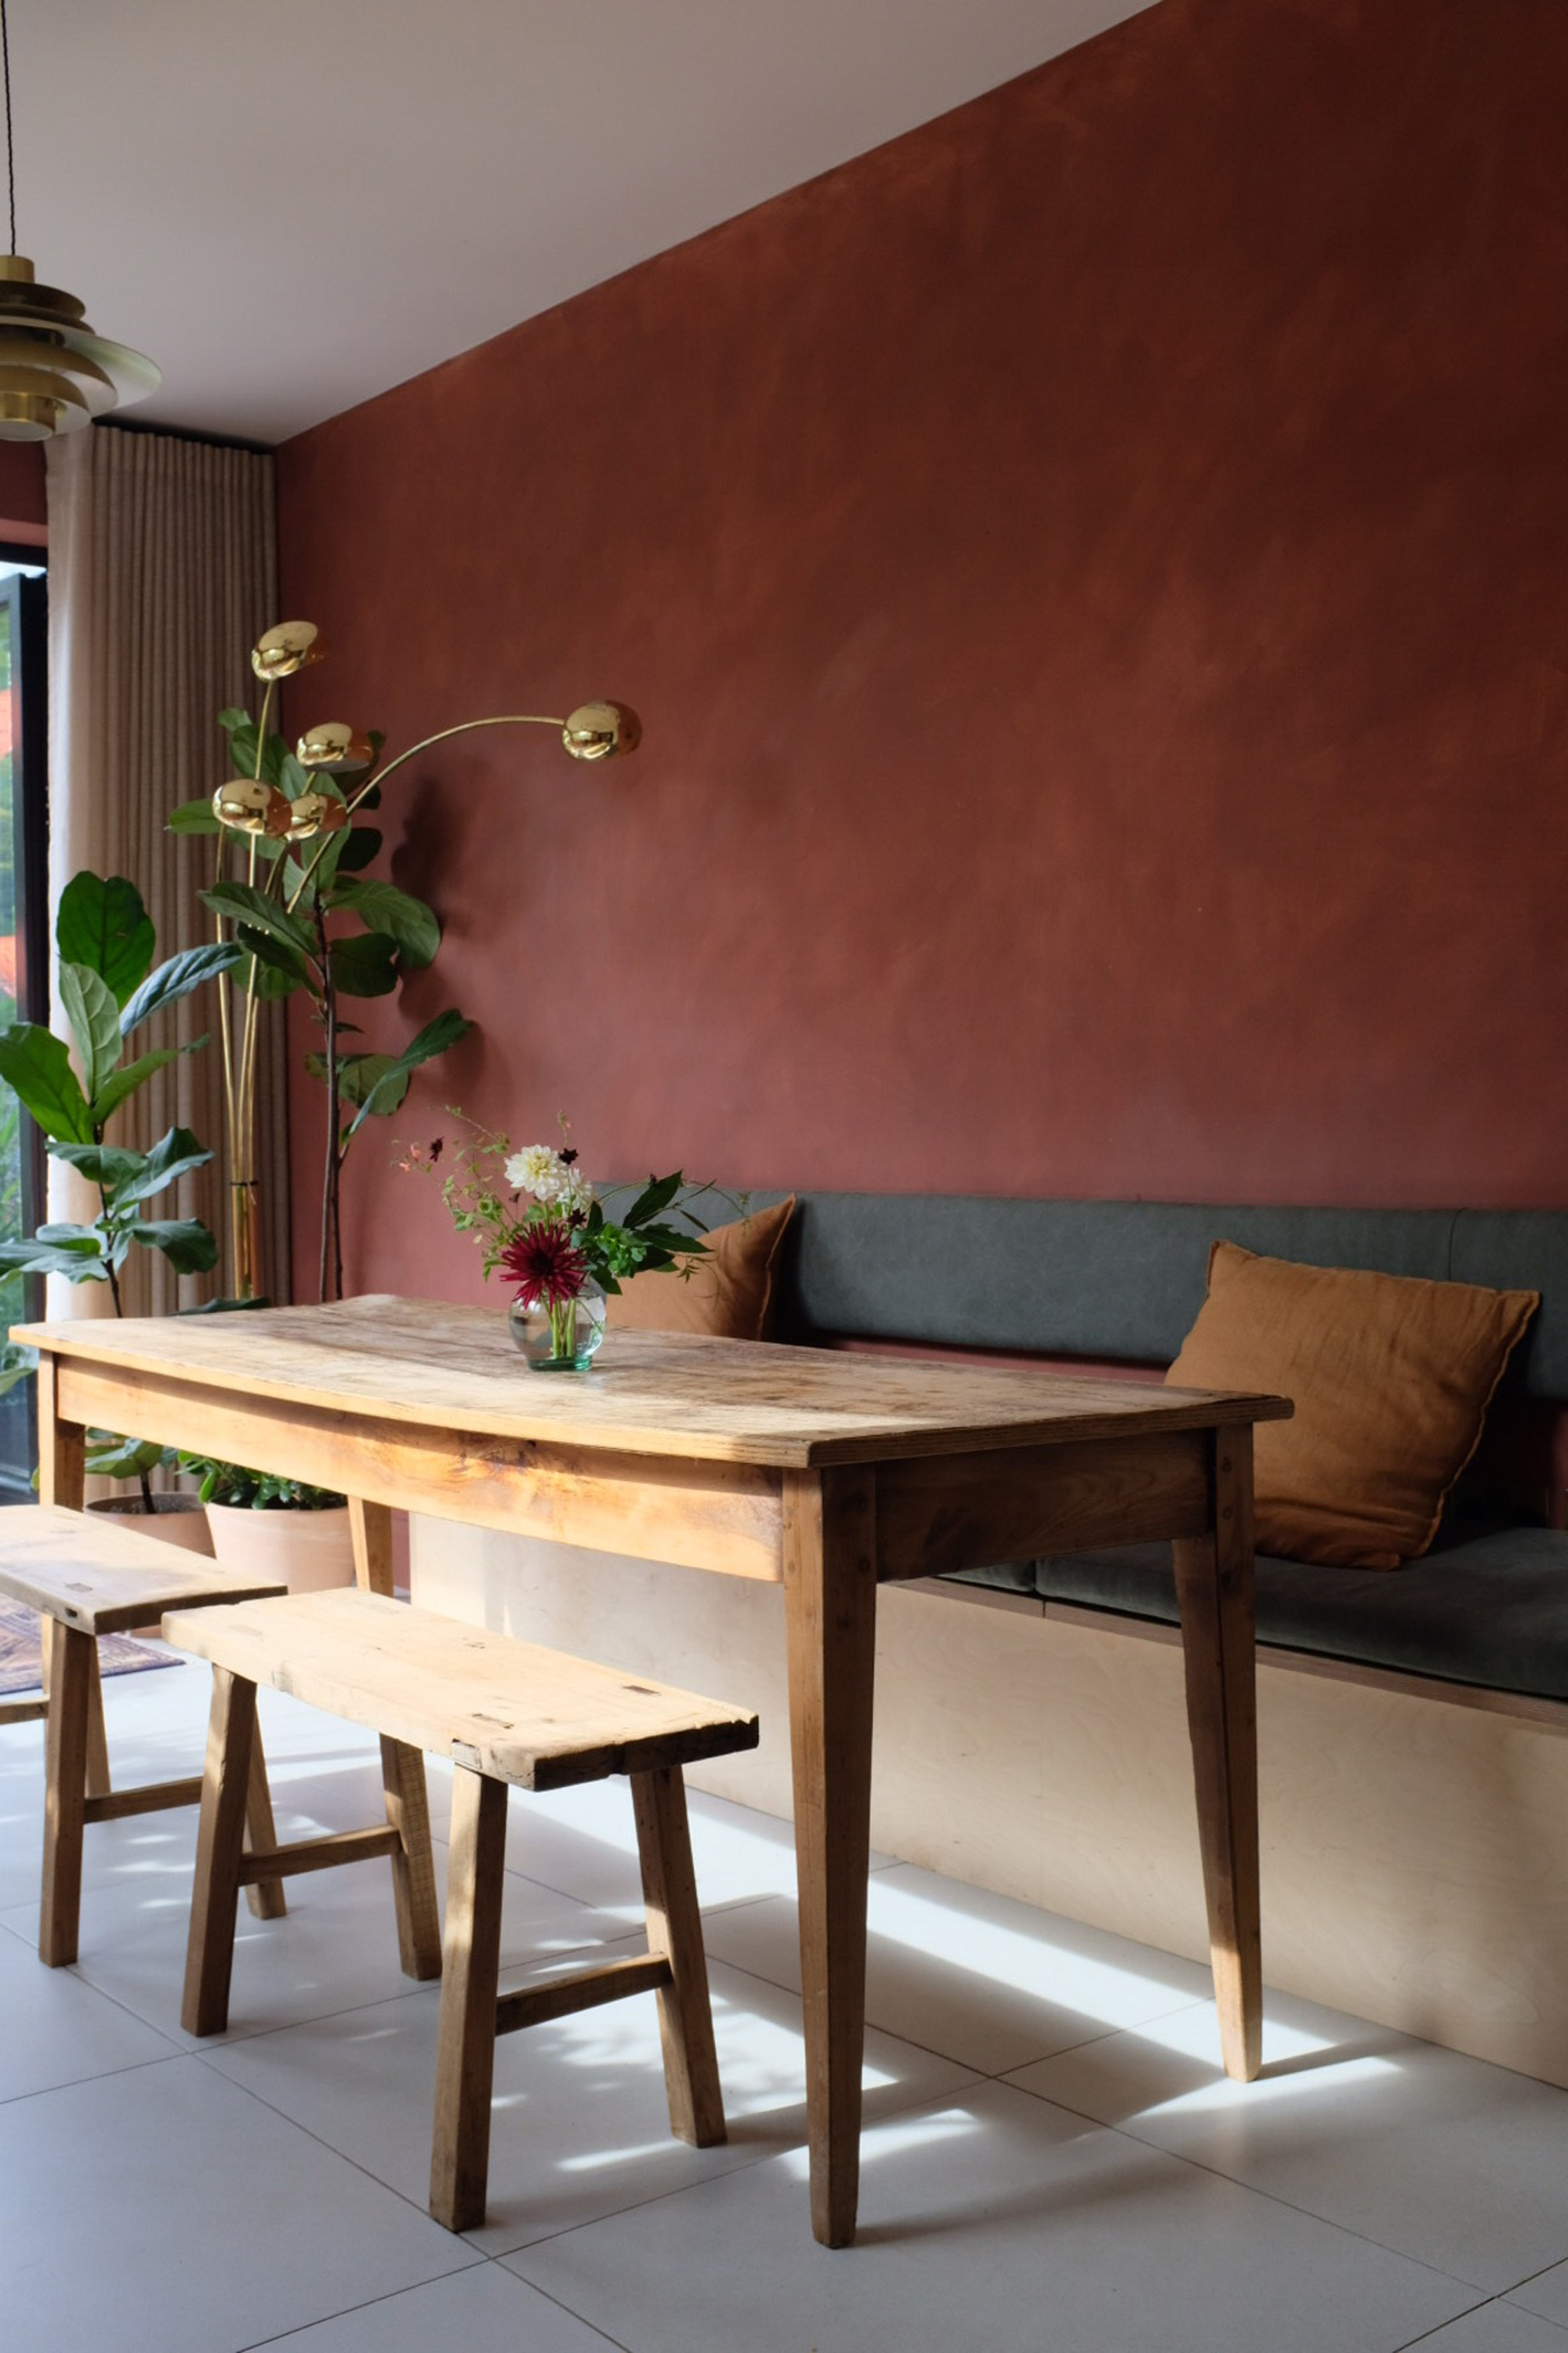
Built-in banquette seating has been taking over designers' kitchens in recent months. If you've found yourself in a modern dining area lately, it's likely there was a bench on one side of the table which, whether curved or straight, promises a relaxed and sociable meal. Yet, hiring a kitchen maker to install banquette seating in your home can come at cost and as a result, many of us are turning to our own DIY skills instead.
The rising trend of banquette seating is part of a wider move towards creating more convivial spaces in the home, especially in non-traditional areas like a modern kitchen. After several years of Covid restrictions, many of us are wanting to make our homes more conducive to a social and fun atmosphere aided through design by curved lines, comfy seating and ambient lighting.
'Banquette seating can make your kitchen feel even more welcoming, especially when it incorporates cozy soft furnishings,' explains Sophie Hartley, kitchen designer at Tom Howley. 'The key to sizing up banquette seating in a smaller space is introducing curved shapes rather than seating that follows the width of the wall. This will increase the amount of seating available and will also create a more 'conversational' shape.'
If your budget allows it, paying a professional to fit banquette seating in your dining area is probably the best option if you want cozy seating that works seamlessly with the rest of your kitchen. However, if you don't mind putting your creative skills to the test, you can still embrace this trend with a little DIY know-how. We chatted with a few home renovators who took on the challenge themselves (and executed it beautifully) for some words of advice.
HOW TO CREATE DIY BANQUETTE SEATING IN YOUR KITCHEN
1. Repurpose old furniture for curved banquette seating
A post shared by Alice (& Rhys) (@strikeme_pink)
A photo posted by on
A cheap yet easy option for DIY banquette seating is reclaiming and repurposing old furniture. When bars or restaurants renovate, they often sell the old furniture at low prices rather than disposing of it, much of which existed as booth or banquette seating.
One DIY enthusiast and home renovator who took advantage of this is Alice Merritt (@stikeme_pink). 'We bought a section of existing banquette seating on eBay,' she explains. 'It came from an old pub that had closed down. I then stripped off the old fabric and reupholstered it after watching some YouTube videos on how to do fluting and deep buttoning.'
Once the seating was transformed using beautiful deep green velvet material, it was simply a case of reinforcing the structure to create their new dining room. 'We added new base boards and side panels to finish the whole thing off,' explains Alice. This type of curved seating works best nestled next to an L-shaped kitchen counter or in the corner of a room, depending on the sort you buy.
Be The First To Know
The Livingetc newsletters are your inside source for what’s shaping interiors now - and what’s next. Discover trend forecasts, smart style ideas, and curated shopping inspiration that brings design to life. Subscribe today and stay ahead of the curve.
2. Use a bench with storage against straight walls

If you don't have the space for curved banquette seating, make use of a straight wall with a bench.
Home renovator Jess Alavi-Ellis (@jessalaviellis) created her DIY banquette seating (seen above) using a bench with storage underneath. According to Jess, the most important thing to consider is when it comes to this form of seating is the dimensions - her bench was custom made by her father to meet her specific requirements.
'When approaching banquette seating, concentrate on getting the right height and depth right,' she says. 'Are you wanting to sit and look out of a window or be able to tuck your legs under a table? Will you want to lounge or sit upright? It helps to mark out the size with masking tape and if you can, test the height with a chair or boxes piled up.'
Below the bench seating, this kitchen storage idea hides three compartments. 'Banquette seating is a great option for hidden storage, and if you choose a built-in option you can really maximise every inch of space,' Jess explains. 'Often we are short of storage and space, so I love furniture that has a dual purpose.' To maximise the depth and make lifting the bench lid simple, she used a floating back rest fixed to the wall.
Don't forget to pay special attention to how you upholster your seating as this is where you can play around with the visual impact. 'For the fabric I wanted something hardwearing and washable, which would age nicely over time. I landed on this amazing (and affordable) green denim from Cloth Shop London,' Jess says. 'I recommend choosing upholstery that can either be removed and washed or which is hard wearing and or can be wiped clean. Outdoor fabric is a great option!'

Lilith Hudson is a freelance writer and regular contributor to Livingetc. She holds an MA in Magazine Journalism from City, University of London, and has written for various titles including Homes & Gardens, House Beautiful, Advnture, the Saturday Times Magazine, Evening Standard, DJ Mag, Metro, and The Simple Things Magazine.
Prior to going freelance, Lilith was the News and Trends Editor at Livingetc. It was a role that helped her develop a keen eye for spotting all the latest micro-trends, interior hacks, and viral decor must-haves you need in your home. With a constant ear to the ground on the design scene, she's ahead of the curve when it comes to the latest color that's sweeping interiors or the hot new style to decorate our homes.
-
 Turns Out the Coolest New Café is Actually In Your Kitchen — Here's How to Steal the Style of TikTok's Latest Trend
Goodbye, over-priced lattes. Hello, home-brewed coffee with friends. TikTok's 'Home Cafe' trend brings stylish cafe culture into the comfort of your own home
By Devin Toolen Published
-
 5 Bathroom Layouts That Look Dated in 2025 — Plus the Alternatives Designers Use Instead for a More Contemporary Space
For a bathroom that feels in line with the times, avoid these layouts and be more intentional with the placement and positioning of your features and fixtures
By Lilith Hudson Published