This pole wrap IKEA hack turned basic EKET cabinets into a built-in media wall for a super-stylish, neutral living room
This multifunctional storage system has been given a modern organic makeover with fluted cabinet fronts

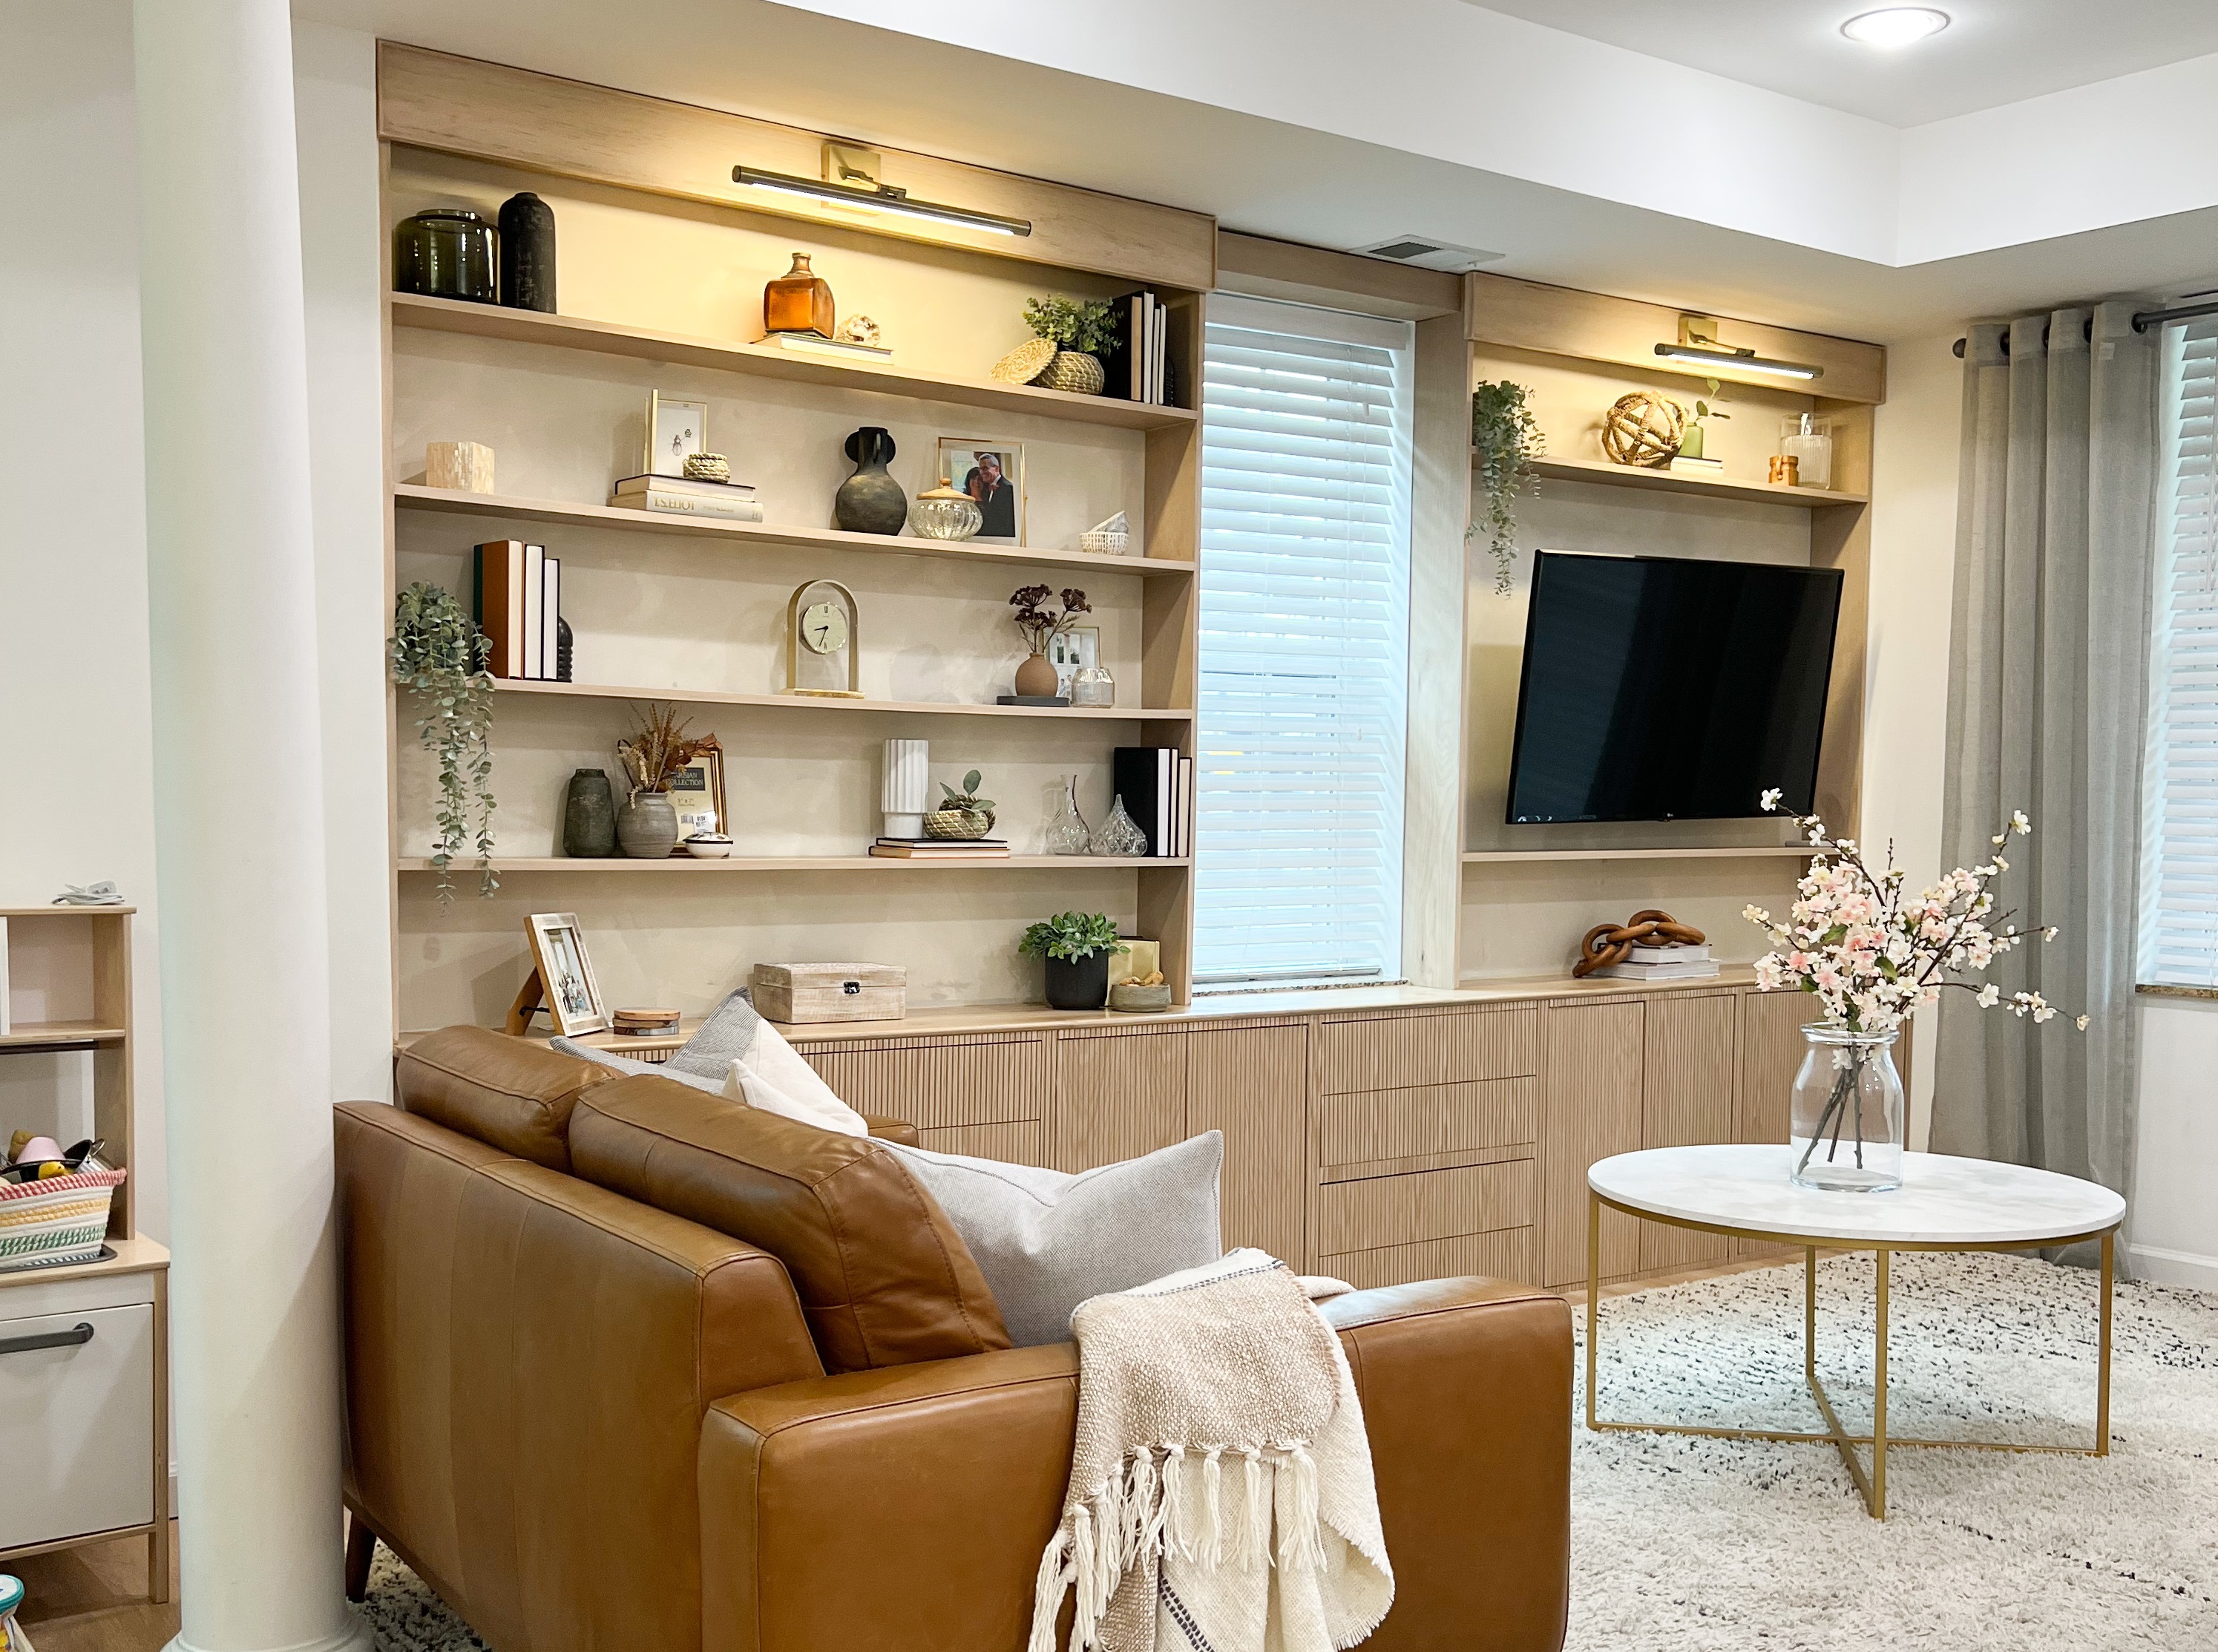
For built-in storage on a budget, you can always rely on an IKEA hack. A go-to flatpack favorite for the job is the simple and sleek EKET cabinet, its smooth surface the perfect foundation to let your DIY skills loose. This genius wall-shelving idea proves just that, with its newly fluted cabinet fronts that look right at home in this neutral living room.
The pole-wrapped cabinets turn this wall system into the prettiest storage solution we've ever seen. It's all down to the work of home renovator Linsey Learmonth (@thedcdiyer) who, after realizing she wasn't maximizing space in her living room, decided to put her DIY skills to the test with an IKEA hack. With some timber, some pole wrap, and a pair of beautiful sconce lights, this multifunctional storage system has been given a modern organic makeover, and we're here for it. We caught up with Lindsey who explains the steps involved, below.

Lilith is an expert at following news and trends across the world of interior design. A personal fan of the Scandi-inspired interior, her job entails keeping up with everything there is to know about the Swedish powerhouse IKEA. Paired with her insight into the latest home renovation projects, she regularly shares IKEA hacks with readers to inspire their own DIY projects in home design.
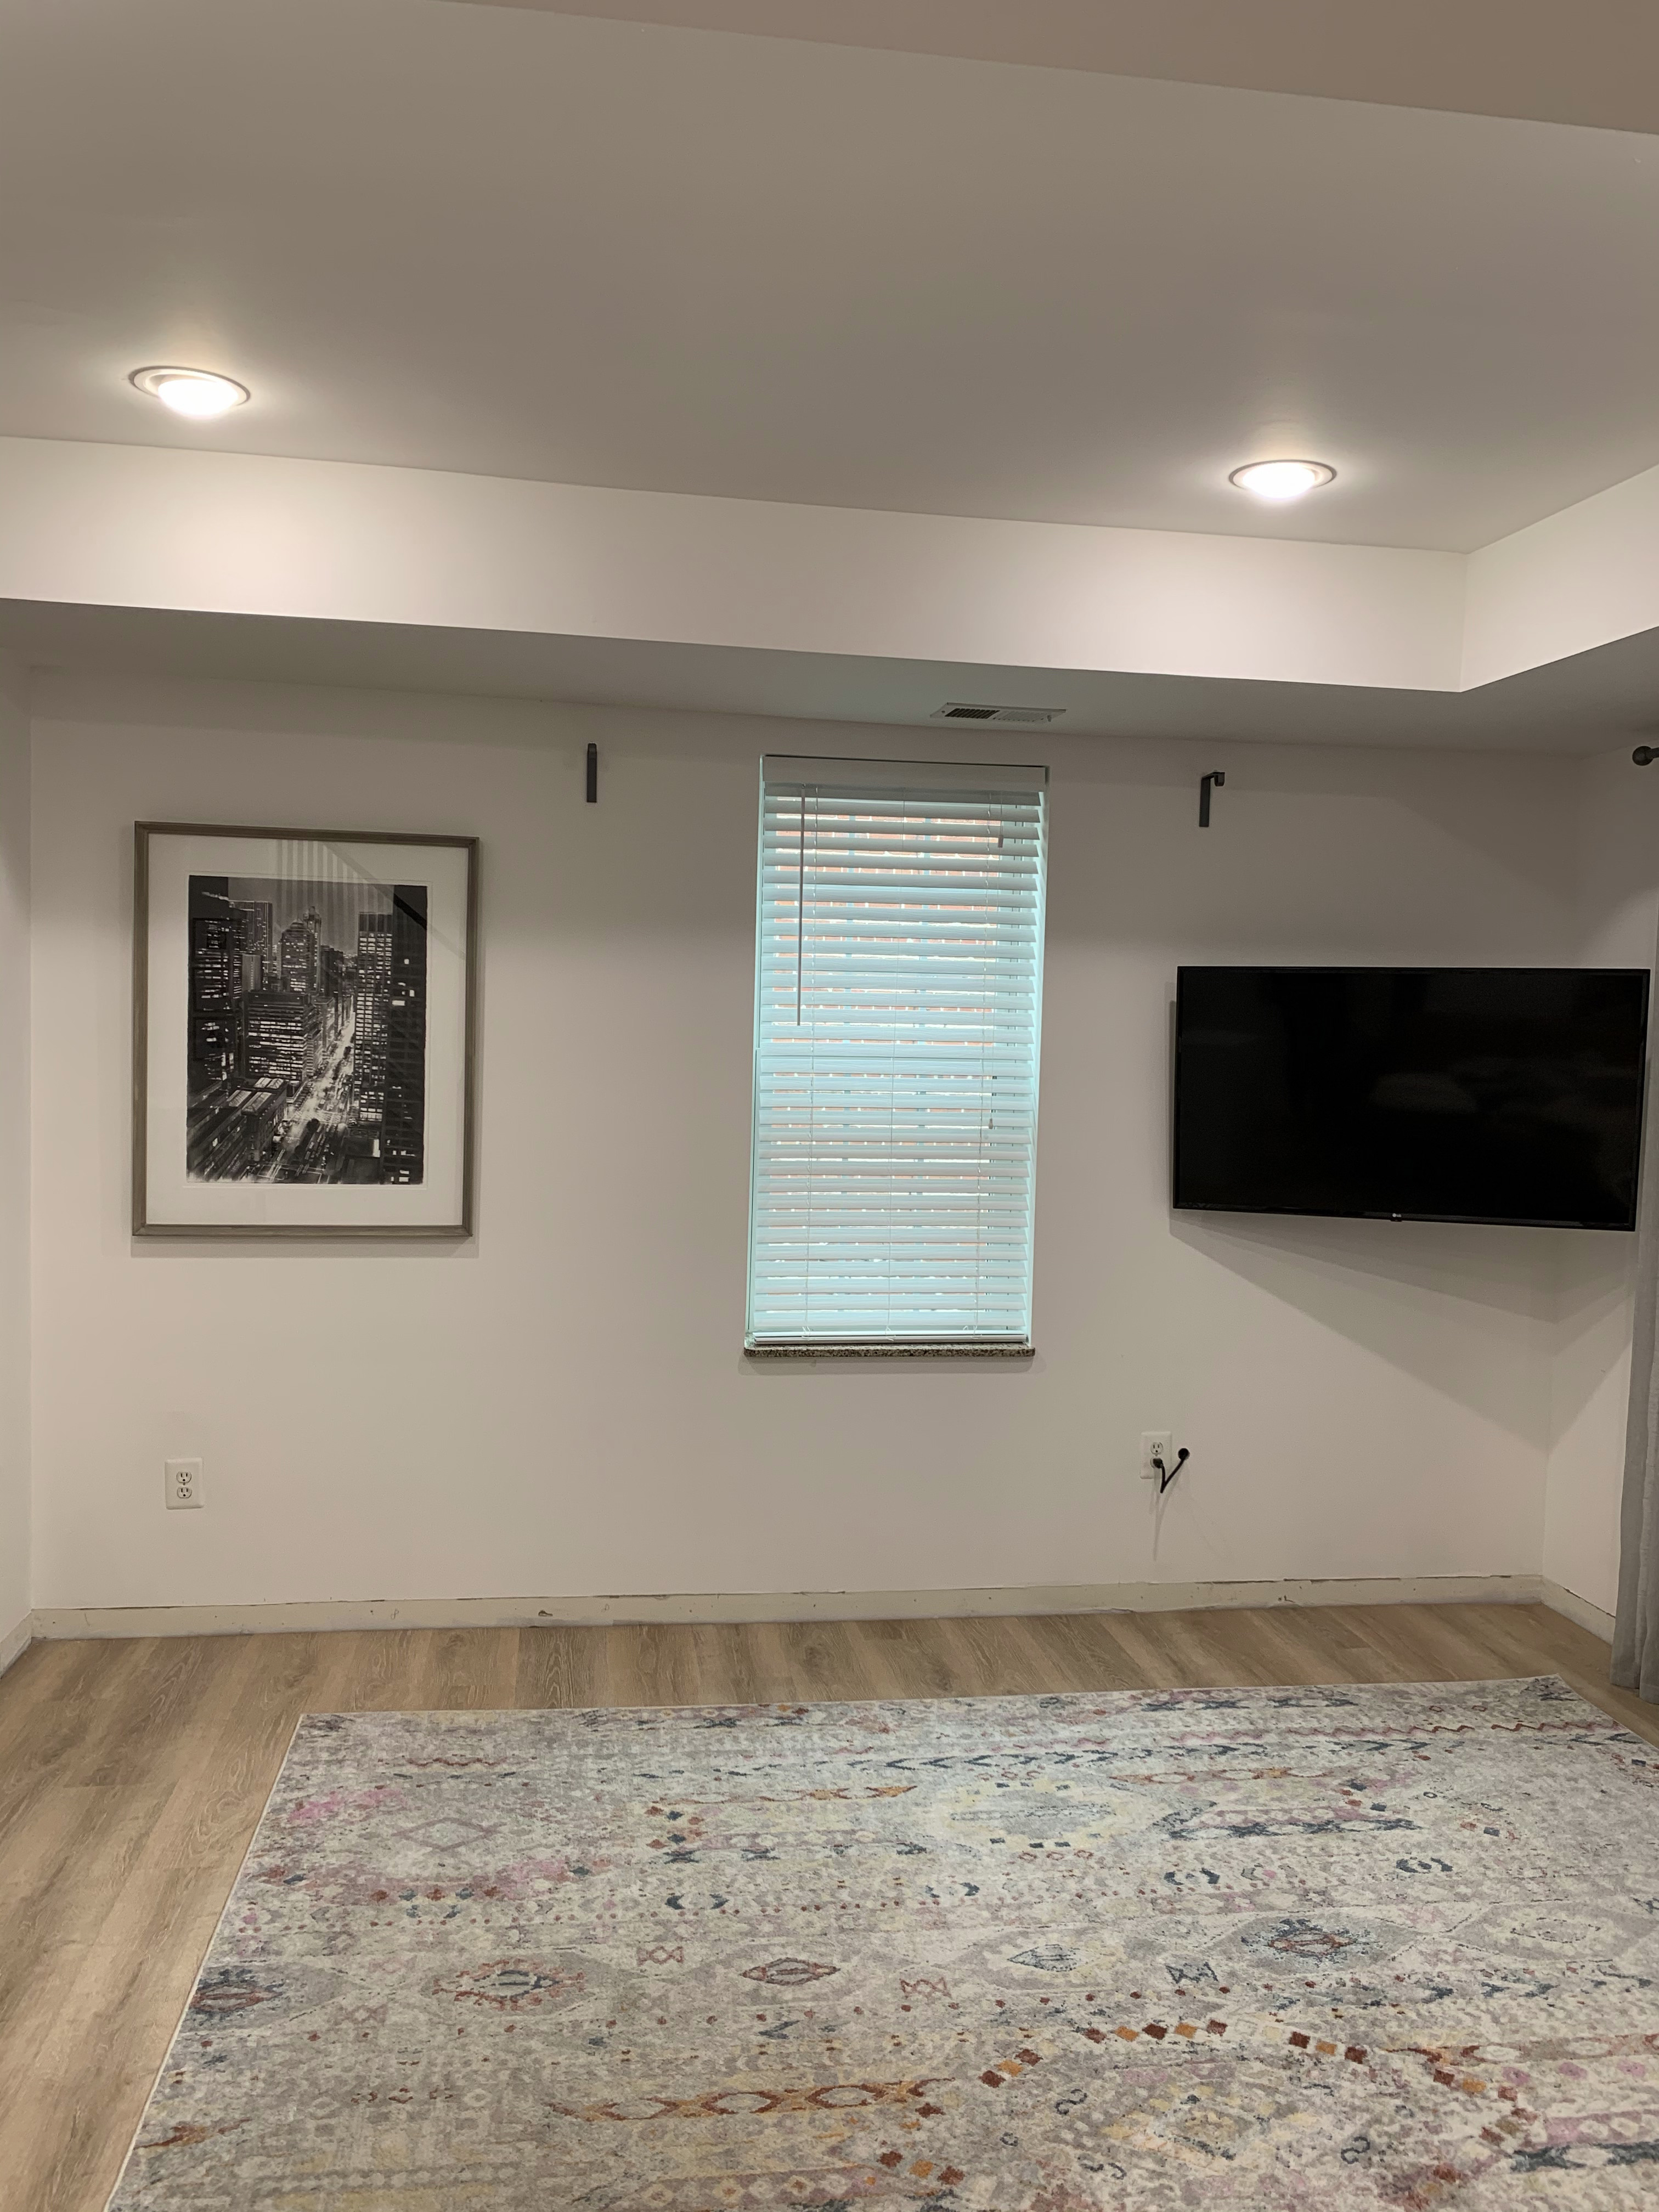
What you can't tell at first glance is that this wall system encompasses toy storage, shelving, and a TV cabinet all-in-one. As a mom, Lindsey relies on multifunctional storage like this to keep everything contained, especially since her living room is the first room you enter after walking through the front door.
'Having two small kids under 5, the array of brightly colored toys was the first thing you'd see,' she explains. 'We needed storage asap but it needed to be pretty and accessible.' Being well-accustomed to a budget-friendly DIY, naturally, Lindsey turned to an IKEA hack.

With two young kids, modern family life inevitably stalled the process. Lindsey's family lived with the original EKET cabinets for about a year before she finally found the time to upgrade them, but it was well worth the wait.
So, how did Lindsey turn her cabinets from humdrum to high-end? 'I'd already assembled and lined up the EKET cabinets and secured them to the studs,' she explains. She used three EKET cabinets with double doors and one single-door cabinet, as well as four sets of EKET double drawers to really maximize storage and mix up her wall system.
As Lindsey notes: 'Washington DC Row homes are also historically long and thin so these slim 13 ¾ deep EKET cabinets and drawers were the perfect solution to not encroach on our limited space but still house all of the kids' toys that were previously just scattered over the floor.'
The Livingetc newsletters are your inside source for what’s shaping interiors now - and what’s next. Discover trend forecasts, smart style ideas, and curated shopping inspiration that brings design to life. Subscribe today and stay ahead of the curve.
To give them a natural look, she added a pine top to the surface. 'For this I used pocket holes, routered the edge then sanded, stained, and sealed before attaching from the underneath, inside the cabinets,' Lindsey explains.
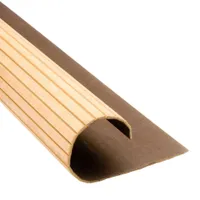
Remodel your cabinet fronts with this 12 inch X 8 foot pole wrap, from The Home Depot. The subtle fluted effect of this decorative wooden wrap is perfect for neutral color schemes, establishing a beautifully understated Scandi-style design.
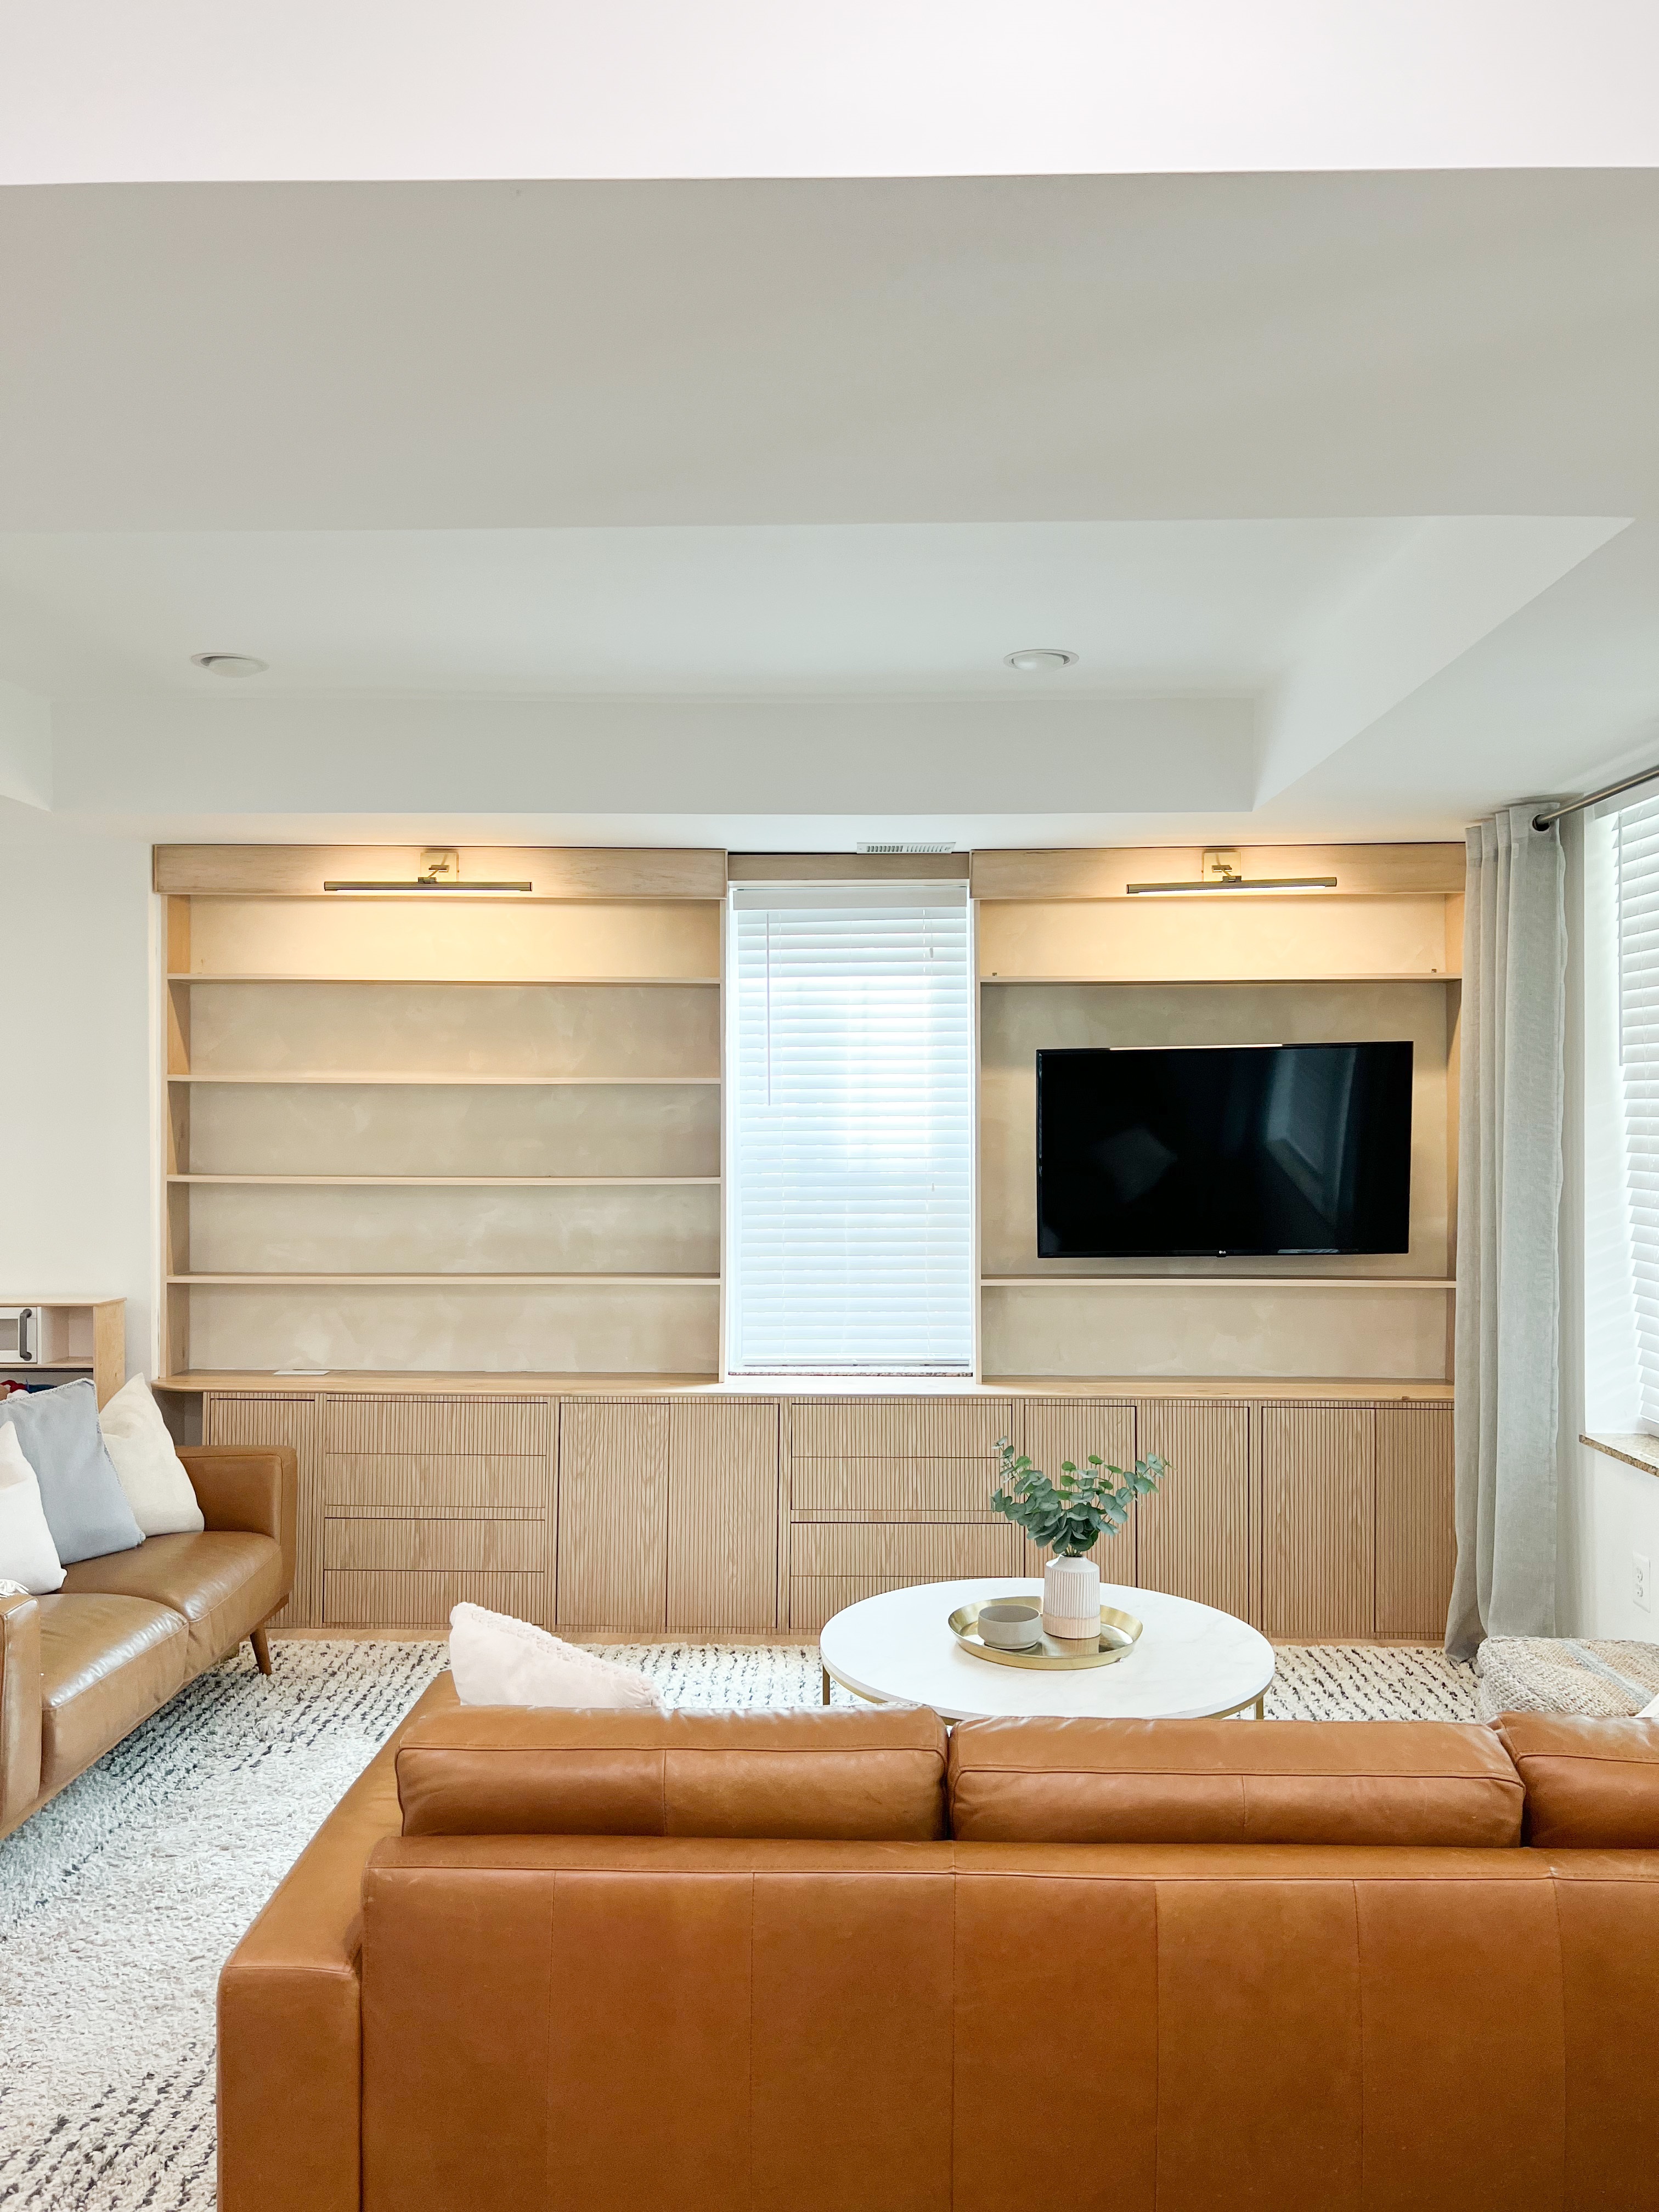
To get the all-over wooden appearance, Lindsey used pole wrap to mask her cabinet fronts. After she'd measured and cut to size, she attached this to the cabinet faces and drawers using glue and brad nails. She then wood-filled the holes left by the brad nails and finished by wet sanding for a smooth finish.
Although her EKET system was already built, Lindsey recommends following these steps before arranging the flatpack. 'The living room DIY project would have been far easier had I installed the pole wrap to the doors and drawer fronts before assembling the units,' she notes.
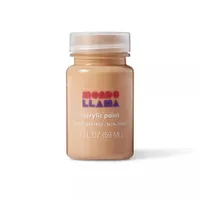
Acrylic paint in 'Snuggly Teddy Bear', Target
This water-based acrylic paint is perfect for your crafty DIY projects. The formula is made for use on wood, glass, ceramic, metal, canvas, paper and fabric, and the satin-finish adds a subtle luster to your projects.
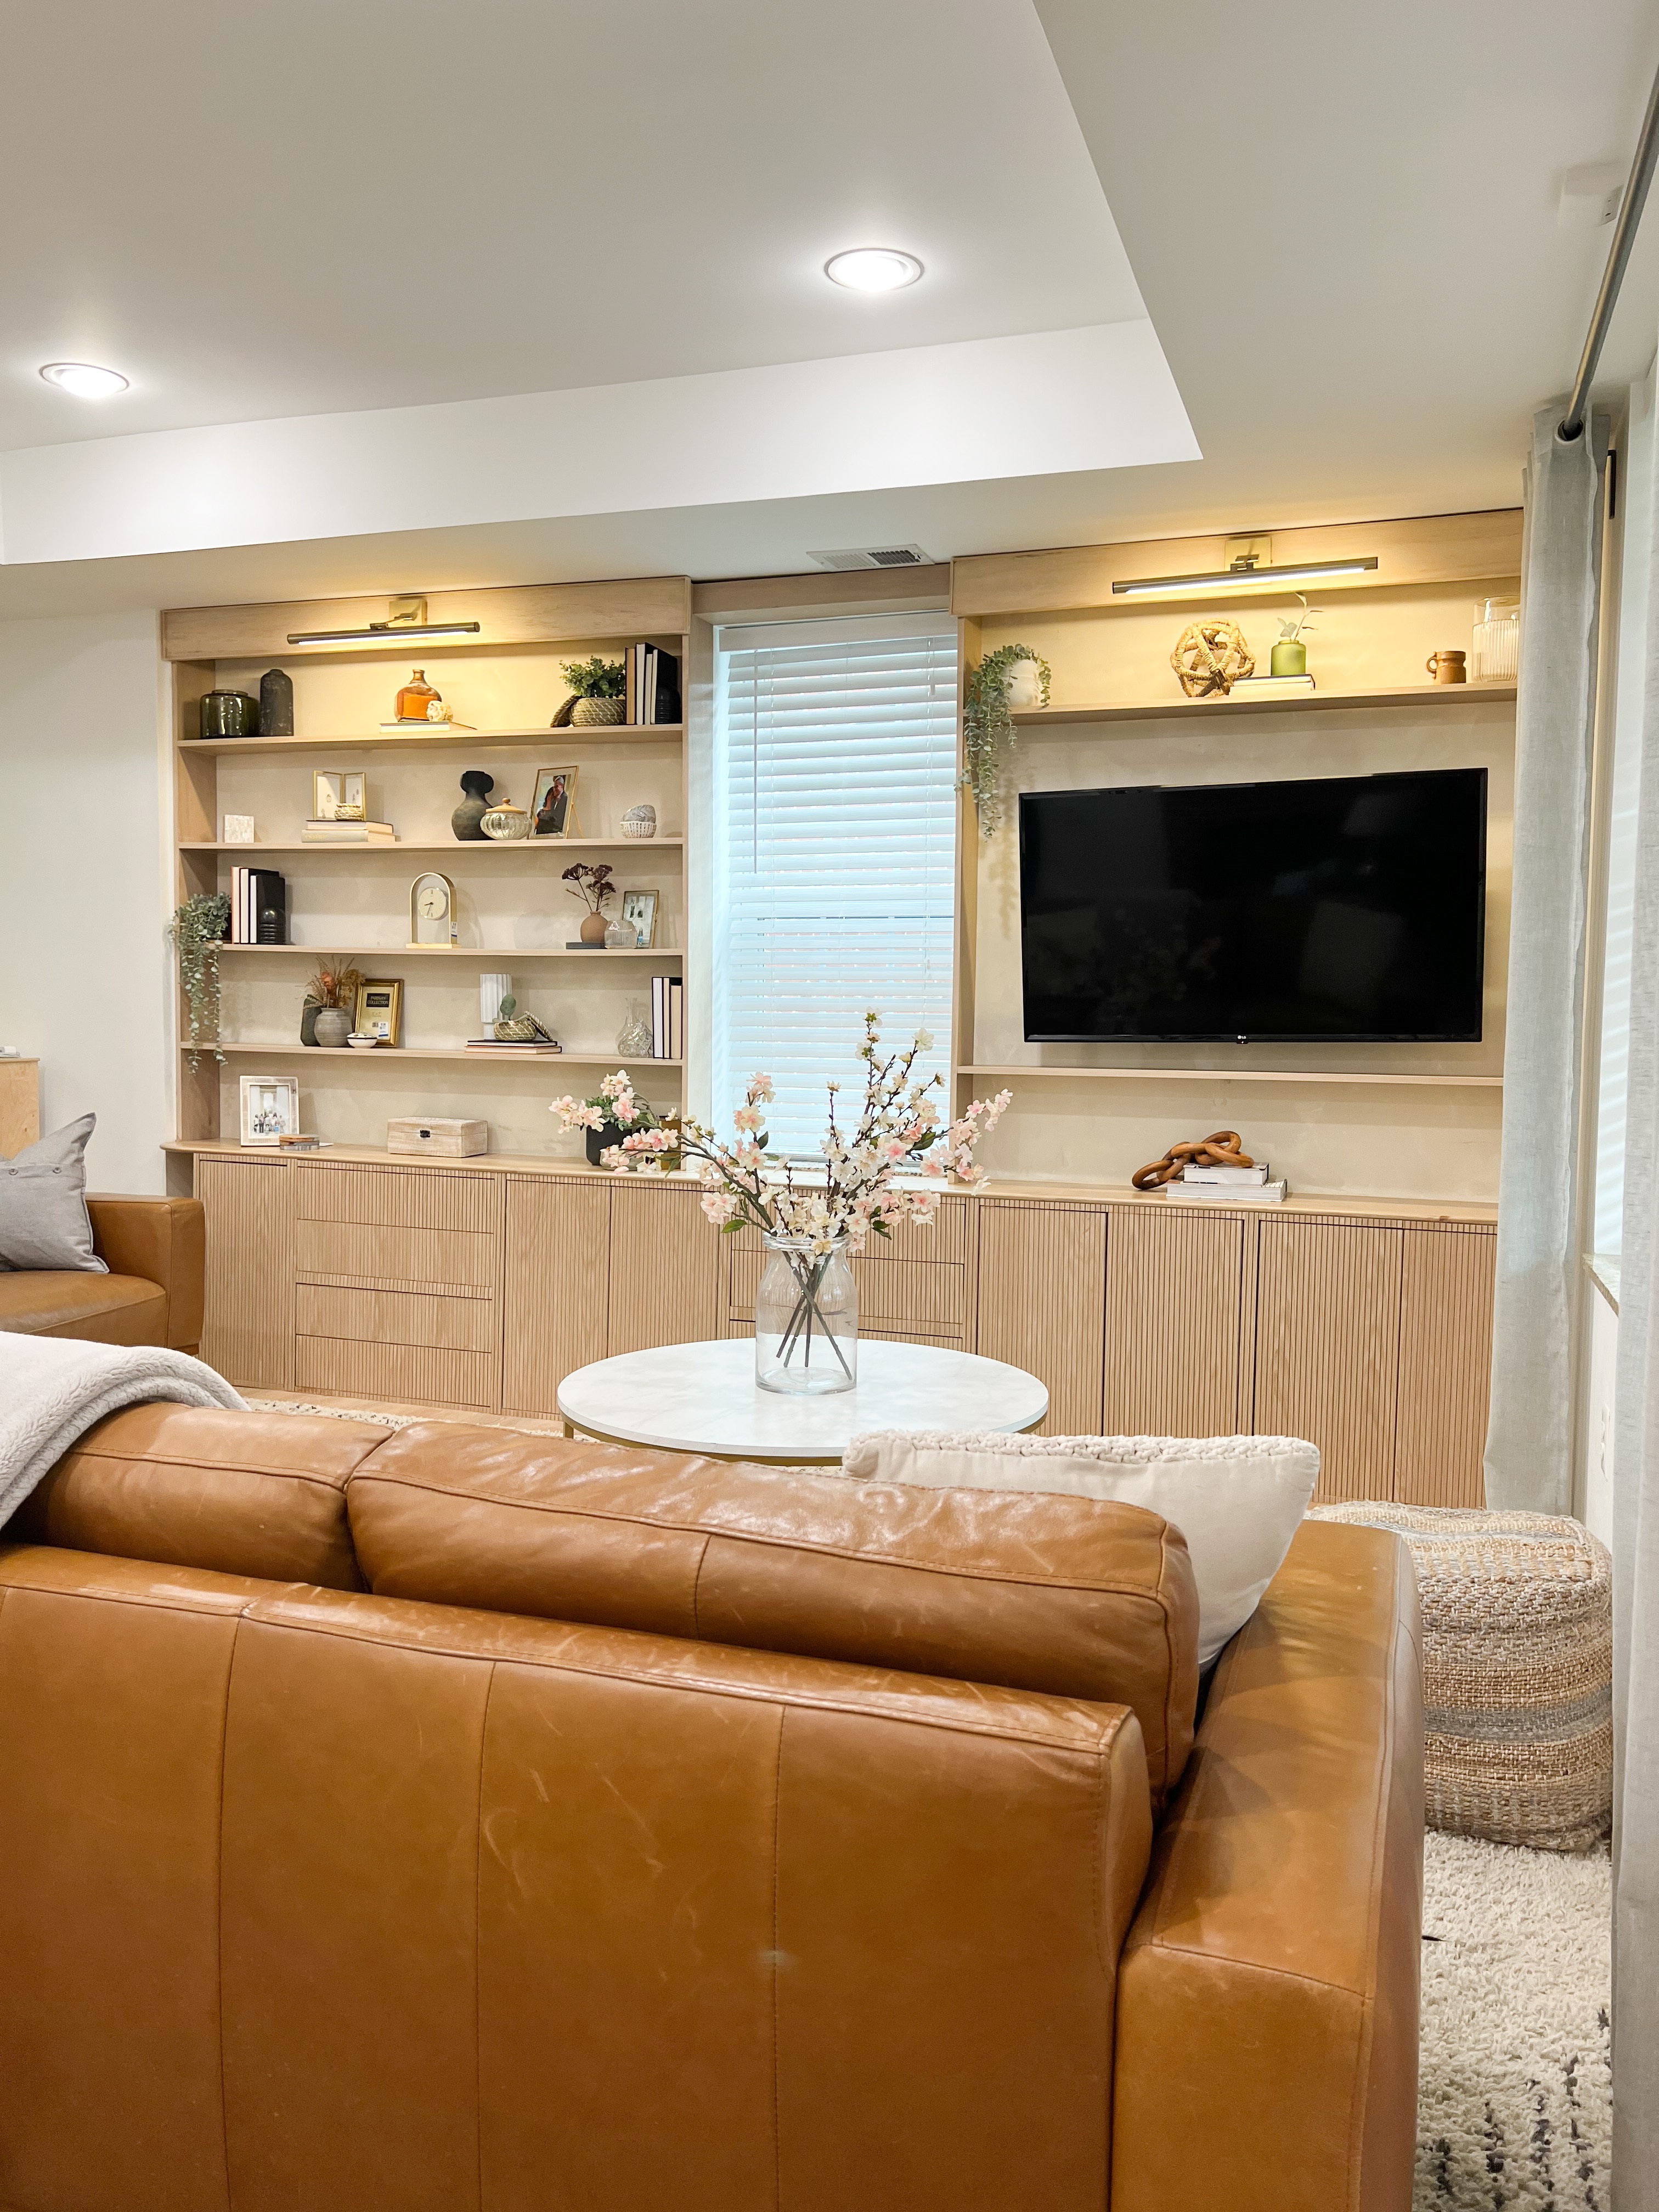
Next, it was time to move on to the shelving. This symmetrical alcove effect was a complete DIY job from start to finish and it really is the key that gives this wall system its built-in look. 'I built the upper shelves using ¾ plywood and dado joints, and attached the whole structure to the wall with floating shelf pins,' says Lindsey. 'I then edge banded all the rough edges before staining to match the top.'
For a rustic appearance, Lindsey tried her own DIY Roman Clay paint effect for the wall backdrop which really helps the shelves blend into the space.
Once the shelving was built, it was time for the finer details. Lindsey used beige acrylic paint (linked above) for the EKET door and drawer edges so they blended seamlessly with the pole wrap fronts. She then installed custom headers and added hardwired picture sconces from Amazon to the top of her shelves, which are powered with a wireless switch.
This brass effect sconce picture light from Amazon brings a classic look to your living room with its single swing arm. The LED dimmer lets you soften the light in the evenings while the 90° swivel head allows you to swing the bulb up or down depending on where you want the light focus to be.
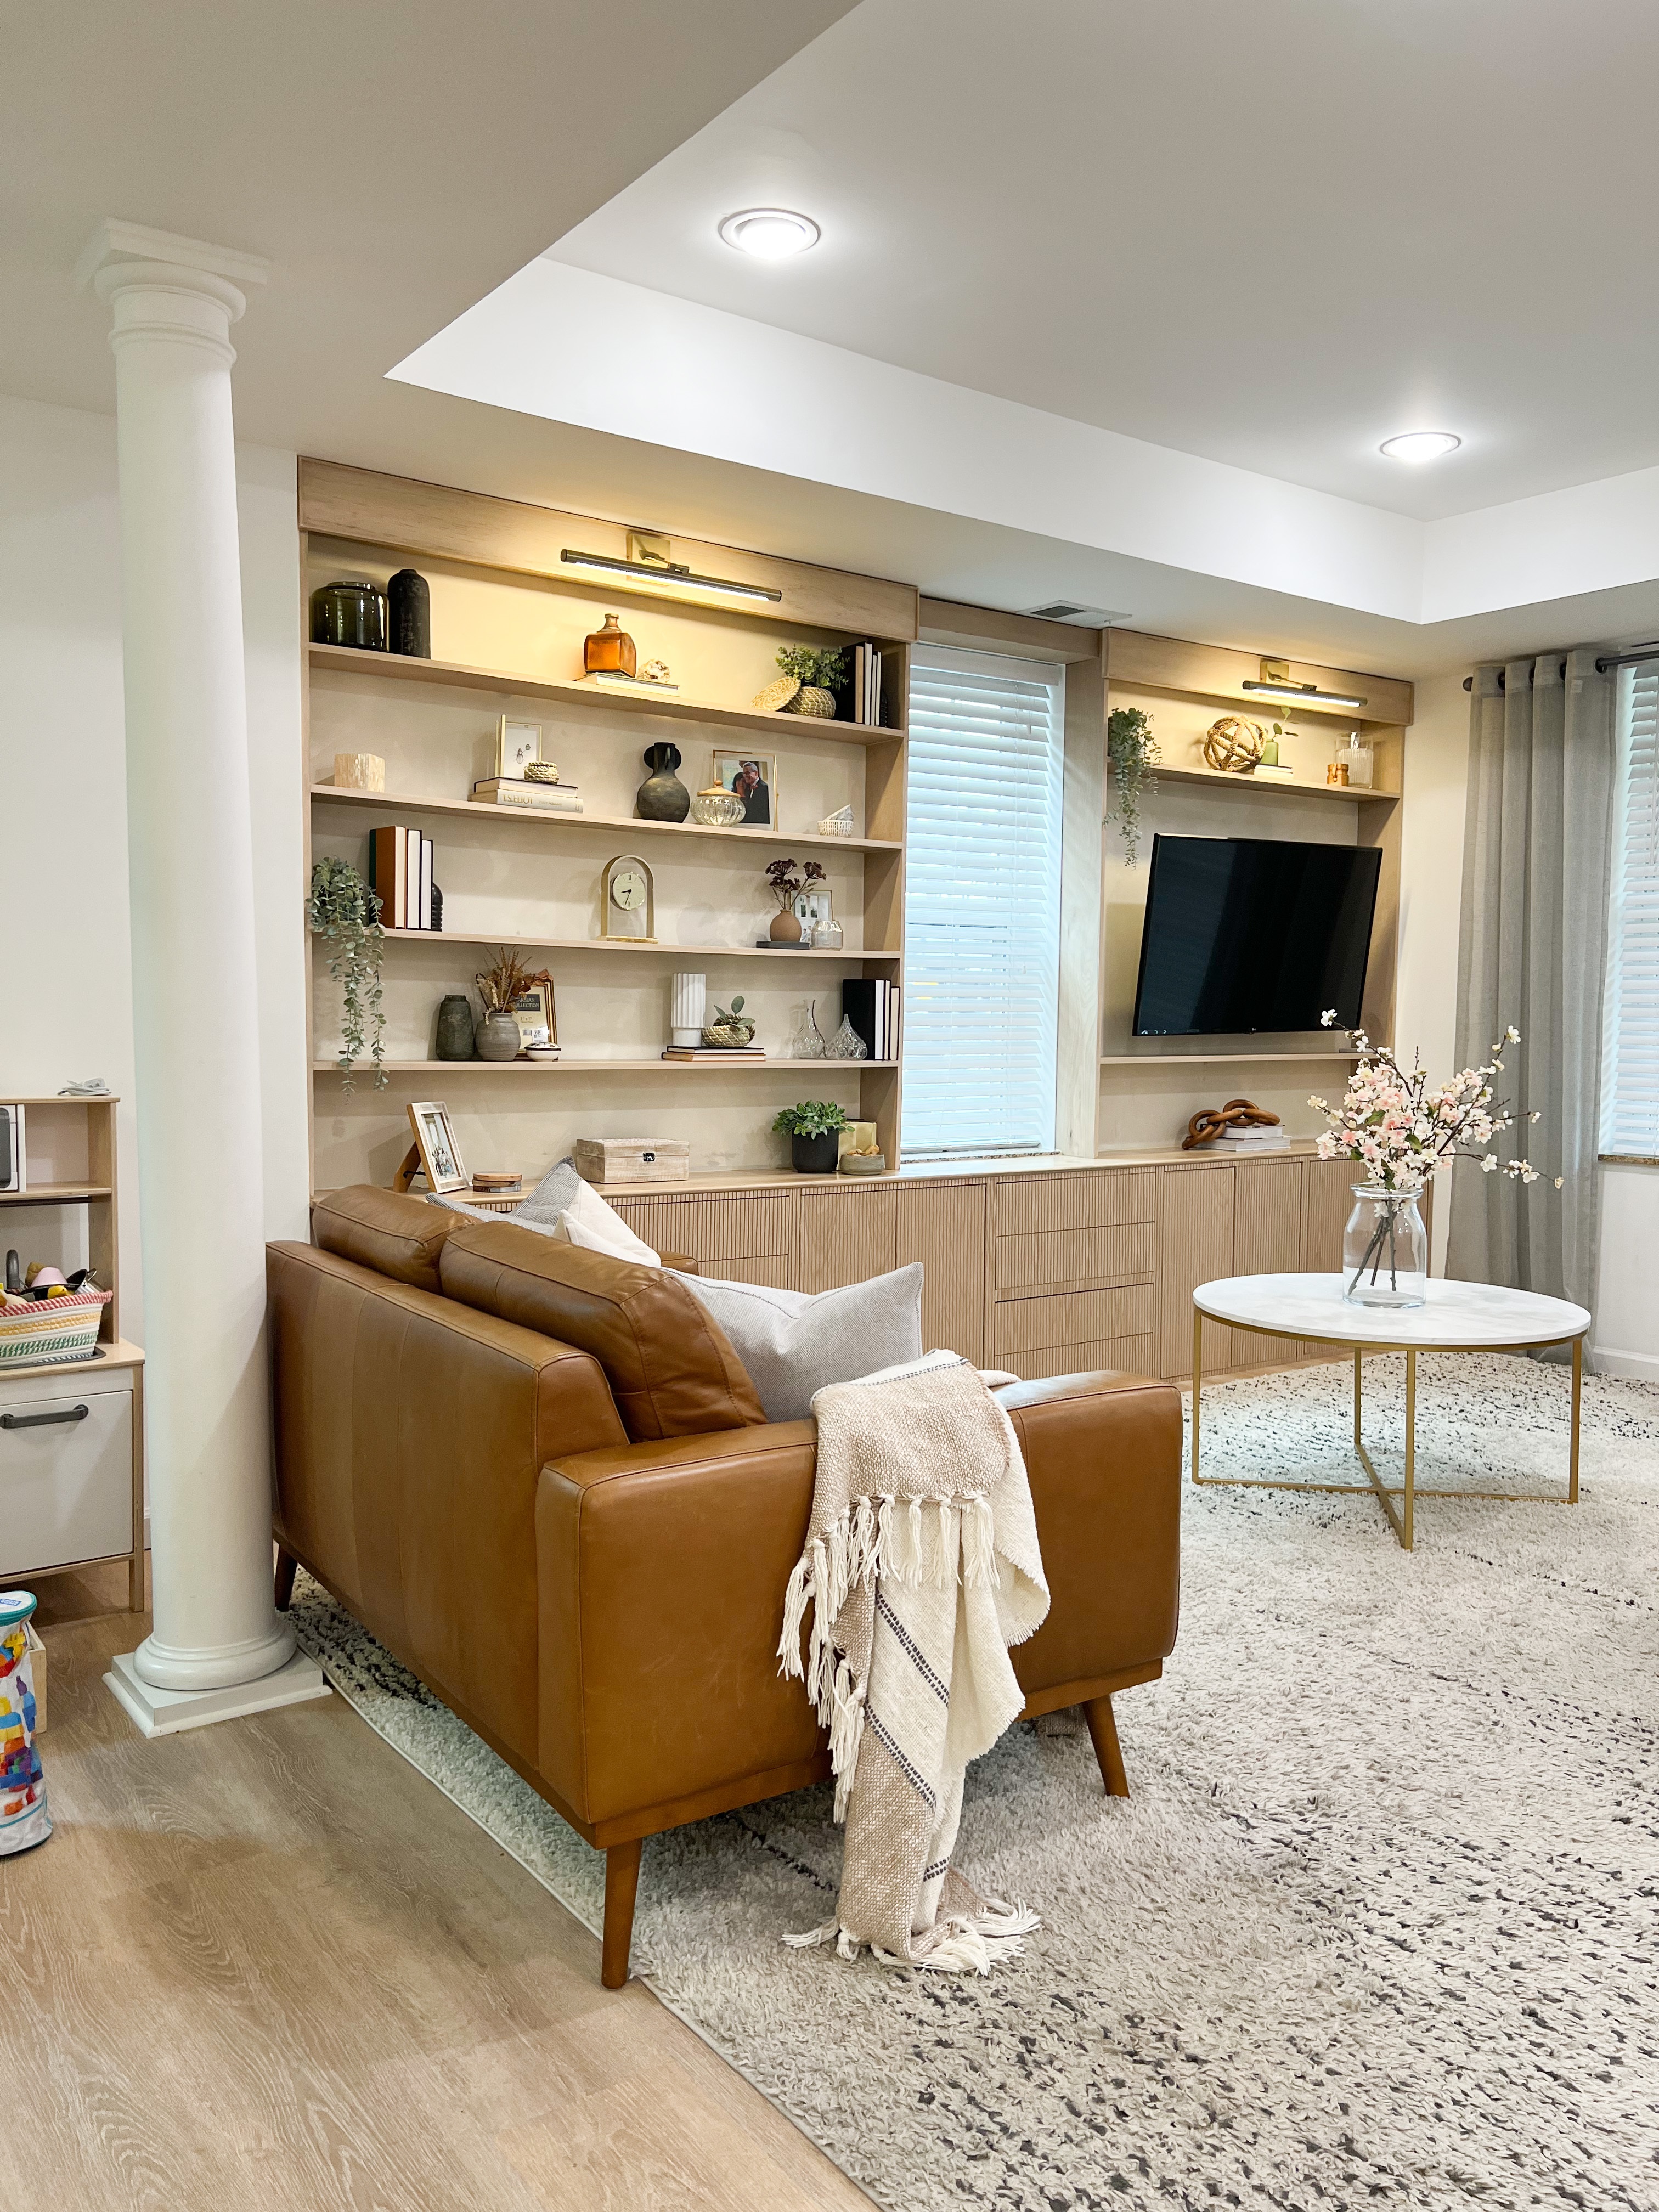
Last but not least, it was just a case of carefully curating her shelf decor. She used books, vases, and houseplants but left plenty of empty space for a minimalist yet cozy vibe. 'This built-in has not only elevated our space to look unique and custom but has added so much functionality to the way we use this space,' says Lindsey.
Not only did her living room shelving project give Lindsey confidence in her DIY skills, but it saved her thousands of dollars, too. 'In Washington DC the cost to have something like this custom made would be anywhere from $15-20k,' she explains. 'I was able to create a custom, one-of-a-kind look for under $1,000 - and that's why I love DIY and IKEA.' We couldn't agree more ourselves.
A post shared by Lindsey | DIYer | Woodworker | Creator (@thedcdiyer)
A photo posted by on

Lilith Hudson is a freelance writer and regular contributor to Livingetc. She holds an MA in Magazine Journalism from City, University of London, and has written for various titles including Homes & Gardens, House Beautiful, Advnture, the Saturday Times Magazine, Evening Standard, DJ Mag, Metro, and The Simple Things Magazine.
Prior to going freelance, Lilith was the News and Trends Editor at Livingetc. It was a role that helped her develop a keen eye for spotting all the latest micro-trends, interior hacks, and viral decor must-haves you need in your home. With a constant ear to the ground on the design scene, she's ahead of the curve when it comes to the latest color that's sweeping interiors or the hot new style to decorate our homes.
